如何旋转一个简单的 matplotlib 轴?
要旋转一个简单的 matplotlib 轴,我们可以采取以下步骤 -
导入所需的包 -
importmatplotlib.pyplotas pltfrommatplotlib.transformsimport Affine2D
import mpl_toolkits.axisartist.floating_axes as floating_axes
设置图形大小并调整子图之间和周围的填充。
创建新地物或激活现有地物。
制作一个轴极值元组。
添加一个可变的 2D 仿射变换"t"。为这个变换添加一个旋转(以度为单位)。
添加从源(曲线)坐标到目标(直线)坐标的变换。
使用带有GridHelperCurveLinear()实例的当前图形添加浮动轴“h”。
作为子图排列的一部分,在图中添加一个“斧头”。
要显示图形,请使用show()方法。
示例
# import the packages输出结果importmatplotlib.pyplotas plt
frommatplotlib.transformsimport Affine2D
import mpl_toolkits.axisartist.floating_axes as floating_axes
# set the figure size
plt.rcParams["figure.figsize"] = [7.00, 3.50]
plt.rcParams["figure.autolayout"] = True
# plot the figure
fig = plt.figure()
scales = (0, 5, 0, 5)
# Add 2D affine transformation
t = Affine2D().rotate_deg(25)
# Add floating axes
h = floating_axes.GridHelperCurveLinear(t, scales)
ax = floating_axes.FloatingSubplot(fig, 111, grid_helper=h)
fig.add_subplot(ax)
plt.show()
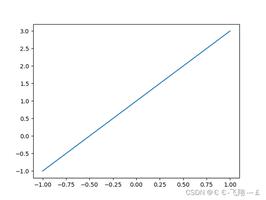
它将产生以下输出 -
以上是 如何旋转一个简单的 matplotlib 轴? 的全部内容, 来源链接: utcz.com/z/363075.html