vue实现简单瀑布流布局
vue简单实现瀑布流布局" title="瀑布流布局">瀑布流布局的一种方式(vue瀑布流组件),供大家参考,具体内容如下
vue中的瀑布流布局组件
需求:图片容器宽度固定,高度根据图片自适应,图片一行不能排列时候,换行依次从左往右排列。(瀑布流概念)
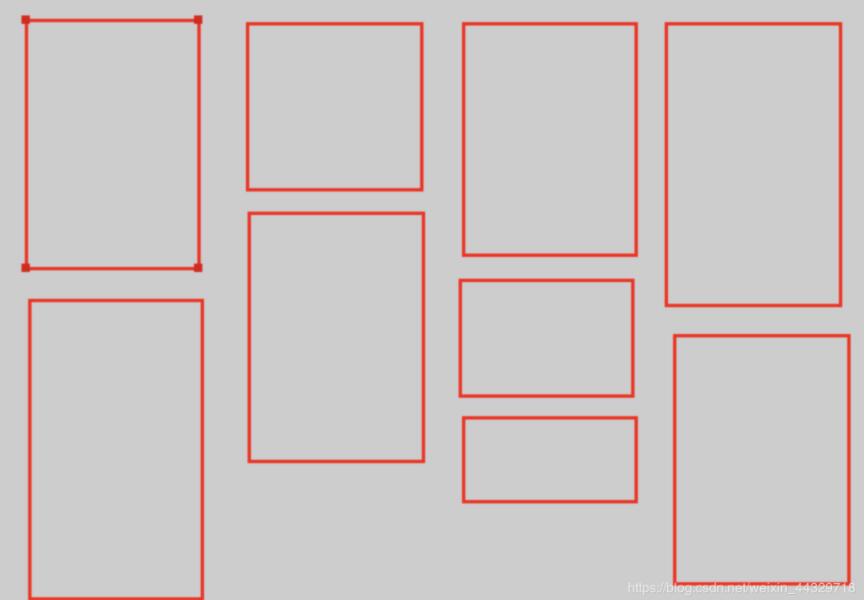
另外结合vue-lazy实现懒加载 ( npm i vue-lazyload --save-dev)
使用也很简单,在需要懒加载的img标签上将:src换成v-lazy
父组件传递数据:
waterfallData:[
{
e_img: "test.jpg",
// 图片
e_intro: "描述信息",
u_img: "test.jpeg",
// 标记图
u_name: "开发者"},
{
e_img: "test.jpg",
e_intro: "描述信息",
u_img: "test.jpeg",
u_name: "开发者"}
]
定宽不定高瀑布流布局子组件
<template>
<div>
<div class="waterfall px-container clearfix" v-cloak>
<ul class="px-waterfall left" v-for="(el,i) in newWaterfallData" :key="i">
<li v-for="(item,index) in el" :key="index">
<div style="position: relative;" >
<router-link to="/goodsdetail/1">
<img v-lazy="item.e_img" class="bg-img" alt="" v-loading="true">
</router-link>
<div class="px-hot-tag" v-if="item.u_img">
<img :src="item.u_img" alt="" >
</div>
<h3 class="font22 color-fff fh" v-if="item.e_intro"> {{item.e_intro}}</h3>
</div>
</li>
</ul>
</div>
</div>
</template>
<script>
export default {
data() {
return {
newWaterfallData: '',
waterfallDataNumber:''
}
},
created() {
let [ ...waterfallData ] = this.waterfallData
let [ ...newWaterfallData ]= [[],[],[]]
waterfallData.forEach((el,i) => {
switch( i%3 ) {
case 0 : newWaterfallData[0].push(el)
break
case 1: newWaterfallData[1].push(el)
break
case 2: newWaterfallData[2].push(el)
break
}
});
this.newWaterfallData = newWaterfallData
},
props: [ 'waterfallData' ]
}
</script>
<style lang="scss">
.px-container {
width: 100%;
max-width: 1200px;
margin: 0 auto;
}
.clearfix:before,
.clearfix:after {
content: "";
display: block;
clear: both;
}
.clearfix {
zoom: 1;
}
.left {
float: left;
}
. font22{
font-size:22px;
}
.color-fff {
color:#fff;
}
.fh {
overflow:hidden;
}
[v-cloak]{
display: none!important;
}
.waterfall {
margin-top: 20px;
}
.px-waterfall {
width: calc(380px);
&:nth-child(3n+2) {
margin: 0 30px;
}
img.bg-img {
border-radius: 8px;
}
h3 {
text-overflow:ellipsis;
white-space: nowrap;
text-overflow: ellipsis;
height:30px;
font-family:PingFangSC-Semibold;
font-weight:600;
line-height:30px;
letter-spacing:6px;
position: absolute;
top: 50%;
left: 50%;
transform: translate(-50%,-50%);
z-index: 999;
}
li{
background: #fff;
border-radius: 8px;
margin-bottom: 20px;
}
}
.px-hot-tag {
position: absolute;
top: 0;
border-radius: 8px;
width: 71px;
height: 30px;
img {
border-radius: 8px 0 8px 0;
}
}
.photo{
position: relative;
height: 25px;
.keywordbox {
position: absolute;
left: 50%;
top: 50%;
transform: translate(-50%,-50%);
height: 25px;
}
}
.keyword {
height: 25px;
line-height: 25px;
padding: 0 22px;
text-align: center;
.color-666-line {
border-bottom:2px solid #666666;
}
.red-line {
border-bottom:2px solid #F65050;
}
}
</style>
如有问题,欢迎指正,如您有好的方案,敬请与我分享!
更多文章可以点击《Vue.js前端组件学习教程》学习阅读。
关于vue.js组件的教程,请大家点击专题vue.js组件学习教程进行学习。
更多vue学习教程请阅读专题《vue实战教程》
以上就是本文的全部内容,希望对大家的学习有所帮助,也希望大家多多支持。
以上是 vue实现简单瀑布流布局 的全部内容, 来源链接: utcz.com/p/237113.html


