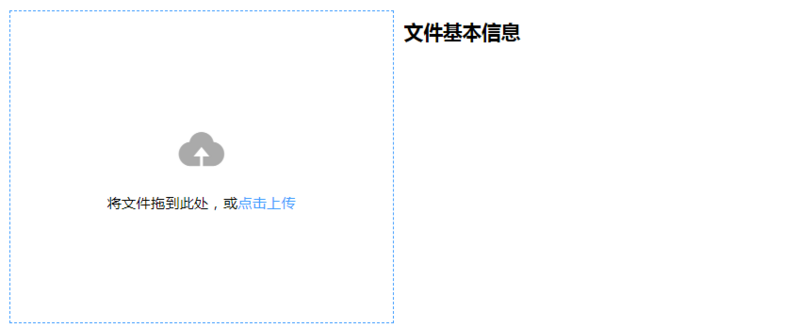
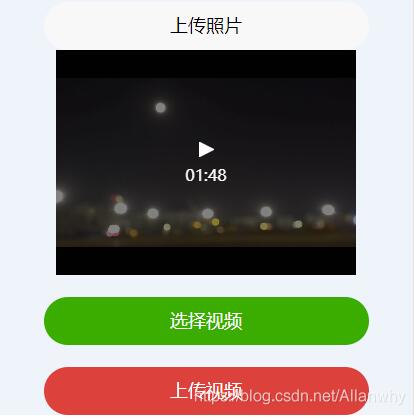
小程序实现上传视频功能
本文实例为大家分享了小程序实现上传视频功能的具体代码,供大家参考,具体内容如下
.js文件
// miniprogram/pages/message/messageForm/messageForm.js
Page({
/**
* 页面的初始数据
*/
data: {
webServer: 'https://xxxx.xxx.com',
src: '',
webviewshow: 'hide',
webviewurl: '',
gid: "",
uid: '',
duration: '',
height: '',
size: '',
width: '',
ThumbPath: false,
videoshow: 'hide'
},
/**
* 生命周期函数--监听页面加载
*/
onLoad: function (options) {
this.setData({
gid: options.gid,
uid: options.uid
})
},
chooseVideo: function () {
var that = this
wx.chooseVideo({
success: function (res) {
that.setData({
src: res.tempFilePath,
})
}
})
},
getLocalVideo: function () {
var that = this;
var session_key = wx.getStorageSync('session_key');
wx.chooseVideo({
maxDuration: 10,
success: function (res1) {
// 这个就是最终拍摄视频的临时路径了
that.setData({
src: res1.tempFilePath,
duration: res1.duration,
height: res1.height,
size: res1.size,
width: res1.width,
videoshow: 'thumb'
})
wx.showToast({
title: '选择成功',
icon: 'succes',
duration: 2000,
mask: true
})
},
fail: function () {
console.error("获取本地视频时出错");
}
})
},
uploadvideo: function () {
var that = this;
wx.showLoading({
title: '上传中',
})
var src = this.data.src;
if (src) {
that.setData({
ThumbPath: true
})
}
wx.uploadFile({
url: that.data.webServer + 'xxxxxx',//服务器接
formData: {
'uid': that.data.uid,
'gid': that.data.gid,
'duration': that.data.duration,
'height': that.data.height,
'size': that.data.size,
'width': that.data.width
},
method: 'POST',//这句话好像可以不用
filePath: src,
header: {
'content-type': 'multipart/form-data'
},
name: 'files',//服务器定义的Key值
success: function (e) {
wx.hideLoading();
if (typeof e.data != 'object') {
e.data = e.data.replace(/\ufeff/g, "");//重点
var data = JSON.parse(e.data);
if (data.status == 1) {
wx.showToast({
title: '上传成功',
icon: 'succes',
duration: 1000,
mask: true
})
setTimeout(function () {
that.backHtml();
}, 1000)
} else if (data.status == 2) {
wx.showToast({
title: '文件过大',
icon: 'succes',
duration: 1000,
mask: true
})
}
}
},
fail: function () {
wx.showToast({
title: '上传失败',
icon: 'succes',
duration: 1000,
mask: true
})
}
})
},
backHtml: function () {
var that = this;
wx.reLaunch({
url: '/pages/index/index?gid=' + this.data.gid
})
},
/**
* 生命周期函数--监听页面初次渲染完成
*/
onReady: function () {
},
/**
* 生命周期函数--监听页面显示
*/
onShow: function () {
},
/**
* 生命周期函数--监听页面隐藏
*/
onHide: function () {
},
/**
* 生命周期函数--监听页面卸载
*/
onUnload: function () {
},
/**
* 页面相关事件处理函数--监听用户下拉动作
*/
onPullDownRefresh: function () {
},
/**
* 页面上拉触底事件的处理函数
*/
onReachBottom: function () {
},
/**
* 用户点击右上角分享
*/
onShareAppMessage: function () {
}
})
.wxml
<view class='contbox'>
<view class='thumbbox'>
<video class="{{videoshow}}" src="{{src}}"></video>
</view>
<!-- 提交 -->
<button bindtap='getLocalVideo' class="btn2" type="primary" form-type='submit'>选择视频</button>
<button type="default" class="btn2" bindtap="chooseVideo" bindtap='uploadvideo' type="warn" form-type='reset'>上传视频</button>
</view>
.wxss
.thumbbox {
display: flex;
justify-content: center;
align-items: center;
}
为大家推荐现在关注度比较高的微信小程序教程一篇:《微信小程序开发教程》小编为大家精心整理的,希望喜欢。
更多精彩内容请参考专题《ajax上传技术汇总》,《javascript文件上传操作汇总》和《jQuery上传操作汇总》进行学习。
以上就是本文的全部内容,希望对大家的学习有所帮助,也希望大家多多支持。
以上是 小程序实现上传视频功能 的全部内容, 来源链接: utcz.com/p/217545.html