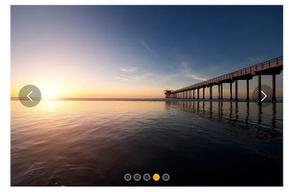
QT实现图片轮播
本文实例为大家分享了QT实现图片轮播的具体代码,供大家参考,具体内容如下
UI设计
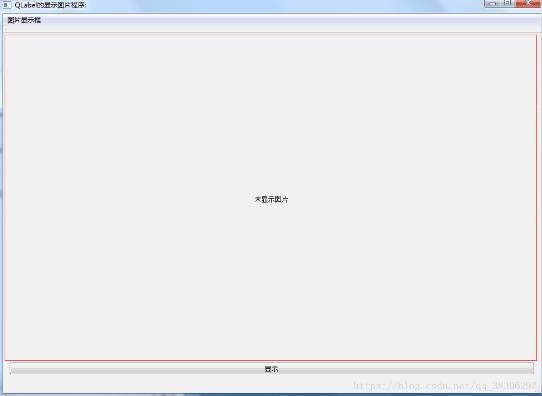
一个Qlabel控件,一个pushButton 键
废话不多说直接怼代码
.h文件
#ifndef IMAGES_H
#define IMAGES_H
#include <QtWidgets/QMainWindow>
#include "ui_images.h"
#include <Qlabel>
#include <qpushbutton.h>
#include <qpixmap.h>
#include <qstring.h>
#include <qtimer.h>
class images : public QMainWindow
{
Q_OBJECT
public:
images(QWidget *parent=0);
~images();
private:
Ui::imagesClass ui;
QTimer *qTimer;
int imgNumber;
private slots:
//显示图片
void showPictureSlot();
};
#endif // IMAGES_H
.cpp文件
#include "images.h"
#pragma execution_character_set("utf-8")
images::images(QWidget *parent)
: QMainWindow(parent), imgNumber(0)
{
ui.setupUi(this);
//修改标题
this->setWindowTitle("QLabel的显示图片程序:");
//给label设置新的文本
ui.picture_label->setText("未显示图片");
//将label框的内容位于中间.
ui.picture_label->setAlignment(Qt::AlignCenter | Qt::AlignHCenter);
//设置label框自动填充
//ui.picture_label->setScaledContents(true);
//连接信号 与 槽
connect(ui.pushButton, SIGNAL(clicked()), this, SLOT(showPictureSlot()));
ui.picture_label->setScaledContents(true);
qTimer = new QTimer();
connect(this->qTimer, SIGNAL(timeout()), this, SLOT(showPictureSlot()));
qTimer->start(3000);
}
images::~images()
{
delete qTimer;
}
//显示图片
void images::showPictureSlot(){
++imgNumber;
//图片路径(绝对路径拼接)
QString path = ":/File/Resources/" + QString::number(imgNumber) + ".png";
QPixmap pixmap(path);
pixmap.scaled(ui.picture_label->size(), Qt::KeepAspectRatio);
ui.picture_label->setPixmap(pixmap);
if (3 == imgNumber)
{
imgNumber = 0;
}
}
这样简单的图片轮播在Qlabel上就 实现了.
以上就是本文的全部内容,希望对大家的学习有所帮助,也希望大家多多支持。
以上是 QT实现图片轮播 的全部内容, 来源链接: utcz.com/p/245259.html