Vue自定义指令实现弹窗拖拽四边拉伸及对角线拉伸效果
引言
近期公司vue前端项目需求:实现弹窗的拖拽,四边拉伸及对角线拉伸,以及弹窗边界处理。本人使用vue的自定义指令编写了drag.js文件分享给大家一起学习,以下代码是本人提取出来的示意demo,仅供参考。这是本人前端小白的第一篇技术分享,如有错误的地方,请大家批评指正!
页面布局
<template>
<div
class="parameter"
v-dialogDrag
>
<div class="title">标题
<div class="close">
<img
src="../assets/close.png"
alt=""
>
</div>
</div>
<div class="content">内容区</div>
</div>
</template>
<style lang="less">
.parameter {
height: 569px;
width: 960px;
position: absolute;
left: 50%;
top: 50%;
margin-left: calc(-960px / 2);
margin-top: calc(-569px / 2);
z-index: 999;
background: #fff;
box-sizing: border-box;
box-shadow: 0px 12px 32px 0px rgba(0, 0, 0, 0.08);
border-radius: 2px;
.title {
display: flex;
font-size: 16px;
height: 48px;
line-height: 48px;
background: #f5f5f5;
box-sizing: border-box;
box-shadow: inset 0px -1px 0px rgba(0, 0, 0, 0.12);
border-radius: 2px 2px 0px 0px;
padding: 0 20px;
z-index: 99;
font-size: 16px;
font-weight: 500;
color: rgba(0, 0, 0, 0.85);
.close {
img {
width: 10px;
}
margin-left: auto; // 右对齐
}
}
.content {
display: flex;
justify-content: center;
align-items: center;
height: calc(100% - 48px);
box-sizing: border-box;
background: #fff;
overflow: auto;
}
}
</style>
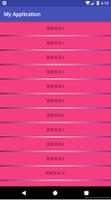
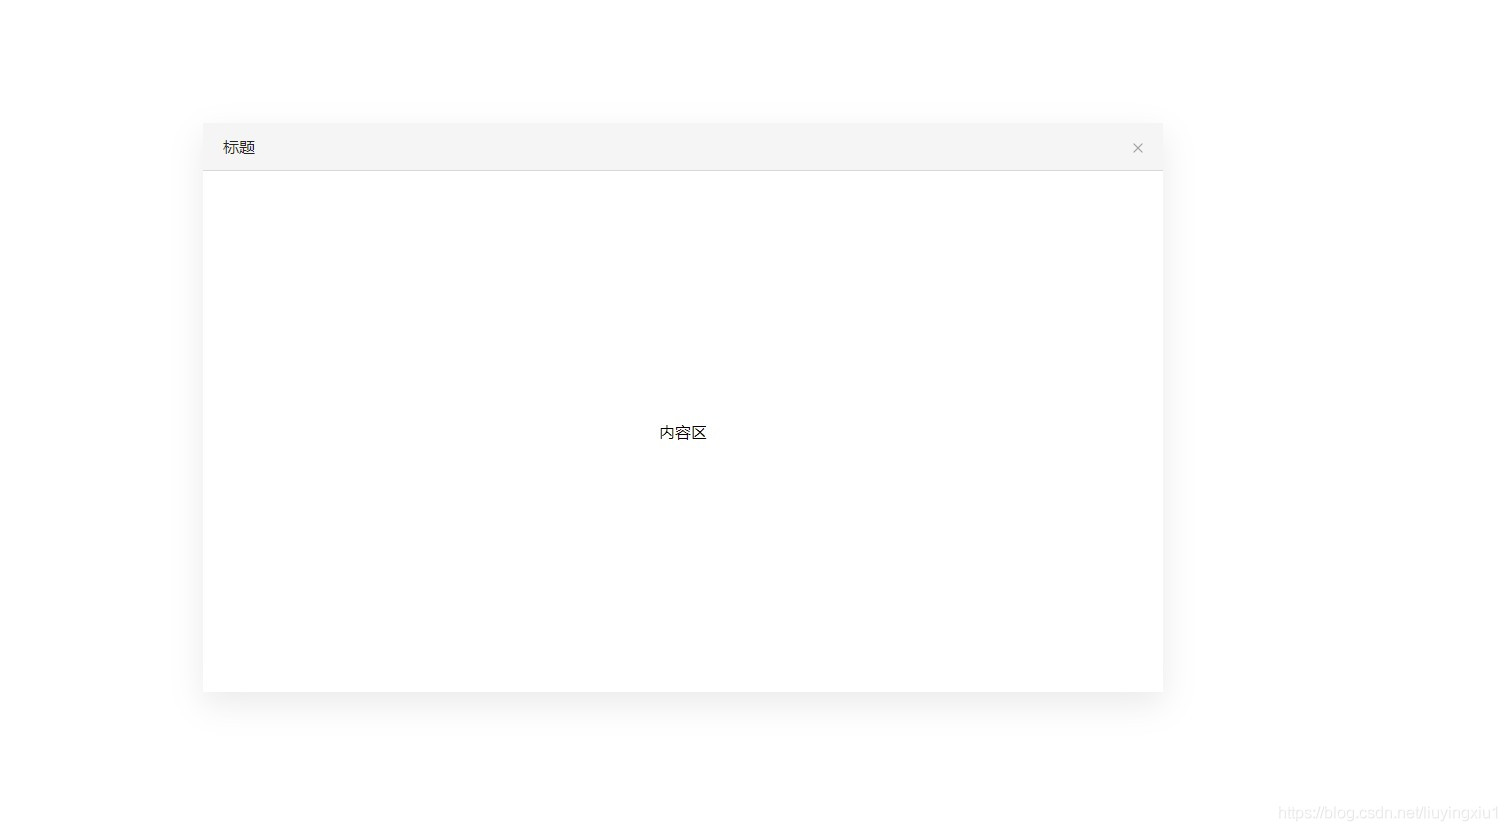
页面布局实际效果如下:
drag.js文件
可以在main.js全局引入drag.js文件,也可以单独在弹窗组件内部组件引入,看是否还有其他使用场景。
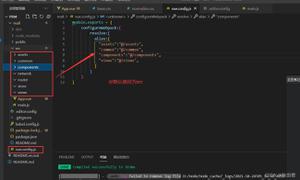
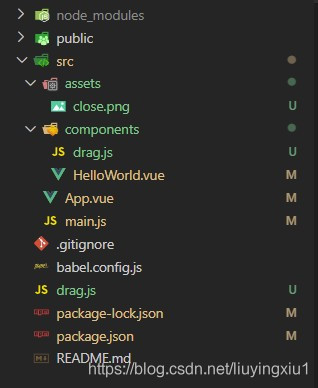
项目目录截图
main.js全局引入drag.js
import Vue from 'vue'
import ElementUI from 'element-ui';
import 'element-ui/lib/theme-chalk/index.css';
import App from './App.vue'
import '../drag.js'
Vue.config.productionTip = false
Vue.use(ElementUI);
new Vue({
render: h => h(App),
}).$mount('#app')
弹窗拖拽实现及边界限制
import Vue from 'vue'
// v-dialogDrag: 弹窗拖拽+水平方向伸缩+对角线拉伸
Vue.directive('dialogDrag', {
bind(el) {
// dialogHeaderEl为标题栏,绑定mousedown事件进行拖拽
const dialogHeaderEl = el.querySelector('.title')
// dragDom为指令绑定dom元素,定义变量便于区分
const dragDom = el
// 获取css所有属性兼容性写法 ie dom元素.currentStyle 火狐谷歌 window.getComputedStyle(dom元素, null);
const sty = dragDom.currentStyle || window.getComputedStyle(dragDom, null)
// 定义鼠标按下事件
const moveDown = e => {
// e.clientX,Y:鼠标相对于浏览器可视窗口的X,Y坐标
// offsetTop,offsetLeft:当前元素相对于其offsetParent元素的顶部,左边的距离,这里title无定位偏移,故为0
const disX = e.clientX - dialogHeaderEl.offsetLeft // 元素相对位置
const disY = e.clientY - dialogHeaderEl.offsetTop // 元素相对位置
const screenWidth = document.documentElement.clientWidth || document.body.clientWidth // 页面可视区宽度,兼容写法
const screenHeight = document.documentElement.clientHeight || document.body.clientHeight // 页面可视区高度,兼容写法
const dragDomWidth = dragDom.offsetWidth // 对话框宽度
const dragDomheight = dragDom.offsetHeight // 对话框高度
const minDragDomLeft = dragDom.offsetLeft // 对话框边界最小left值
const maxDragDomLeft = screenWidth - dragDom.offsetLeft - dragDomWidth // 对话框边界最大left值
const minDragDomTop = dragDom.offsetTop // 对话框边界最小Top值
const maxDragDomTop = screenHeight - dragDom.offsetTop - dragDomheight // 对话框边界最大Top值
// 获取到的值带px 正则匹配替换
let styL = sty.left
// 为兼容ie
if (styL === 'auto') styL = '0px'
let styT = sty.top
// 注意在ie中 第一次获取到的值为组件自带50% 移动之后赋值为px
if (sty.left.includes('%')) {
styL = +document.body.clientWidth * (+styL.replace(/%/g, '') / 100)
styT = +document.body.clientHeight * (+styT.replace(/%/g, '') / 100)
} else {
styL = +styL.replace(/\px/g, '')
styT = +styT.replace(/\px/g, '')
}
document.onmousemove = function (e) {
// 通过事件委托,计算移动的距离
let left = e.clientX - disX
let top = e.clientY - disY
// 边界处理
if (-(left) > minDragDomLeft) {
left = -(minDragDomLeft)
} else if (left > maxDragDomLeft) {
left = maxDragDomLeft
}
if (-(top) > minDragDomTop) {
top = -(minDragDomTop)
} else if (top > maxDragDomTop) {
top = maxDragDomTop
}
// 移动当前元素
dragDom.style.left = `${left + styL}px`
dragDom.style.top = `${top + styT}px`
// 鼠标抬起停止弹窗移动
document.onmouseup = function () {
document.onmousemove = null
document.onmouseup = null
}
}
dialogHeaderEl.onmousedown = moveDown
}
})
鼠标指针悬停样式
弹窗并没有设置cursor:move悬停样式,因为参考的是浏览器拖拽实际效果,如果想设置move,需要增加边界判断条件。
判断鼠标悬浮指针类型中x > left + width - 5,其中5为自己设置的可拉伸区域,因为需求中弹窗不可设置边框和padding,所以无实际可拖拽元素,故手动设置5px(可根据需求自行更改)。
鼠标指针悬停更多样式请参考MDN
// 定义鼠标悬停样式
const CURSORTYPE = {
top: 'n-resize',
bottom: 's-resize',
left: 'w-resize',
right: 'e-resize',
// right_top写法是便于后面代码数据处理
right_top: 'ne-resize',
left_top: 'nw-resize',
left_bottom: 'sw-resize',
right_bottom: 'se-resize',
default: 'default',
};
// 判断鼠标悬浮指针类型
const checkType = obj => {
const { x, y, left, top, width, height } = obj
let type
if (x > left + width - 5 && el.scrollTop + y <= top + height - 5 && top + 5 <= y) {
type = 'right'
}
else if (left + 5 > x && el.scrollTop + y <= top + height - 5 && top + 5 <= y) {
type = 'left'
} else if (el.scrollTop + y > top + height - 5 && x <= left + width - 5 && left + 5 <= x) {
type = 'bottom'
} else if (top + 5 > y && x <= left + width - 5 && left + 5 <= x) {
type = 'top'
} else if (x > left + width - 5 && el.scrollTop + y > top + height - 5) {
type = 'right_bottom'
} else if (left + 5 > x && el.scrollTop + y > top + height - 5) {
type = 'left_bottom'
} else if (top + 5 > y && x > left + width - 5) {
type = 'right_top'
} else if (top + 5 > y && left + 5 > x) {
type = 'left_top'
}
return type || 'default'
}
四边拉伸及对角线拉伸
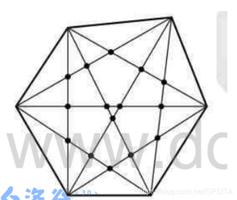
在做对角线拉伸过程中思路出现一点偏差,我发现浏览器窗口对角线拉伸可以X轴方向拉伸,Y方向拉伸,斜边拉伸,故分三种情况判断,可是这样做出来实际弹窗效果只能拉伸一点点,不满足拉伸需求。经过思考后发现,实际对角线拉伸为X,Y轴叠加和,参考矢量叠加。
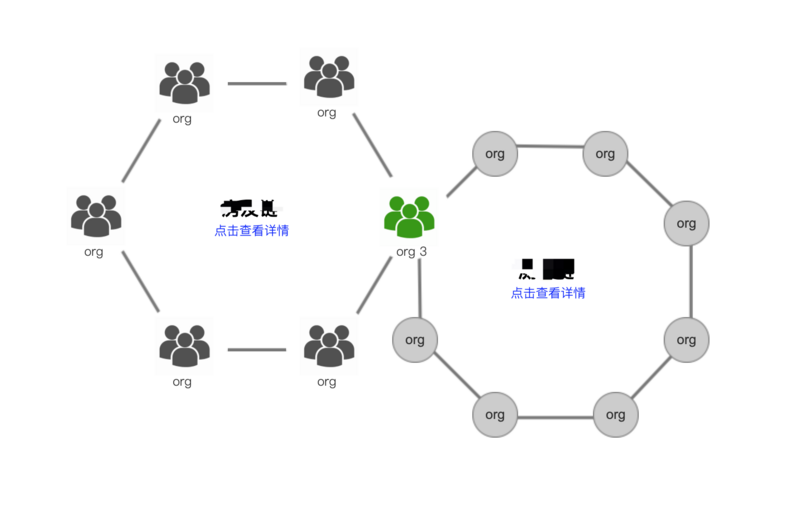
因为对角线拉伸为X轴和Y轴的叠加,故考虑将四边拉伸封装函数,对角线拉伸直接调用相应的X,Y轴,减少代码量。传递数据的时候因为对角线拉伸需要传递两个值,而四边拉伸只需要传递一个值,所以需要对数据进行包装。例如:右侧拉伸传递数据['right', null],而右下角传递数据['right', 'bottom']
// 判断边界条件
const boundaryLimit = obj => {
const { left, top, width, height, diffX, diffY, screenHeight, screenWidth, arr } = obj
if (arr[0] == 'right' || arr[1] == 'right') {
if (width + diffX > screenWidth - left) {
dragDom.style.width = screenWidth - left + 'px'
} else {
dragDom.style.width = width + diffX + 'px'
}
}
if (arr[0] == 'left' || arr[1] == 'left') {
if (width - diffX > width + left) {
dragDom.style.width = width + left + 'px'
dragDom.style.left = - parseInt(sty.marginLeft) + 'px'
} else {
dragDom.style.width = width - diffX + 'px'
// left实际 = left + marginLeft 计算时需要将marginLeft减掉
dragDom.style.left = left + diffX - parseInt(sty.marginLeft) + 'px'
}
}
if (arr[0] == 'top' || arr[1] == 'top') {
if (height - diffY > height + top) {
dragDom.style.height = height + top + 'px'
dragDom.style.top = - parseInt(sty.marginTop) + 'px'
} else {
dragDom.style.height = height - diffY + 'px'
// top实际 = top + marginTop 计算时需要将marginTop减掉
dragDom.style.top = top + diffY - parseInt(sty.marginTop) + 'px'
}
}
if (arr[0] == 'bottom' || arr[1] == 'bottom') {
if (height + diffY > screenHeight - top) {
dragDom.style.height = screenHeight - top
} else {
dragDom.style.height = height + diffY + 'px'
}
}
}
dragDom.onmousedown = e => {
const x = e.clientX
const y = e.clientY
const width = dragDom.clientWidth
const height = dragDom.clientHeight
const left = dragDom.offsetLeft
const top = dragDom.offsetTop
const screenWidth = document.documentElement.clientWidth || document.body.clientWidth
const screenHeight = document.documentElement.clientHeight || document.body.clientHeight
// dragDom.style.userSelect = 'none'
let type = checkType({ x, y, left, top, width, height })
// 判断是否为弹窗头部
if (x > left &&
x < left + width &&
y > top + 5 &&
y < top + dialogHeaderEl.clientHeight) {
// dialogHeaderEl.onmousedown = moveDown
} else {
document.onmousemove = function (e) {
// 移动时禁用默认事件
e.preventDefault()
let endX = e.clientX
let endY = e.clientY
let diffX = endX - x
let diffY = endY - y
let arr
// 将type转换为数组格式,简化代码判断调用即可
if (type.indexOf('_') == -1) {
arr = [type, '']
} else {
arr = type.split('_')
}
boundaryLimit({ left, top, width, height, diffX, diffY, screenHeight, screenWidth, arr })
}
// 拉伸结束
document.onmouseup = function () {
document.onmousemove = null
document.onmouseup = null
}
}
}
拉伸干涉
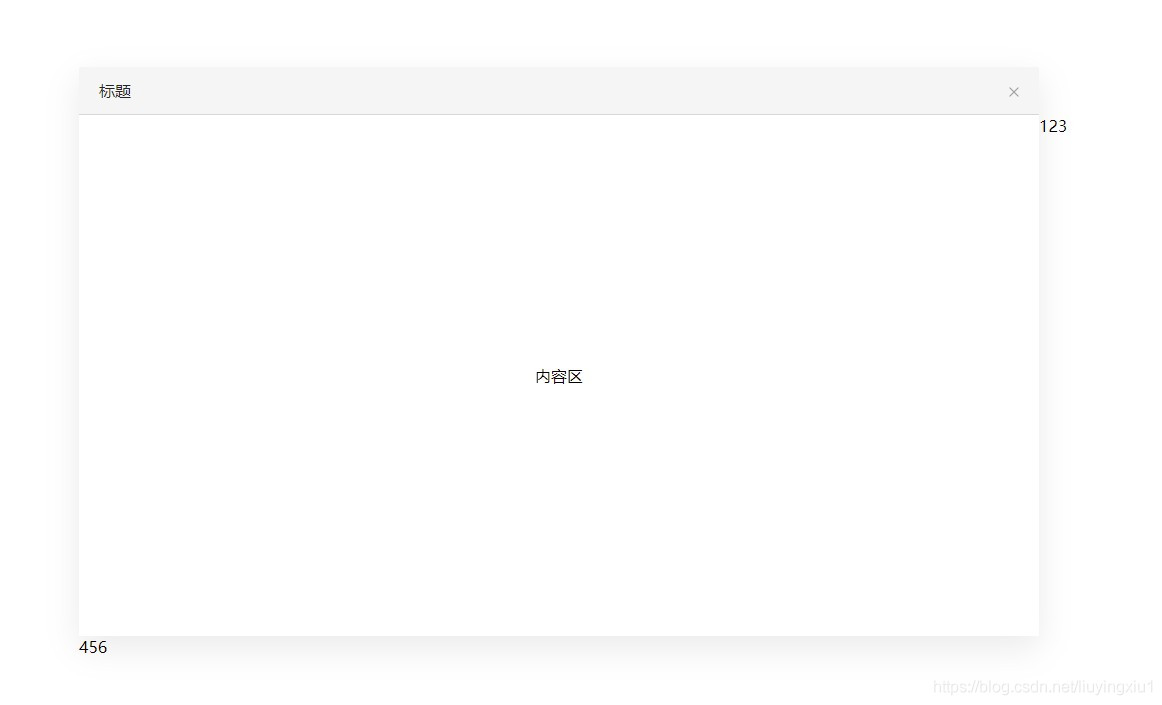
因为弹窗设置了overflow: auto,故拉伸过程势必会产生右侧,底部滚动条,在实际拉伸的时候滚动条会和拉伸区域干涉。解决方案为:在弹窗右侧和底部外部增加空div条,实际拉伸区域为空div即可解决。(空div条宽高为5px,与之前设置的拉伸区域一致)

<template>
<div
class="parameter"
v-dialogDrag
>
<div class="title">标题
<div class="close">
<img
src="../assets/close.png"
alt=""
>
</div>
</div>
<div class="content">内容区</div>
<div class="rightBlank">123</div>
<div class="bottomBlank">456</div>
</div>
</template>
更改后页面效果为
附项目仓库地址
到此这篇关于Vue自定义指令实现弹窗拖拽,四边拉伸及对角线拉伸的文章就介绍到这了,更多相关vue自定义指令弹窗拖拽内容请搜索以前的文章或继续浏览下面的相关文章希望大家以后多多支持!
以上是 Vue自定义指令实现弹窗拖拽四边拉伸及对角线拉伸效果 的全部内容, 来源链接: utcz.com/p/239503.html