vue组件是如何解析及渲染的?
前言
本文将对vue组件" title="vue组件">vue组件如何解析以及渲染做一个讲解。
我们可以通过Vue.component注册全局组件,之后可以在模板中进行使用
<div id="app">
<my-button></my-button>
</div>
<script>
Vue.component("my-button", {
template: "<button> 按钮组件</button>",
});
let vm = new Vue({
el:'#app'
});
</script>
全局组件解析原理
为了保证组件的隔离,每个组件通过extend方法产生一个新的类,去继承父类。并把用户通过Vue.component方法传入的 opts 合并到 vue.options.components,再vue初始化时合并Vue.options.components 和 vm.$options.components 。
1.Vue.component 方法
Vue.options._base = Vue; //可以通过\_base 找到 vue
Vue.options.components = {};
Vue.component = function (id, definition) {
//每个组件产生一个新的类去继承父亲
definition = this.options._base.extend(definition);
console.log("1.给组件创造一个构造函数,基于Vue", definition);
this.options.components[id] = definition;
};
2.Vue.extend 方法
extend 方法就是产生一个继承于 Vue 的类,并且他身上应该有父类的所有功能。
import {mergeOptions} from '../util/index'
Vue.extend = function (definition) {
const Vue = this;
const Sub = function VueComponent(options) {
this._init(options);
};
Sub.prototype = Object.create(Vue.prototype);
Sub.prototype.constructor = Sub;
Sub.options = mergeOptions(Vue.options, definition);
return Sub;
};
3.属性合并
合并Vue.options 和 Vue.component(definition)传入的 definition
strats.components = function (parentVal, childVal) {
let options = Object.create(parentVal);
if (childVal) {
for (let key in childVal) {
options[key] = childVal[key];
}
}
return options;
};
4.初始化合并
合并Vue.options.components 和 vm.$options.components
Vue.prototype._init = function (options) {
const vm = this;
++ vm.$options = mergeOptions(vm.constructor.options, options);
//...
initState(vm);
if (vm.$options.el) {
//将数据挂载到这个模版上
vm.$mount(vm.$options.el);
}
};
好哒,到这里我们就实现了全局组件的解析。
下面我们再来康康组件如何渲染的吧?
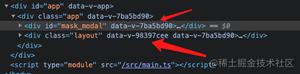
组件的渲染原理
在创建虚拟节点时我们要通过isReservedTag 判断当前这个标签是否是组件,普通标签的虚拟节点和组件的虚拟节点有所不同,如果 tag 是组件 应该渲染一个组件的 vnode。
export function isReservedTag(str) {
let reservedTag = "a,div,span,p,img,button,ul,li";
return reservedTag.includes(str);
}
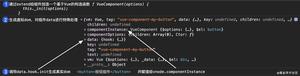
1.创建组件虚拟节点
createComponent 创建组件的虚拟节点,通过data上有无hook来区分是否为组件
export function createElement(vm, tag, data = {}, ...children) {
// 如果tag是组件 应该渲染一个组件的vnode
if (isReservedTag(tag)) {
return vnode(vm, tag, data, data.key, children, undefined);
} else {
const Ctor = vm.$options.components[tag]
return createComponent(vm, tag, data, data.key, children, Ctor);
}
}
// 创建组件的虚拟节点, 为了区分组件和元素 data.hook
function createComponent(vm, tag, data, key, children, Ctor) {
// 组件的构造函数
if(isObject(Ctor)){
Ctor = vm.$options._base.extend(Ctor); // Vue.extend
}
data.hook = { // 等会渲染组件时 需要调用此初始化方法
init(vnode){
let vm = vnode.componentInstance = new Ctor({_isComponent:true}); // new Sub 会用此选项和组件的配置进行合并
vm.$mount(); // 组件挂载完成后 会在 vnode.componentInstance.$el
}
}
return vnode(vm,`vue-component-${tag}`,data,key,undefined,undefined,{Ctor,children})
}
2.创建组件的真实节点
typeof tag === "string",有可能是组件的虚拟节点,则调用createComponent。
export function patch(oldVnode,vnode){
// 1.判断是更新还是要渲染
if(!oldVnode){
return createElm(vnode);
}else{
// ...
}
}
function createElm(vnode) {
let { tag, data, children, text, vm } = vnode;
if (typeof tag === "string") {
if (createComponent(vnode)) {
//返回组件对应的真实节点
return vnode.componentInstance.$el;
}
vnode.el = document.createElement(tag); // 虚拟节点会有一个el属性,对应真实节点
children.forEach((child) => {
vnode.el.appendChild(createElm(child));
});
} else {
vnode.el = document.createTextNode(text);
}
return vnode.el;
}
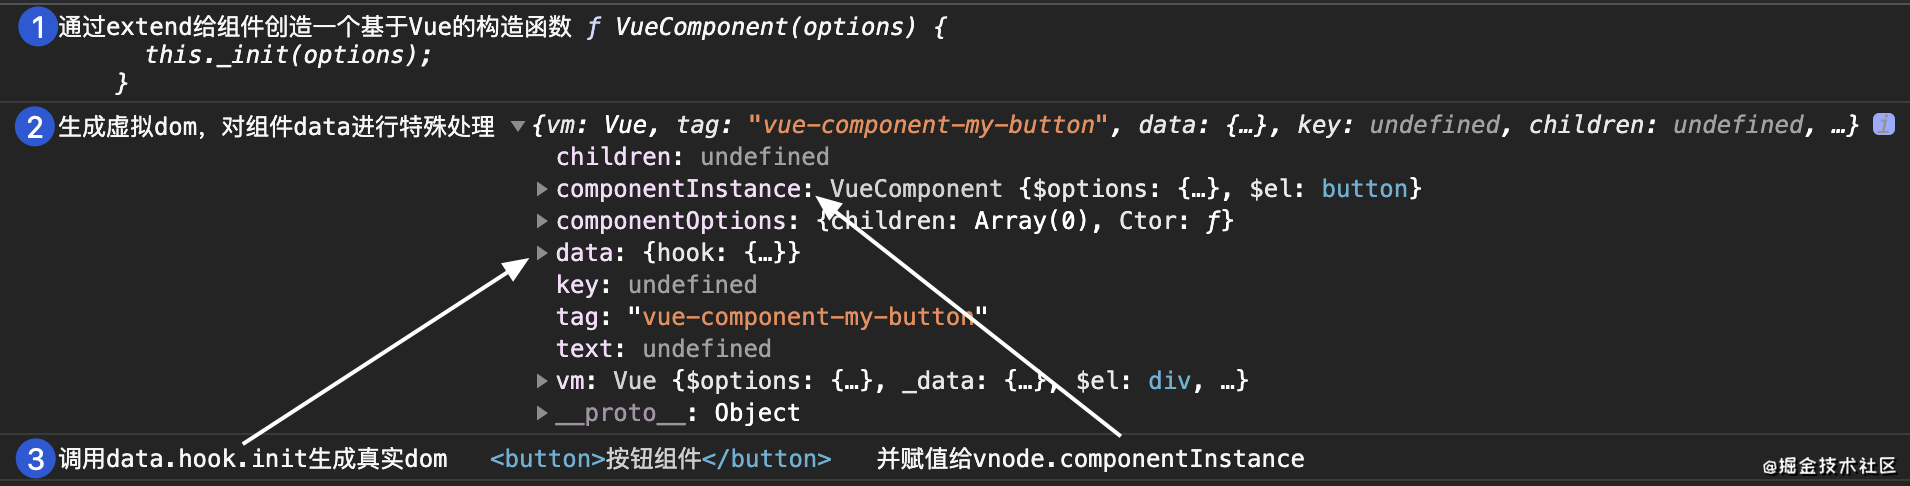
createComponent 通过 data上是否有hook.init方法,判断是否组件虚拟节点
是的话则调用组件上 data.hook.init
创建组件实例,并赋值给vnode.componentInstance
vnode.componentInstance 有值说明对应组件的真实 dom 已经生成
function createComponent(vnode) {
let i = vnode.data;
if((i = i.hook) && (i = i.init)){
i(vnode);
}
if(vnode.componentInstance){
return true;
}
}
调用init方法,创造组件的实例并该进行挂载
data.hook = {
init(vnode){
let child = vnode.componentInstance = new Ctor({});
child.$mount(); // 组件的挂载
}
}
小结
对组件进行 new 组件().$mount() => vm.$el
将组件的$el 插入到父容器中 (父组件)
就完成啦~
以上就是vue组件是如何解析及渲染的?的详细内容,更多关于vue 组件解析和渲染的资料请关注其它相关文章!
以上是 vue组件是如何解析及渲染的? 的全部内容, 来源链接: utcz.com/p/219374.html