小程序实现投票进度条
本文实例为大家分享了小程序投票进度条的具体代码,供大家参考,具体内容如下
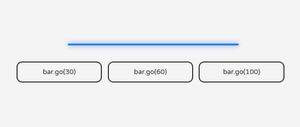
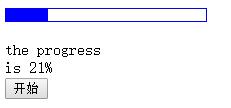
示例图:
上代码:
index.wxml:
<view class='clo_jdt'>
<view style='width:{{width}}'></view>
</view>
<view>进度
<text>{{width}}</text>
</view>
<view>当前票数
<text>{{quorumvotes}}</text>
</view>
index.wxss
.clo_jdt {
width: 100%;
border: 1px solid #6c9c2c;
height: 25px;
border-radius: 10px;
}
.clo_jdt view {
background: #95ca0d;
float: left;
height: 100%;
text-align: center;
line-height: 150%;
border-radius: 10px 0 0 10px;
}
index.js
Page({
data: {
quorumvotes: 50,//当前票数
width: "0%",//投票进度
votes: 500 //最多可投票数
},
onLoad: function() {
//获取总票数
var votes = this.data.votes;
//获取当前票数
var quorumvotes = this.data.quorumvotes;
//进度
var speed = quorumvotes/votes*100+"%";
console.log(speed)
this.setData({
width: speed,
});
})
以上是 小程序实现投票进度条 的全部内容, 来源链接: utcz.com/z/336127.html


