Java SpringMVC异常处理机制详解
异常处理的思路

测试环境准备
首先写一个DemoController控制层的类作为测试访问的控制器
package com.itheima.controller;
import com.itheima.exception.MyException;
import com.itheima.service.DemoService;
import org.springframework.beans.factory.annotation.Autowired;
import org.springframework.stereotype.Controller;
import org.springframework.web.bind.annotation.RequestMapping;
import org.springframework.web.bind.annotation.RequestParam;
import java.io.FileNotFoundException;
@Controller
public class DemoController {
@Autowired
private DemoService demoService;
@RequestMapping(value="/show")
public String show() throws FileNotFoundException, MyException {
System.out.println("show running");
demoService.show1();
// demoService.show2();
// demoService.show3();
// demoService.show4();
// demoService.show5();
return "index";
}
}
然后在service中写上接口DemoService和实现类DemoServiceImpl
package com.itheima.service;
import com.itheima.exception.MyException;
import java.io.FileNotFoundException;
public interface DemoService {
public void show1();
public void show2();
public void show3() throws FileNotFoundException;
public void show4();
public void show5() throws MyException;
}
package com.itheima.service.impl;
import com.itheima.exception.MyException;
import com.itheima.service.DemoService;
import java.io.FileInputStream;
import java.io.FileNotFoundException;
import java.io.InputStream;
public class DemoServiceImpl implements DemoService {
public void show1() {
System.out.println("类型转换异常");
Object str = "zhangsan";
Integer num = (Integer) str;
}
public void show2() {
System.out.println("抛出除零异常");
int i = 1 / 0;
}
public void show3() throws FileNotFoundException {
System.out.println("文件找不到异常");
InputStream in = new FileInputStream("C:/xxx/xxx/xxx.txt");
}
public void show4() {
System.out.println("空指针异常");
String str = null;
str.length();
}
public void show5() throws MyException {
System.out.println("自定义异常");
throw new MyException();
}
}
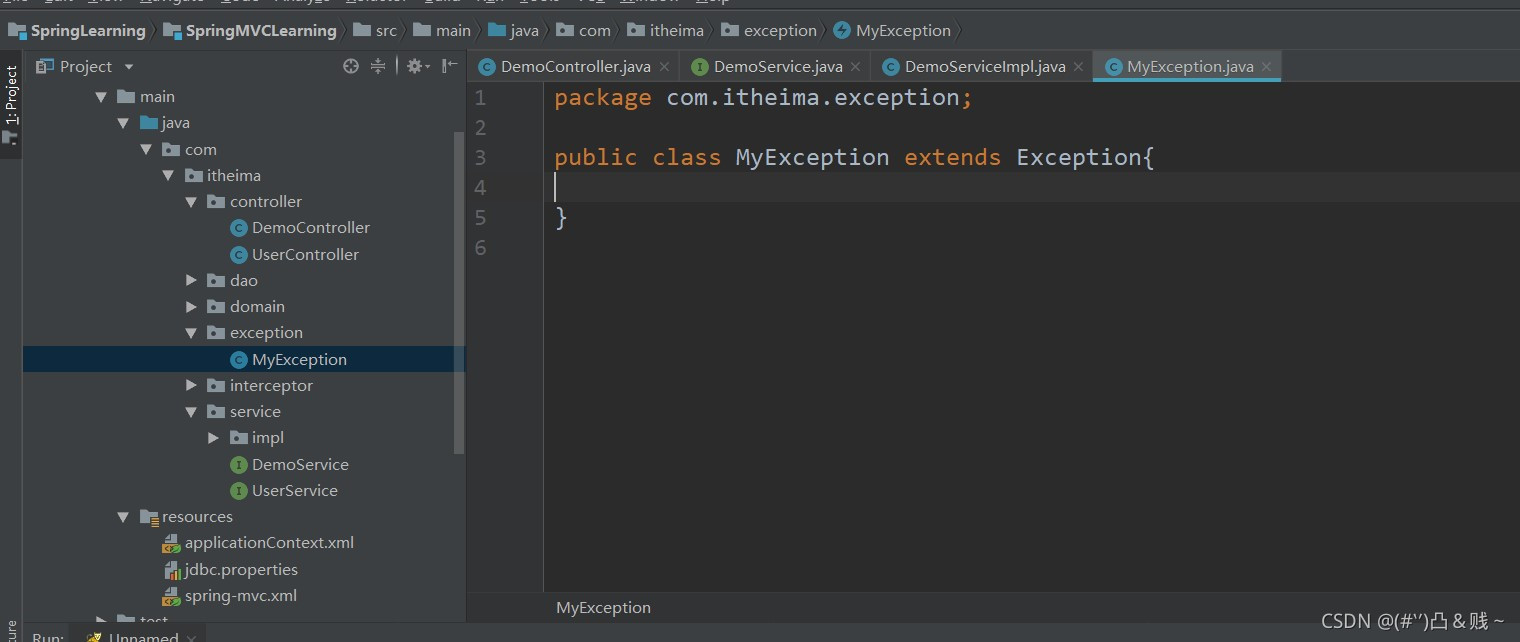
其中的MyException是自定义异常,被声明在itheima的另一个包下,此时还未任何实现:
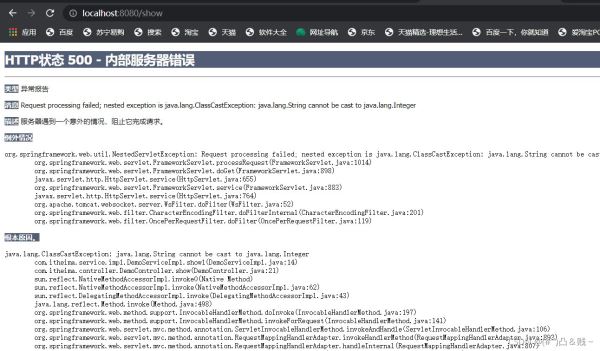
访问一下/show,因为先调用的show1方法,所以会报类型转换异常:
环境准备完毕。
异常处理两种方式

方式一:简单异常处理器

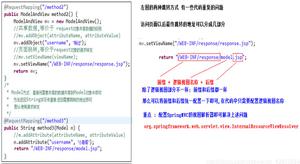
方式一很简单,去做对应的配置文件配置就可以了:
<!--配置异常处理器-->
<bean class="org.springframework.web.servlet.handler.SimpleMappingExceptionResolver">
<!--如果下面全都对不上,就会采用这个默认的defaultErrorView所对应的value值的视图-->
<property name="defaultErrorView" value="error"></property>
<property name="exceptionMappings">
<map>
<!--类型转换异常,抛了什么异常,就会跳转到value值对应的字符串显示的页面-->
<entry key="java.lang.ClassCastException" value="error"></entry>
<!--自定义异常-->
<entry key="com.itheima.exception.MyException" value="error"></entry>
</map>
</property>
</bean>
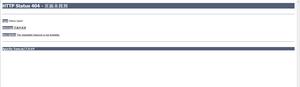
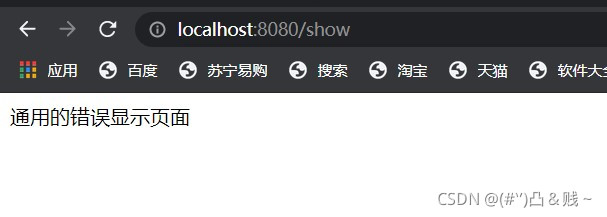
然后再进行访问,可以看到跳转到了error视图:
方式二:自定义异常处理器
步骤;
1、创建异常处理器类实现HandlerExceptionResolver
2、配置异常处理器
3、编写异常页面
4、测试异常跳转
演示;
第一步:创建异常处理器类实现HandlerExceptionResolver
package com.itheima.resolver;
import com.itheima.exception.MyException;
import org.springframework.web.servlet.HandlerExceptionResolver;
import org.springframework.web.servlet.ModelAndView;
import javax.servlet.http.HttpServletRequest;
import javax.servlet.http.HttpServletResponse;
public class MyExceptionResolver implements HandlerExceptionResolver {
/*这是HandlerExceptionResolver中必须要实现的方法
参数Exception:异常对象
返回值ModelAndView:跳转到错误视图信息
*/
public ModelAndView resolveException(HttpServletRequest httpServletRequest, HttpServletResponse httpServletResponse, Object o, Exception e) {
ModelAndView md = new ModelAndView();
/*
这里只是大致做一个代码逻辑的演示
实际开发当中并不会这样写,没什么意义
下面的演示只是可以告诉我们可以在这个方法里面进行异常信息的判断
*/
if(e instanceof MyException){
md.addObject("info","自定义异常");
}else if(e instanceof ClassCastException){
md.addObject("info","类型转换异常");
}
md.setViewName("error");
return md;
}
}
第二步:在SpringMVC的配置文件当中配置异常处理器
<!--自定义异常处理器-->
<bean class="com.itheima.resolver.MyExceptionResolver"></bean>
测试访问就行了。
总结

本篇文章就到这里了,希望能够给你带来帮助,也希望您能够多多关注的更多内容!
以上是 Java SpringMVC异常处理机制详解 的全部内容, 来源链接: utcz.com/p/248648.html