
vue实现页面打印自动分页的两种方法
本文实例为大家分享了vue实现页面打印自动分页的具体代码,供大家参考,具体内容如下
一、通过ref方式获取元素进行打印
1.封装一个js文件
// 打印类属性、方法定义
/* eslint-disable */
const Print = function (dom, options) {
if (!(this instanceof Print)) return new Print(dom, options);
this.options = this.extend({
'noPrint': '.no-print'
}, options);
if ((typeof dom) === "string") {
this.dom = document.querySelector(dom);
} else {
this.isDOM(dom)
this.dom = this.isDOM(dom) ? dom : dom.$el;
}
this.init();
};
Print.prototype = {
init: function () {
var content = this.getStyle() + this.getHtml();
this.writeIframe(content);
},
extend: function (obj, obj2) {
for (var k in obj2) {
obj[k] = obj2[k];
}
return obj;
},
getStyle: function () {
var str = "",
styles = document.querySelectorAll('style,link');
for (var i = 0; i < styles.length; i++) {
str += styles[i].outerHTML;
}
str += "<style>" + (this.options.noPrint ? this.options.noPrint : '.no-print') + "{display:none;}</style>";
str += "<style>html,body,div{height: auto!important;font-size:12px}</style>";
return str;
},
getHtml: function () {
var inputs = document.querySelectorAll('input');
var textareas = document.querySelectorAll('textarea');
var selects = document.querySelectorAll('select');
for (var k = 0; k < inputs.length; k++) {
if (inputs[k].type == "checkbox" || inputs[k].type == "radio") {
if (inputs[k].checked == true) {
inputs[k].setAttribute('checked', "checked")
} else {
inputs[k].removeAttribute('checked')
}
} else if (inputs[k].type == "text") {
inputs[k].setAttribute('value', inputs[k].value)
} else {
inputs[k].setAttribute('value', inputs[k].value)
}
}
for (var k2 = 0; k2 < textareas.length; k2++) {
if (textareas[k2].type == 'textarea') {
textareas[k2].innerHTML = textareas[k2].value
}
}
for (var k3 = 0; k3 < selects.length; k3++) {
if (selects[k3].type == 'select-one') {
var child = selects[k3].children;
for (var i in child) {
if (child[i].tagName == 'OPTION') {
if (child[i].selected == true) {
child[i].setAttribute('selected', "selected")
} else {
child[i].removeAttribute('selected')
}
}
}
}
}
return this.dom.outerHTML;
// 包裹要打印的元素
// fix: https://github.com/xyl66/vuePlugs_printjs/issues/36
// let outerHTML = this.wrapperRefDom(this.dom).outerHTML
// return outerHTML;
},
// 向父级元素循环,包裹当前需要打印的元素
// 防止根级别开头的 css 选择器不生效
wrapperRefDom: function (refDom) {
let prevDom = null
let currDom = refDom
// 判断当前元素是否在 body 中,不在文档中则直接返回该节点
if (!this.isInBody(currDom)) return currDom
while (currDom) {
if (prevDom) {
let element = currDom.cloneNode(false)
element.appendChild(prevDom)
prevDom = element
} else {
prevDom = currDom.cloneNode(true)
}
currDom = currDom.parentElement
}
return prevDom
},
writeIframe: function (content) {
var w, doc, iframe = document.createElement('iframe'),
f = document.body.appendChild(iframe);
iframe.id = "myIframe";
//iframe.style = "position:absolute;width:0;height:0;top:-10px;left:-10px;";
iframe.setAttribute('style', 'position:absolute;width:0;height:0;top:-10px;left:-10px;');
w = f.contentWindow || f.contentDocument;
doc = f.contentDocument || f.contentWindow.document;
doc.open();
doc.write(content);
doc.close();
var _this = this
iframe.onload = function(){
_this.toPrint(w);
setTimeout(function () {
document.body.removeChild(iframe)
}, 100)
}
},
toPrint: function (frameWindow) {
try {
setTimeout(function () {
frameWindow.focus();
try {
if (!frameWindow.document.execCommand('print', false, null)) {
frameWindow.print();
}
} catch (e) {
frameWindow.print();
}
frameWindow.close();
}, 10);
} catch (err) {
console.log('err', err);
}
},
// 检查一个元素是否是 body 元素的后代元素且非 body 元素本身
isInBody: function (node) {
return (node === document.body) ? false : document.body.contains(node);
},
isDOM: (typeof HTMLElement === 'object') ?
function (obj) {
return obj instanceof HTMLElement;
} :
function (obj) {
return obj && typeof obj === 'object' && obj.nodeType === 1 && typeof obj.nodeName === 'string';
}
};
const MyPlugin = {}
MyPlugin.install = function (Vue, options) {
// 4. 添加实例方法
Vue.prototype.$printPage = Print
}
export default MyPlugin
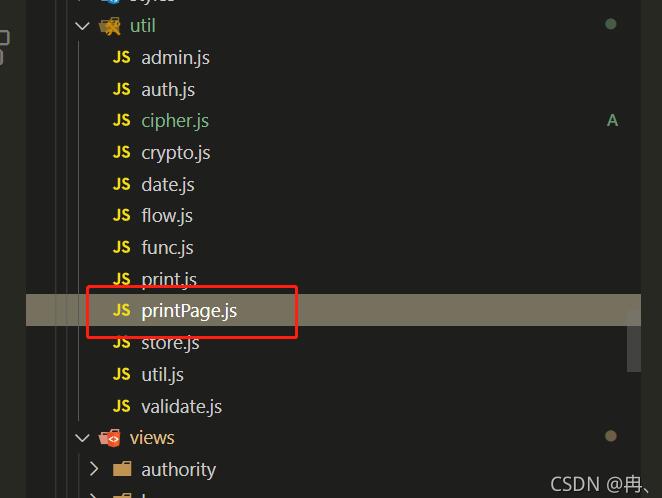
2.把文件放在项目里面的某一个文件夹
3.在main.js里面全局引用

4.页面使用

备注:不需要打印的内容直接设置class为no-print即可
二、使用浏览器自带的window.print()方法获取html内容进行打印
缺点:样式只能写在标签上面,否则不生效
1.封装一个js文件
export default function printHtml(html) {
let style = getStyle();
let container = getContainer(html);
document.body.appendChild(style);
document.body.appendChild(container);
getLoadPromise(container).then(() => {
window.print();
document.body.removeChild(style);
document.body.removeChild(container);
});
}
// 设置打印样式
function getStyle() {
let styleContent = `#print-container {
display: none;
}
@media print {
body > :not(.print-container) {
display: none;
}
html,
body {
margin: 0 0.2cm;
display: block !important;
height:auto;
}
#print-container {
display: block;
}
@page {
margin: 0.25cm 0;
}
}`;
let style = document.createElement("style");
style.innerHTML = styleContent;
return style;
}
// 清空打印内容
function cleanPrint() {
let div = document.getElementById('print-container')
if (!!div) {
document.querySelector('body').removeChild(div)
}
}
// 新建DOM,将需要打印的内容填充到DOM
function getContainer(html) {
cleanPrint()
let container = document.createElement("div");
container.setAttribute("id", "print-container");
container.innerHTML = html;
return container;
}
// 图片完全加载后再调用打印方法
function getLoadPromise(dom) {
let imgs = dom.querySelectorAll("img");
imgs = [].slice.call(imgs);
if (imgs.length === 0) {
return Promise.resolve();
}
let finishedCount = 0;
return new Promise(resolve => {
function check() {
finishedCount++;
if (finishedCount === imgs.length) {
resolve();
}
}
imgs.forEach(img => {
img.addEventListener("load", check);
img.addEventListener("error", check);
})
});
}
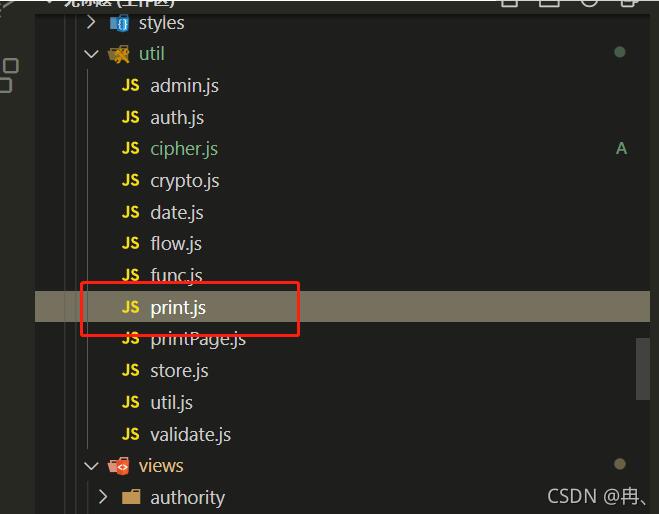
2.把文件放在项目里面的某一个文件夹
3.页面直接引入
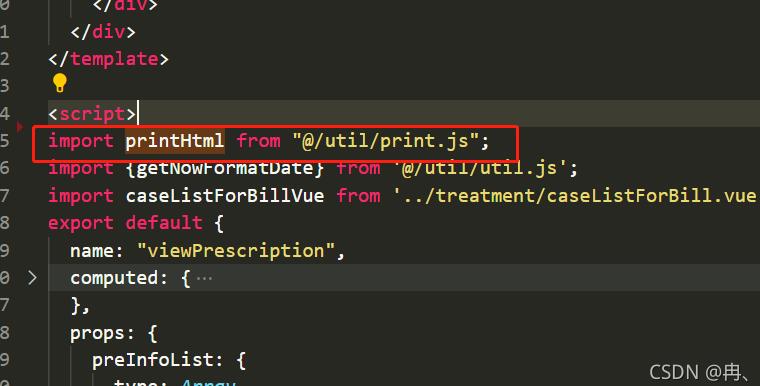
4.页面使用
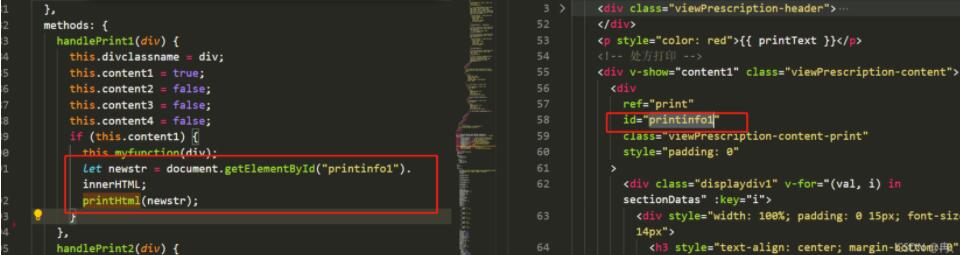
备注:不需要打印的内容直接在标签上设置样式display: none;即可
以上就是本文的全部内容,希望对大家的学习有所帮助,也希望大家多多支持。
以上是 vue实现页面打印自动分页的两种方法 的全部内容, 来源链接: utcz.com/p/239853.html


