vue简易记事本开发详解
本文实例为大家分享了vue实现易记事本的具体代码,供大家参考,具体内容如下
css代码
#todoapp {
margin: 0 400px;
width: 600px;
background-color: gray;
text-align: center;
}
.content {
margin:0px 100px;
}
.todo {
margin: 10px;
text-align: left;
background-color:green;
}
.btn {
float: right;
background-color: lawngreen;
}
.clear{
background-color: lightseagreen;
}
.list{
margin-left: 10px;
}
html代码加js代码
<!DOCTYPE html>
<html lang="en">
<head>
<meta charset="UTF-8">
<meta name="viewport" content="width=device-width, initial-scale=1.0">
<title>Document</title>
<link rel="stylesheet" href="./css/index.css" >
<script src="js/vue.js" type="text/javascript" charset="utf-8"></script>
</head>
<body>
<div id="todoapp">
<div class="header">
<h1>小黑记事本</h1>
<input type="text" v-model="inputValue" placeholder="请输入任务"> <button @click="add">添加</button>
</div>
<div class="content">
<ul class="todolist" v-for="(item,index) in list">
<div class="todo">
<span class="index">{{index+1}}</span><label class="list">{{item}}</label><button class="btn" @click="remove(index)">删除</button>
</div>
</ul>
</div>
<div>
<button @click="clearBoth" class="clear">全部清除</button>
</div>
</div>
<script>
var app = new Vue({
el:"#todoapp",
data: {
list:["吃饭饭","打游戏","吃西瓜"],
inputValue:""
},
methods: {
remove:function(index){
this.list.splice(index,1)
},
add: function () {
this.list.push(this.inputValue)
},
clearBoth:function(){
this.list.splice(0,this.list.length)
}
}
})
</script>
</body>
</html>
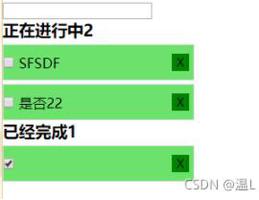
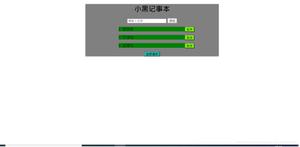
运行效果截图

以上就是本文的全部内容,希望对大家的学习有所帮助,也希望大家多多支持。
以上是 vue简易记事本开发详解 的全部内容, 来源链接: utcz.com/p/239353.html