python简单实现9宫格图片实例
在日常生活中我们经常在朋友圈看到有人发九宫格图片,其实质就是将一张图片切成九份,然后在微信中一起发这九张图。
那么我们如何自己动手实现呢?
说到切图Python 就可以实现,主要用到的 Python 库为 Pillow,安装使用 pip install pillow 即可,切图的主要步骤如下:
1、打开要处理的图片
2、判断打开的图片是否为正方形,如果是正方形,就进行九等分,如果不是正方形,先用白色填充为正方形,再进行九等分
3、保存处理完的图片
主要实现代码如下:
# 填充新的 image
def fill_image(image):
width, height = image.size
_length = width
if height > width:
_length = height
new_image = Image.new(image.mode, (_length, _length), color='white')
if width > height:
new_image.paste(image, (0, int((_length - height) / 2)))
else:
new_image.paste(image, (int((_length - width) / 2), 0))
return new_image
# 裁剪 image
def cut_image(image):
width, height = image.size
_width = int(width / 3)
box_list = []
for i in range(0, 3):
for j in range(0, 3):
box = (j * _width, i * _width, (j + 1) * _width, (i + 1) * _width)
box_list.append(box)
image_list = [image.crop(box) for box in box_list]
return image_list
# 将 image 列表的里面的图片保存
def save_images(image_list, res_dir):
index = 1
if not os.path.exists(res_dir):
os.mkdir(res_dir)
for image in image_list:
new_name = os.path.join(res_dir, str(index) + '.png')
image.save(new_name, 'PNG')
index += 1
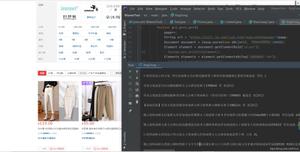
我们来看一下实现效果:
以上是 python简单实现9宫格图片实例 的全部内容, 来源链接: utcz.com/z/323107.html