Springboot实现发送邮件
本文实例为大家分享了Springboot实现发送邮件功能的具体代码,供大家参考,具体内容如下
第一章 背景介绍
1.1 使用场景
1、注册验证;
2、网站营销;
3、安全的最后一道防线;
4、提醒、监控警告;
5、触发机制。
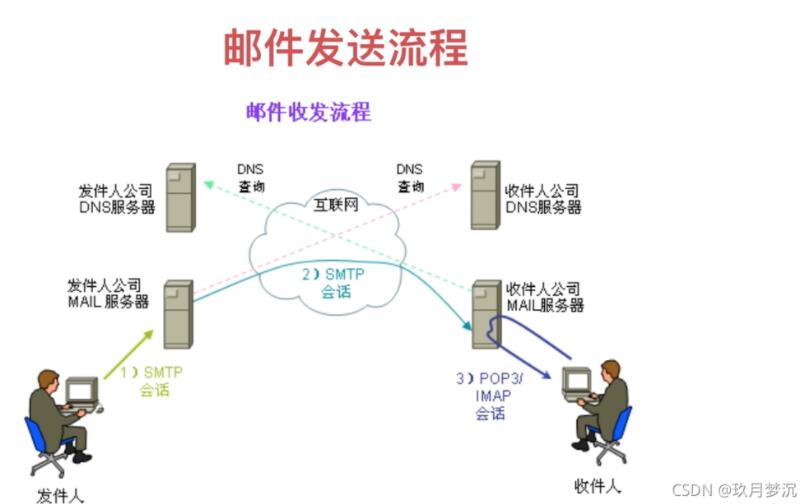
1.2 邮件发送原理
1.邮件传输协议:SMTP协议和POP3协议
2.内容不断发展:IMAP和Mme协议
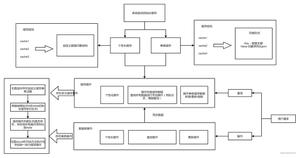
1.3 邮件发送流程
第二章 使用SpringBoot完成邮件发送
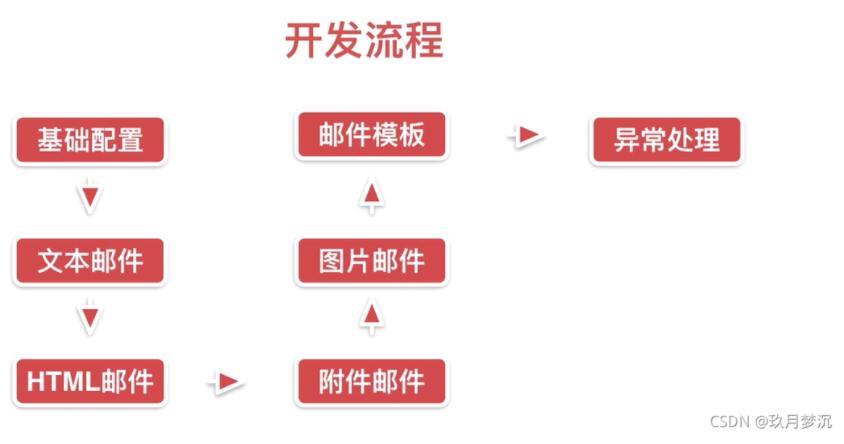
2.1 开发流程
2.2 开发简单文本邮件
2.2.1 引入相关jar包
在pom.xml中添加依赖
<dependency>
<groupId>org.springframework.boot</groupId>
<artifactId>spring-boot-starter-mail</artifactId>
</dependency>
2.2.2 配置邮箱参数
在配置文件里面配置:这里的密码是授权码,不是网页上的密码
spring.mail.host=smtp.163.com
spring.mail.username=XXX@163.com
spring.mail.password=XXX
spring.mail.default-encoding=utf-8
2.2.3 封装SimpleMailMessage
SimpleMailMessage message = new SimpleMailMessage();
2.2.4 JavaMailSender进行发送
@Autowired
private JavaMailSender mailSender;
//使用JavaMailSender发送邮件
mailSender.send(message);
具体的实现:
/**
* @Description: 发送邮件
* @Author: yzy
* @Date: 2021/10/19 14:01
**/
@Service
public class MailService {
@Value("${spring.mail.username}")
private String sendPeople;
@Autowired
private JavaMailSender mailSender;
/**
* @Description: 发送文本文件
* @author: yzy
* @date: 2021/10/19 14:01
* @Param:
* @return:
*/
public void sendSimpleMail(String to,String subject,String content) {
SimpleMailMessage message = new SimpleMailMessage();
//接收方
message.setTo(to);
//发送邮件的主题
message.setSubject(subject);
//发送邮件内容
message.setText(content);
//发送人
message.setFrom(sendPeople);
//使用JavaMailSender发送邮件
mailSender.send(message);
}
}
测试:
package com.yzy.restaurant.mapper;
import com.yzy.restaurant.MailService;
import org.junit.Test;
import org.junit.runner.RunWith;
import org.springframework.beans.factory.annotation.Autowired;
import org.springframework.boot.test.context.SpringBootTest;
import org.springframework.test.context.junit4.SpringRunner;
@RunWith(SpringRunner.class)
@SpringBootTest
public class MailTest {
@Autowired
private MailService mailService;
@Test
public void sendSimpleMailTest() {
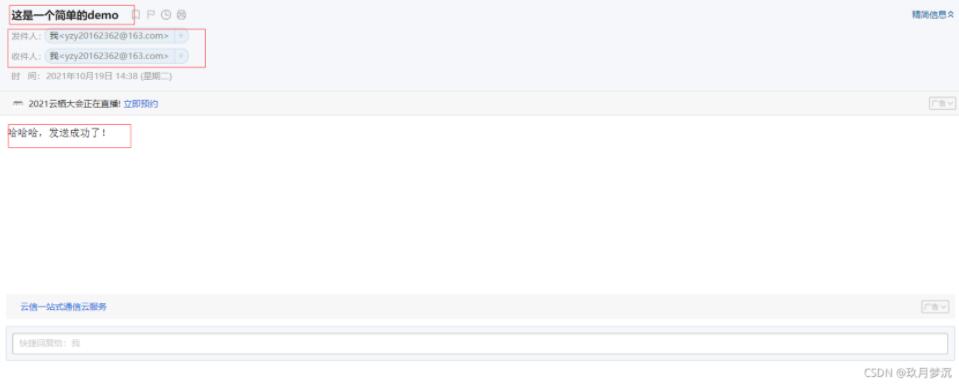
mailService.sendSimpleMail("yzy20162362@163.com","这是一个简单的demo","哈哈哈,发送成功了!");
}
}
启动:
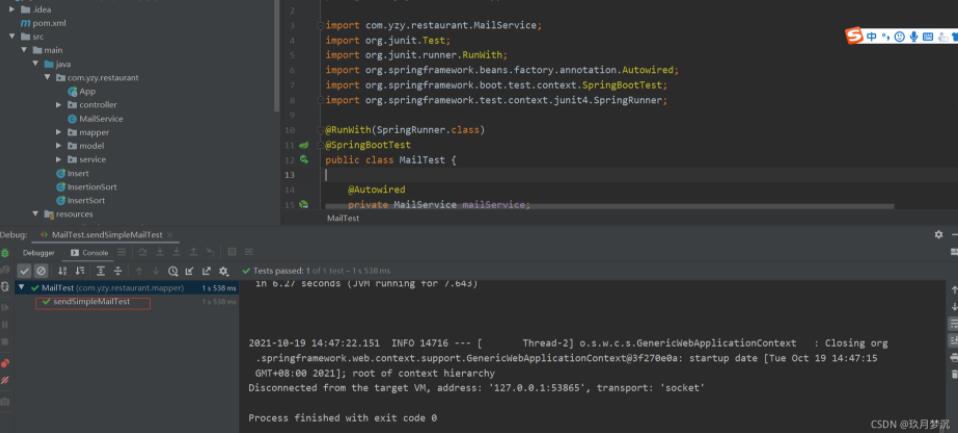
效果:
2.3 开发HTML邮件
上代码,在MailService 和MailTest 加
/**
* @Description: 发送html邮寄
* @author: yzy
* @date: 2021/10/19 14:58
* @Param:
* @return:
*/
public void sendMailHtml(String to,String subject,String content) throws MessagingException {
MimeMessage message = mailSender.createMimeMessage();
MimeMessageHelper helper = new MimeMessageHelper(message,true);
helper.setTo(to);
helper.setSubject(subject);
helper.setText(content,true);
helper.setFrom(sendPeople);
mailSender.send(message);
}
2.3 开发附件邮件
上代码,在MailService 和MailTest 加
/**
* @Description: 发送附件邮件
* @author: yzy
* @date: 2021/10/19 15:12
* @Param:
* @return:
*/
public void sendAttachmentsMail(String to,String subject,String content,String filePath) throws MessagingException {
MimeMessage message = mailSender.createMimeMessage();
MimeMessageHelper helper = new MimeMessageHelper(message,true);
helper.setTo(to);
helper.setSubject(subject);
helper.setText(content,true);
helper.setFrom(sendPeople);
//读取
FileSystemResource file = new FileSystemResource(new File(filePath));
//获取文件名
String filename = file.getFilename();
//设置附件
helper.addAttachment(filename,file);
//发送
mailSender.send(message);
}
@Test
public void sendAttachmentsMailTest() throws MessagingException {
String filePath = "D:/玖佳智能 2020年3月第3周周工作汇总(3月16-3月20日)(1).xlsx";
mailService.sendAttachmentsMail("yzy20162362@163.com","这是一封附件邮件","哈哈哈,附件邮件发送成功了",filePath);
}
2.4 图片邮件
上代码,在MailService 和MailTest 加
/**
* @Description: 带图片邮件
* @author: yzy
* @date: 2021/10/19 15:35
* @Param:
* @return:
*/
public void sendPhotoMail(String to,String subject,String content,String rscPath, String rscId) throws MessagingException {
MimeMessage message = mailSender.createMimeMessage();
MimeMessageHelper helper = new MimeMessageHelper(message,true);
helper.setTo(to);
helper.setSubject(subject);
helper.setText(content,true);
helper.setFrom(sendPeople);
//读取
FileSystemResource rec = new FileSystemResource(new File(rscPath));
helper.addInline(rscId,rec);
//发送
mailSender.send(message);
}
@Test
public void sendPhotoMailTest () throws MessagingException {
String imgPath = "C:\\Users\\yzy\\Desktop\\微信图片_20210917201828.jpg";
String rsc = "0001";
mailService.sendPhotoMail("yzy20162362@163.com","这是一封图片邮件","哈哈哈,图片邮件发送成功了",imgPath,rsc);
}
2.5 邮件模板
模板邮件特别适用于:
1.用户注册的邮件;2.忘记密码的邮件
我用的是thymeleaf,前提是themleaf已经配置好,上代码
新建emailTemplate的页面:
<!DOCTYPE html>
<html lang="en" xmlns:th="http://www.thymeleaf.org">
<head>
<meta charset="UTF-8">
<title>邮件模板</title>
</head>
<body>
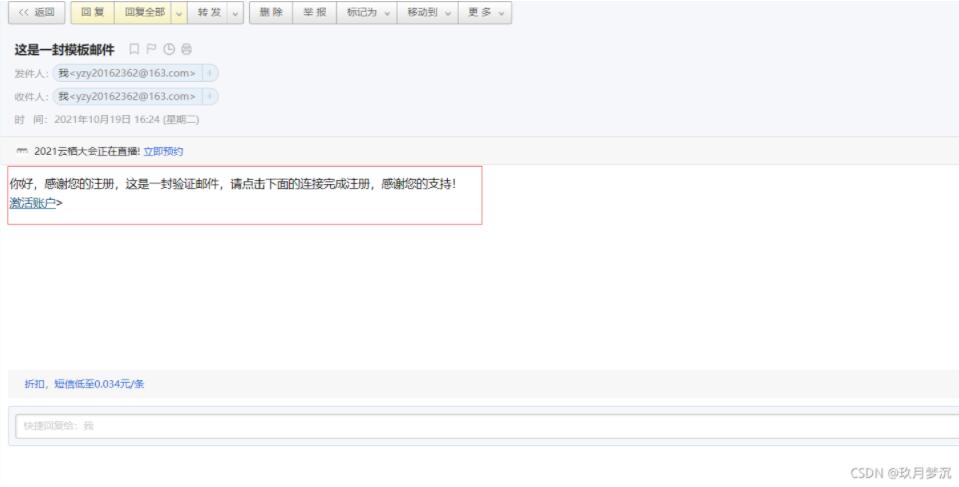
你好,感谢您的注册,这是一封验证邮件,请点击下面的连接完成注册,感谢您的支持!<br>
<a rel="#" th:href="@{https://mail.163.com}" rel="external nofollow" >激活账户</a>>
</body>
</html>
测试代码:
@Test
public void sendTemplateMailTest () throws MessagingException {
Context content = new Context();
content.setVariable("id","111");
String emailContent = templateEngine.process("emailTemplate", content);
mailService.sendMailHtml("yzy20162362@163.com","这是一封模板邮件",emailContent);
}
效果:
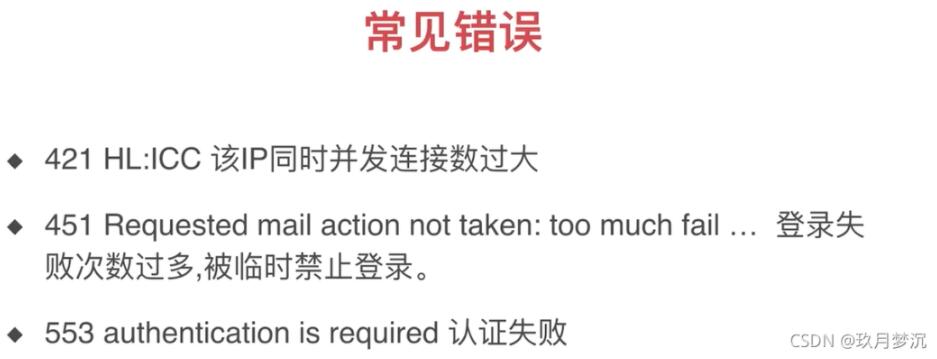
常见错误:
以上就是本文的全部内容,希望对大家的学习有所帮助,也希望大家多多支持。
以上是 Springboot实现发送邮件 的全部内容, 来源链接: utcz.com/p/249929.html

