springboot集成camunda的实现示例
1、说明
camunda使用Java开的工作流引擎。这里使用springboot 2.2.6.release + camunda 3.4.2
2、配置实战
使用camunda流程引擎、web界面、Rest服务接口相应依赖如下:
- 流程引擎:camunda-bpm-spring-boot-starter
- Rest服务接口:camunda-bpm-spring-boot-starter-rest
- web界面模块:camunda-bpm-spring-boot-starter-webapp
如果仅仅是使用流程引擎,只需要引入camunda-bpm-spring-boot-starter就可以了。
(1)pom.xml文件配置
<properties>
<camunda.version>3.4.2</camunda.version>
</properties>
<!-- camunda -->
<groupId>org.camunda.bpm.springboot</groupId>
<artifactId>camunda-bpm-spring-boot-starter-webapp</artifactId>
<version>${camunda.version}</version>
</dependency>
<dependency>
<groupId>org.camunda.bpm.springboot</groupId>
<artifactId>camunda-bpm-spring-boot-starter-rest</artifactId>
<version>${camunda.version}</version>
</dependency>
<!-- camunda -->
<dependency>
<groupId>org.camunda.bpm.springboot</groupId>
<artifactId>camunda-bpm-spring-boot-starter</artifactId>
<version>${camunda.version}</version>
</dependency>
(2)yml文件配置
camunda:
bpm:
# 配置账户密码来访问Camunda自带的管理界面
admin-user:
id: admin
password: admin
first-name: admin
filter:
create: All tasks
#指定数据库类型
# database:
# type: mysql
#禁止自动部署resources下面的bpmn文件
auto-deployment-enabled: false
#禁止index跳转到Camunda自带的管理界面,默认true
# webapp:
# index-redirect-enabled: false
(3)启动项目
浏览器输入:http://localhost:8050/family-admin(项目的tomcat-context路径)可以查看当前工作流中的相关tasklist等
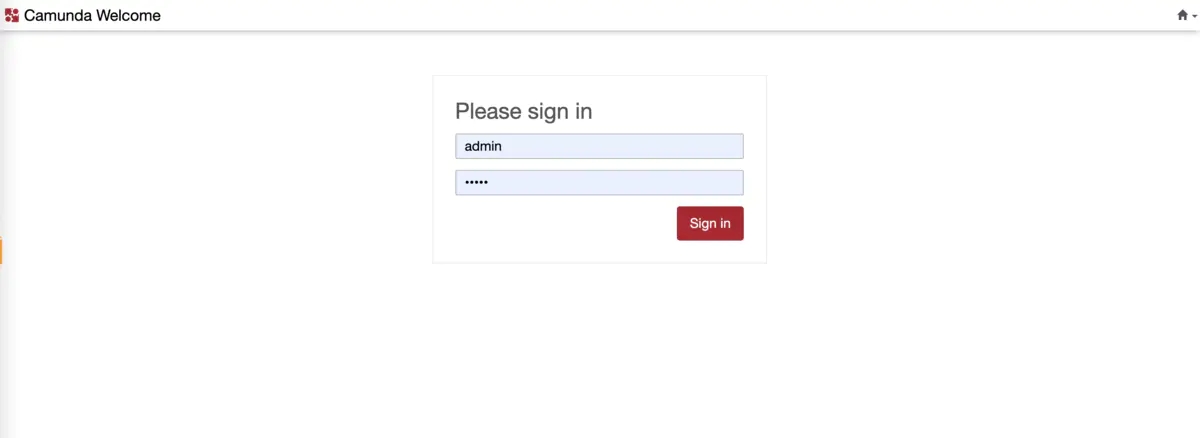
第一次启动,Mysql数据库会自动生成Camunda相关数据库表
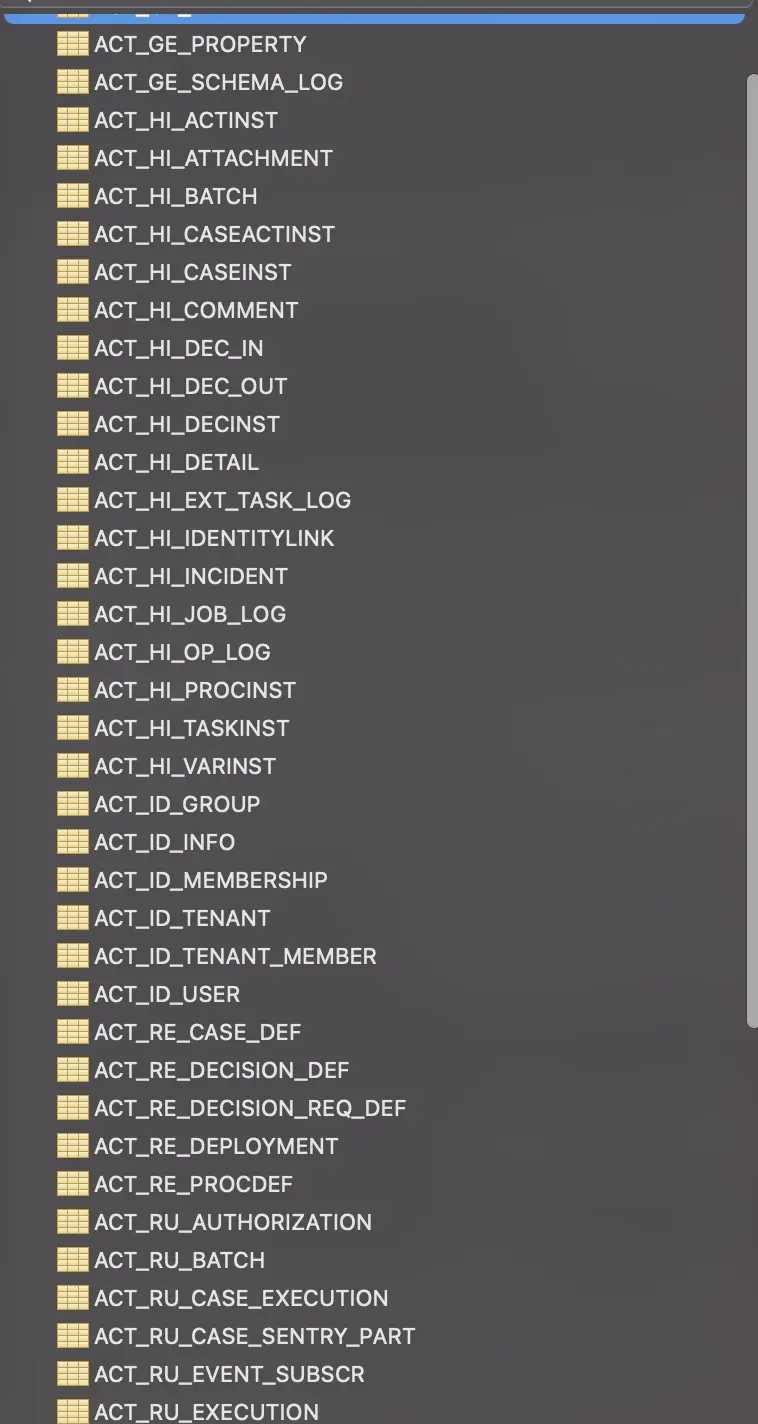
3、生成数据库表说明
- ACT_RE_*:RE代表存repository。带有此前缀的表包含“静态”信息,例如流程定义和流程资源(图像、规则等)。
- ACT_RU_*:RU代表runtime。这些是运行时表,包含流程实例、用户任务、变量、作业等的运行时数据。引擎仅在流程实例执行期间存储运行时数据,并在流程实例结束时删除记录。这使运行时表既小又快。
- ACT_ID_*:ID代表identity。这些表包含身份信息,例如用户、组等。
- ACT_HI_*:HI代表history。这些是包含历史数据的表,例如过去的流程实例、变量、任务等。
- ACT_GE_*:GE代表 general一般数据,用于各种用例
到此这篇关于springboot集成camunda的实现示例的文章就介绍到这了,更多相关springboot集成camunda内容请搜索以前的文章或继续浏览下面的相关文章希望大家以后多多支持!
以上是 springboot集成camunda的实现示例 的全部内容, 来源链接: utcz.com/p/249824.html