vue+webrtc(腾讯云) 实现直播功能的实践
1.直播效果
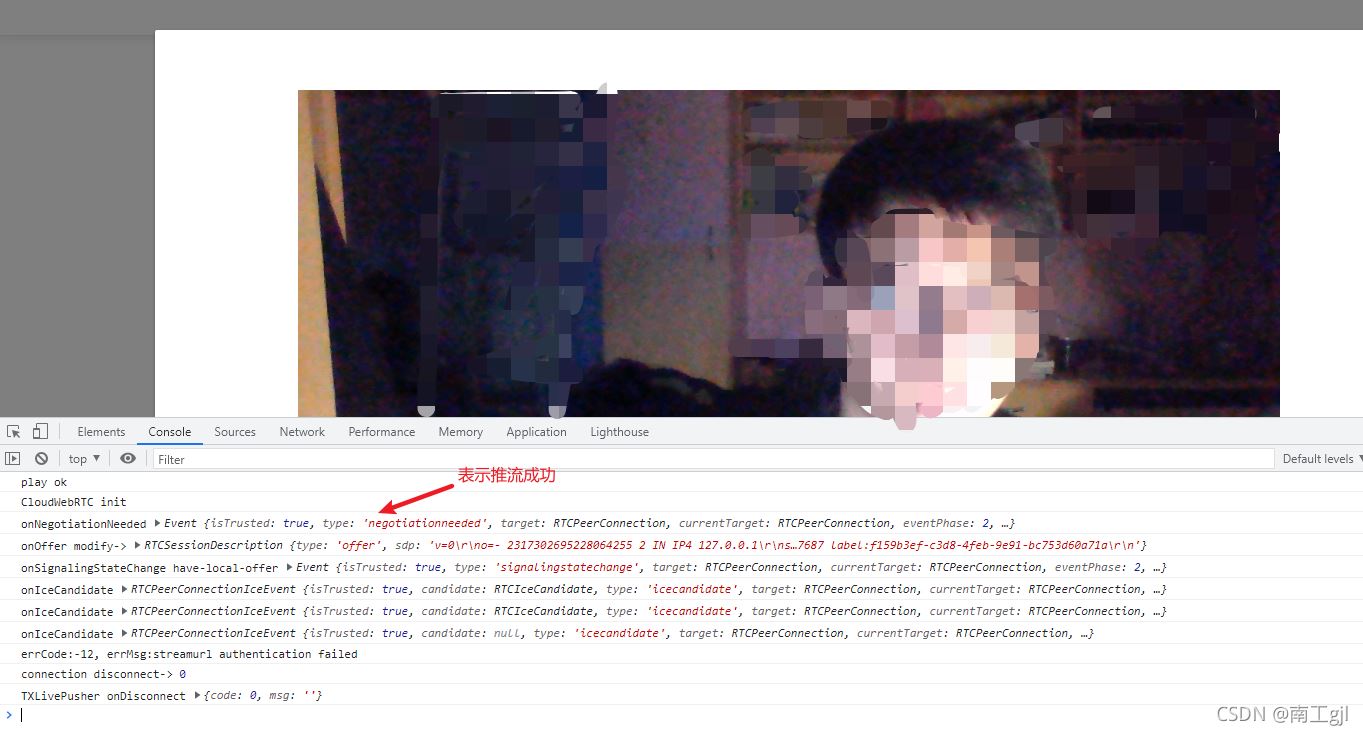
1.pc端
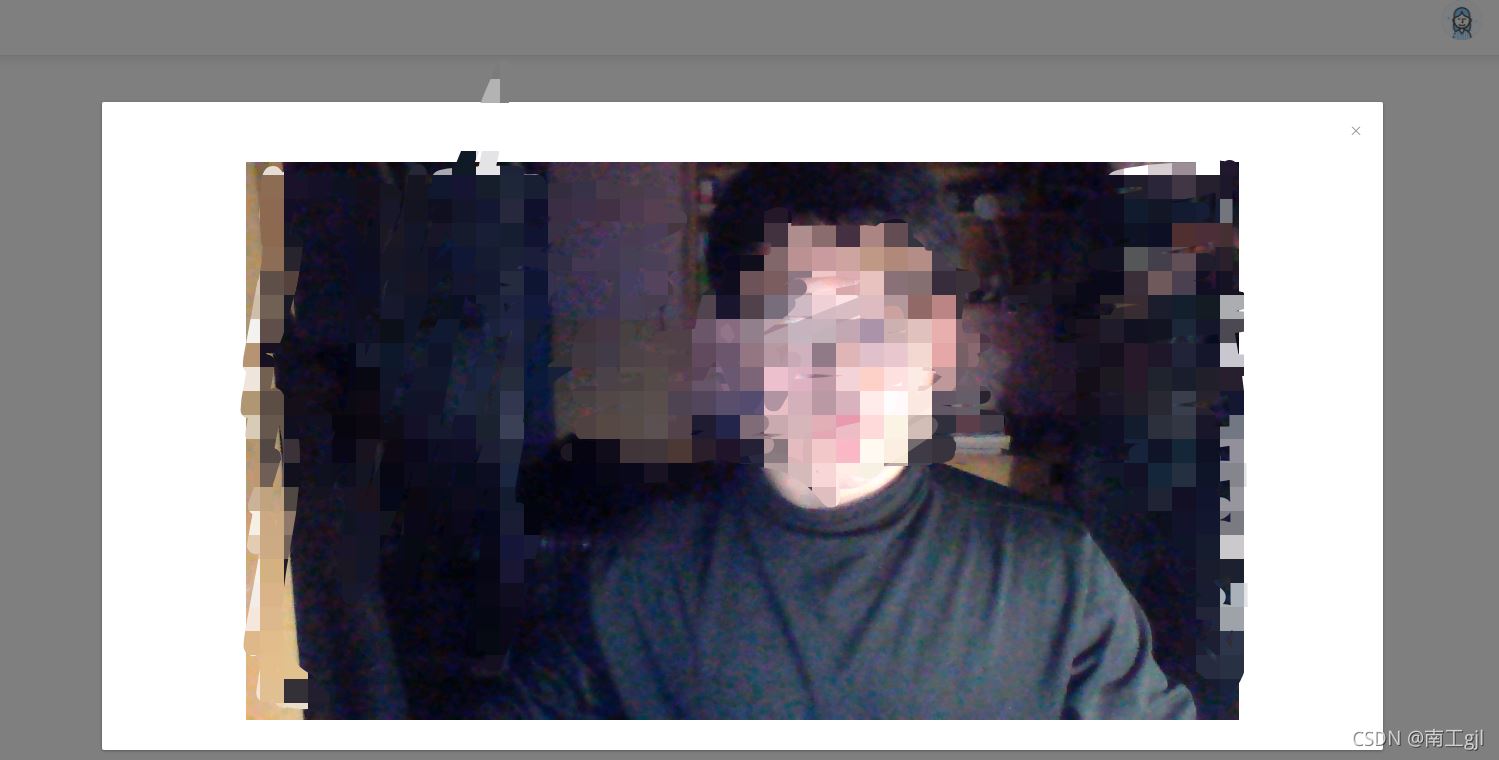
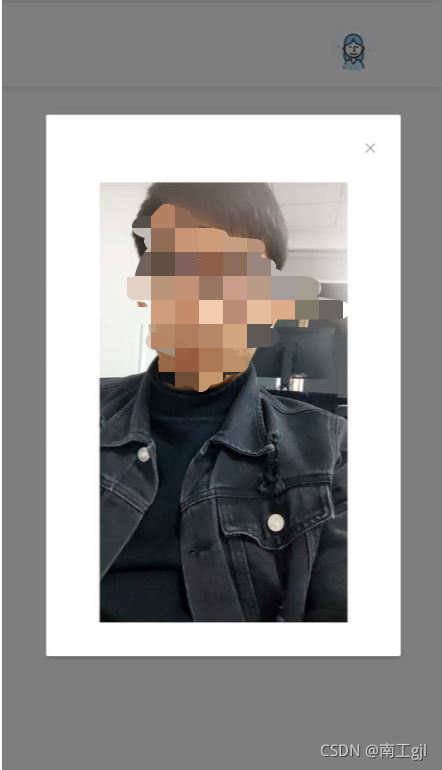
2.移动端
2.开直播步骤
2.1引入腾讯web端(快直播)脚本
脚本必须引入在 index.heml的body中
<body style="padding:0;margin:0">
//腾讯快直播脚本
<script src="https://imgcache.qq.com/open/qcloud/live/webrtc/js/TXLivePusher-1.0.2.min.js" charset="utf-8"></script>
<noscript>
<span>We're sorry but <%= htmlWebpackPlugin.options.title %> doesn't work properly without JavaScript enabled. Please enable it to continue.</span>
</noscript>
<div id="app"></div>
<!-- built files will be auto injected -->
</body>
2.2在需要使用直播的界面 添加一个视频容器(开启直播后,显示视频的位置)
在.vue文件中直接使用即可,容器的样式可以自己调,但是id不能丢弃(也可以使用name)
<div id="id_local_video" style="margin:0 auto;width:80%;display:flex;align-items:center;justify-content:center;"></div>
2.3创建直播对象,开启直播
点击开启直播按钮 对应的method中写下方法
注意:推流地址中的协议头rtmp,一定要换成webrtc,而且推流地址中一定不能出现中文,否则即使推流成功也会报错
//创建视频对象 livePusher变量我写在了data中 不再复制了 ,也可以直接在methods中直接声明变量
this.livePusher=new TXLivePusher()
this.livePusher.setRenderView('id_local_video');
// 设置音视频流
this.livePusher.setVideoQuality('720p');
// 设置音频质量
this.livePusher.setAudioQuality('standard');
// 自定义设置帧率
this.livePusher.setProperty('setVideoFPS', 25);
// 开启直播
// 打开摄像头
this.livePusher.startCamera();
// 打开麦克风
this.livePusher.startMicrophone();
//这里我延时了4秒进行推流 推流地址需要从后端接收。
setTimeout(() => { this.livePusher.startPush(推流地址);
}, 4000);
2.4关闭直播
直接在对应的方法中使用即可
注意,关闭直播时,一定要销毁视频容器
// 1.停止推流
this.livePusher.stopPush();
// 2.关闭摄像头
this.livePusher.stopCamera();
// 3.关闭麦克风
this.livePusher.stopMicrophone();
// 4.销毁容器对象
this.livePusher.destroy();
到此这篇关于vue+webrtc(腾讯云) 实现直播功能的实践的文章就介绍到这了,更多相关vue+webrtc腾讯云直播内容请搜索以前的文章或继续浏览下面的相关文章希望大家以后多多支持!
以上是 vue+webrtc(腾讯云) 实现直播功能的实践 的全部内容, 来源链接: utcz.com/p/240159.html