2分钟实现一个Vue实时直播系统的示例代码
前言
我们在不敲代码的时候可能会去看游戏直播,那么是前台怎么实现的呢?下面我们来讲一下。
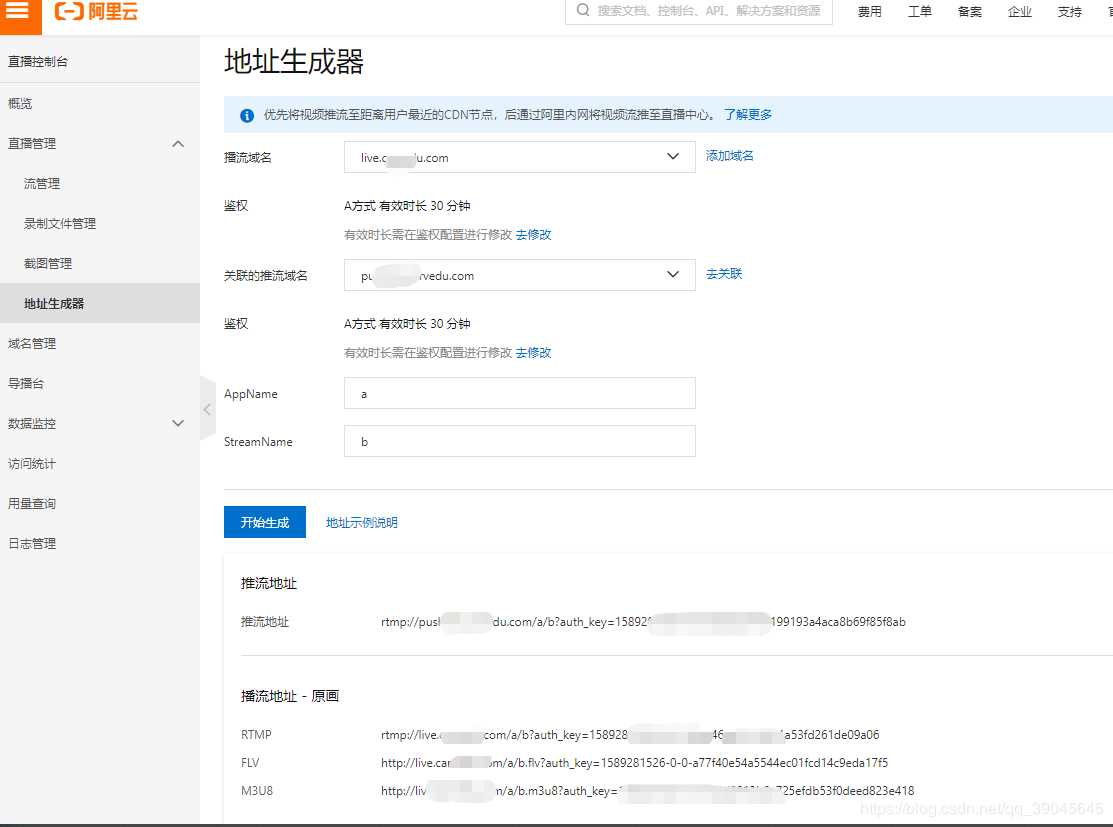
第一步,购买云直播服务
首先,你必须去阿里云或者腾讯云注册一个直播服务。也花不了几个钱,练手的话,几十块钱就够了。
这里我拿阿里云举例,购买完了,配置好推流域名跟播流域名,下面我们将进行地址生成。记住下面生成的地址,下面会用到。
第二步,下载本地推流工具
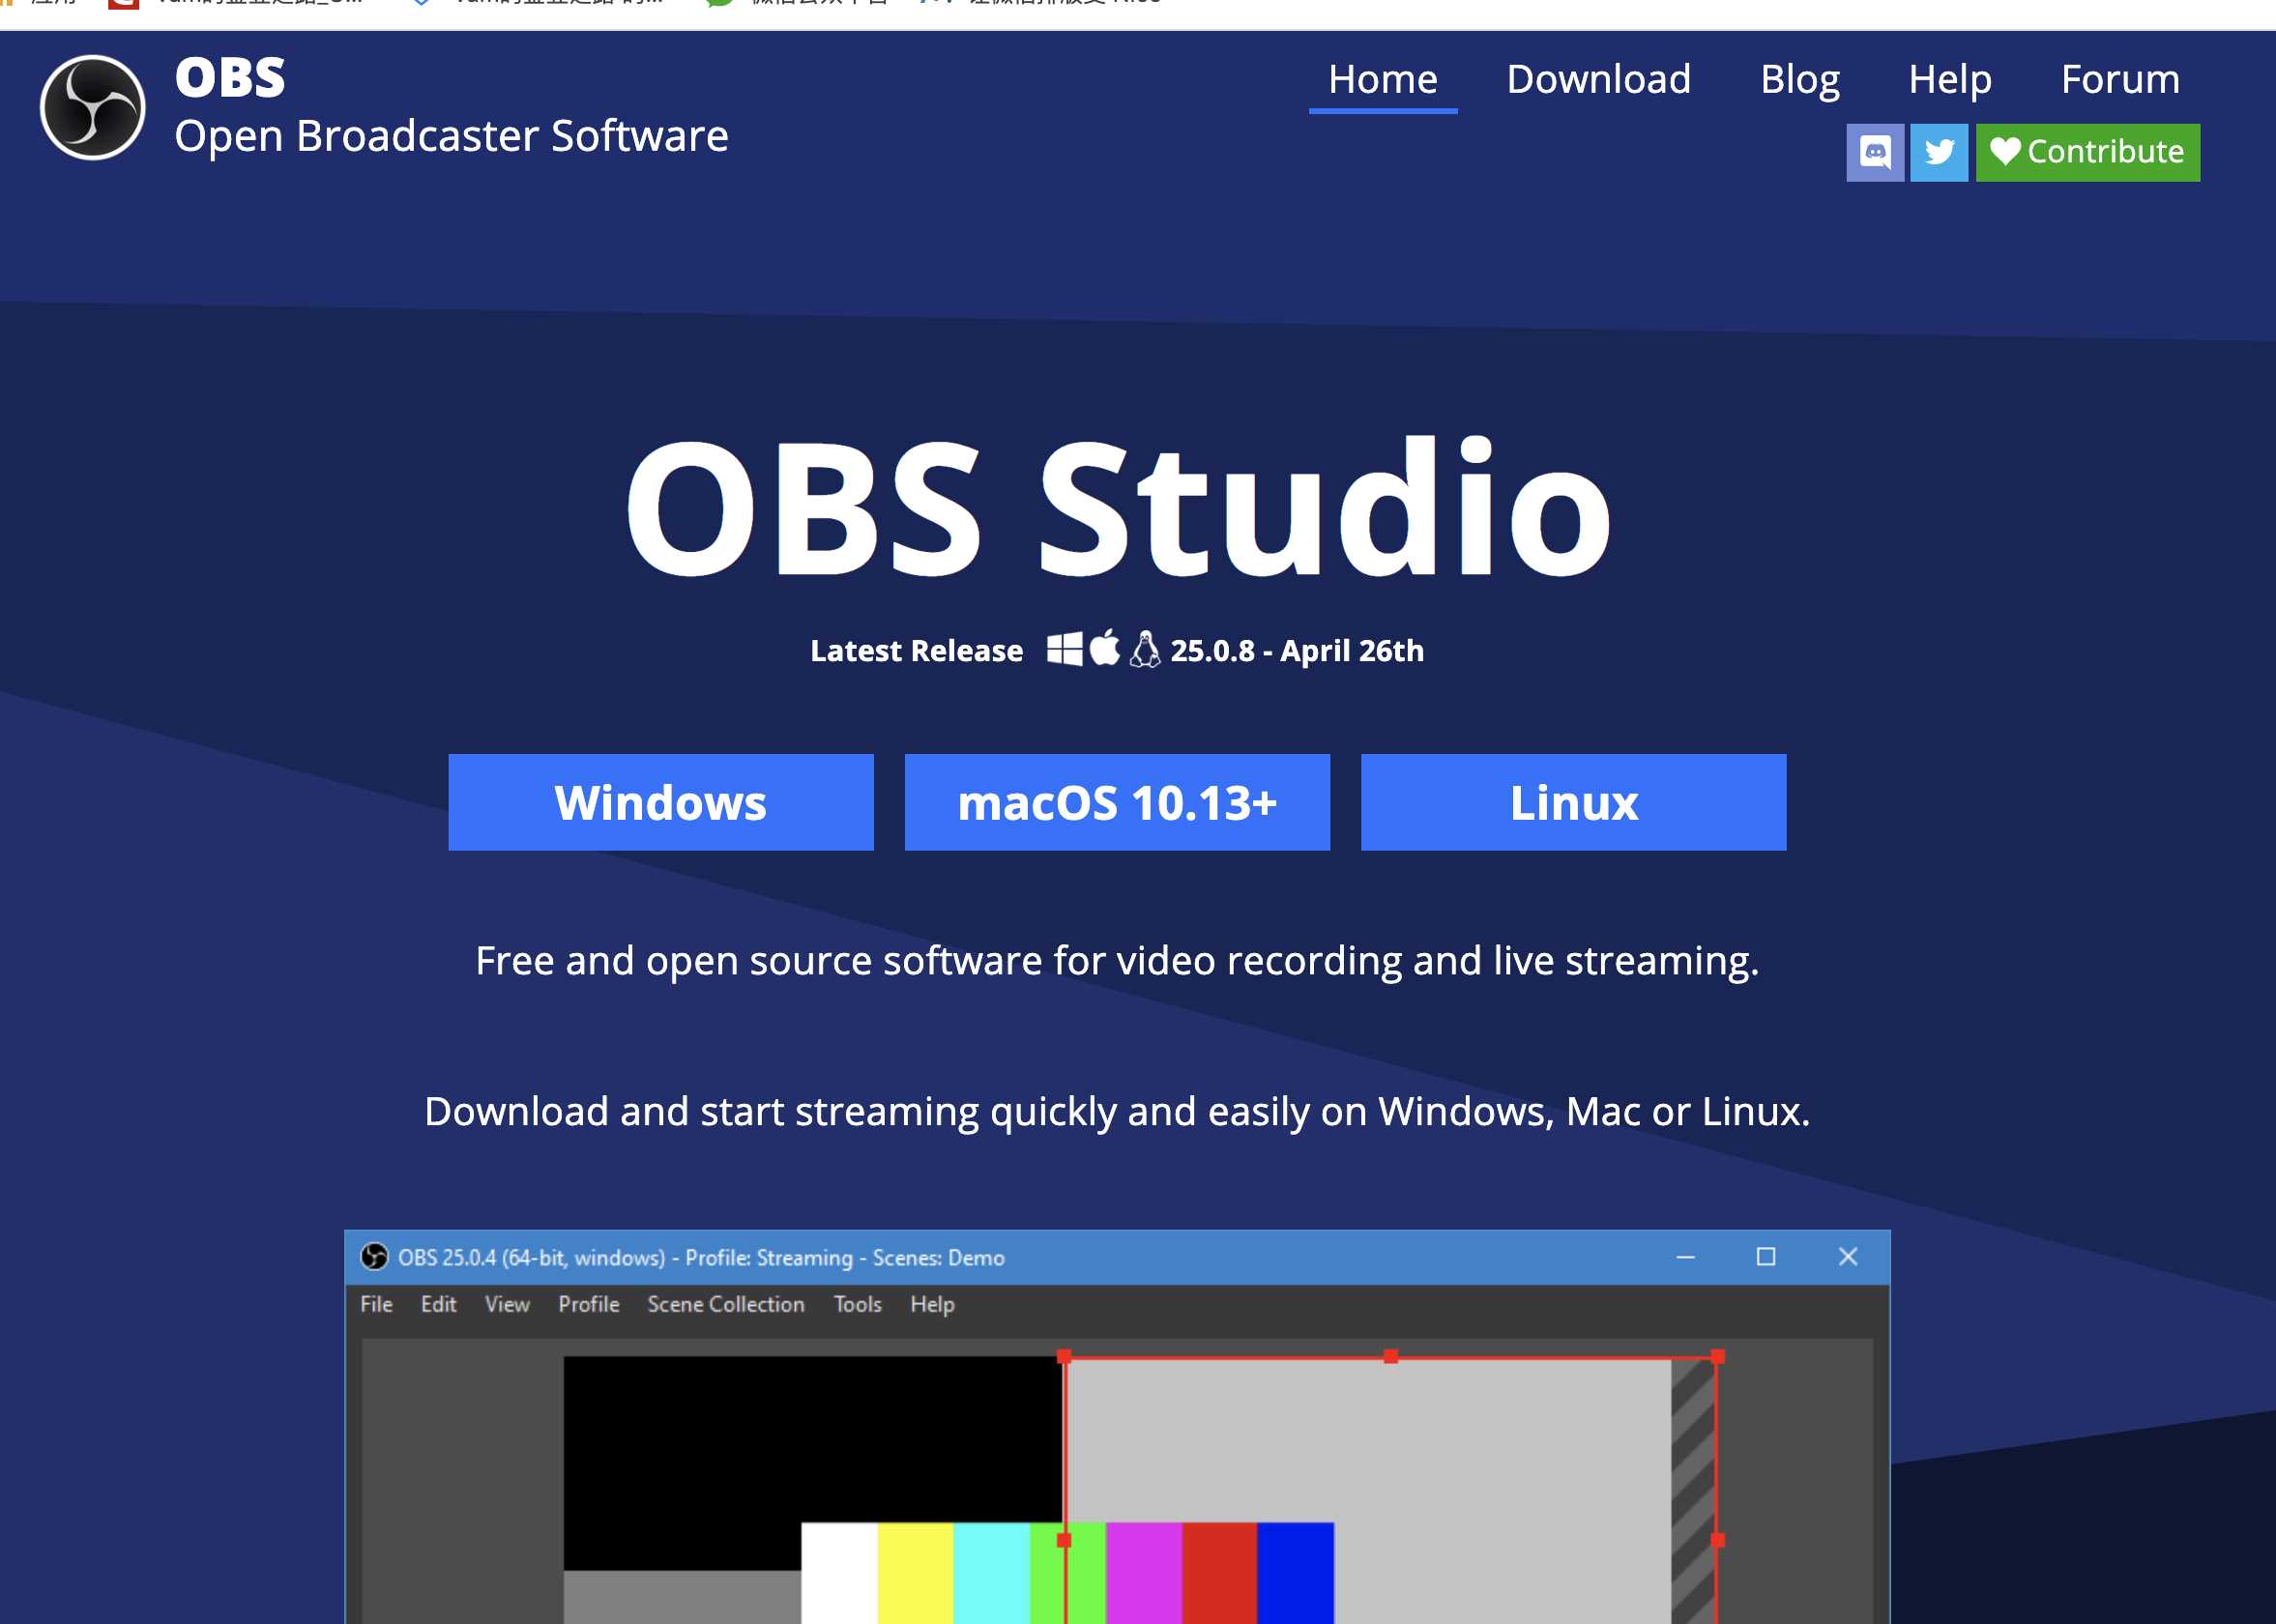
https://obsproject.com/
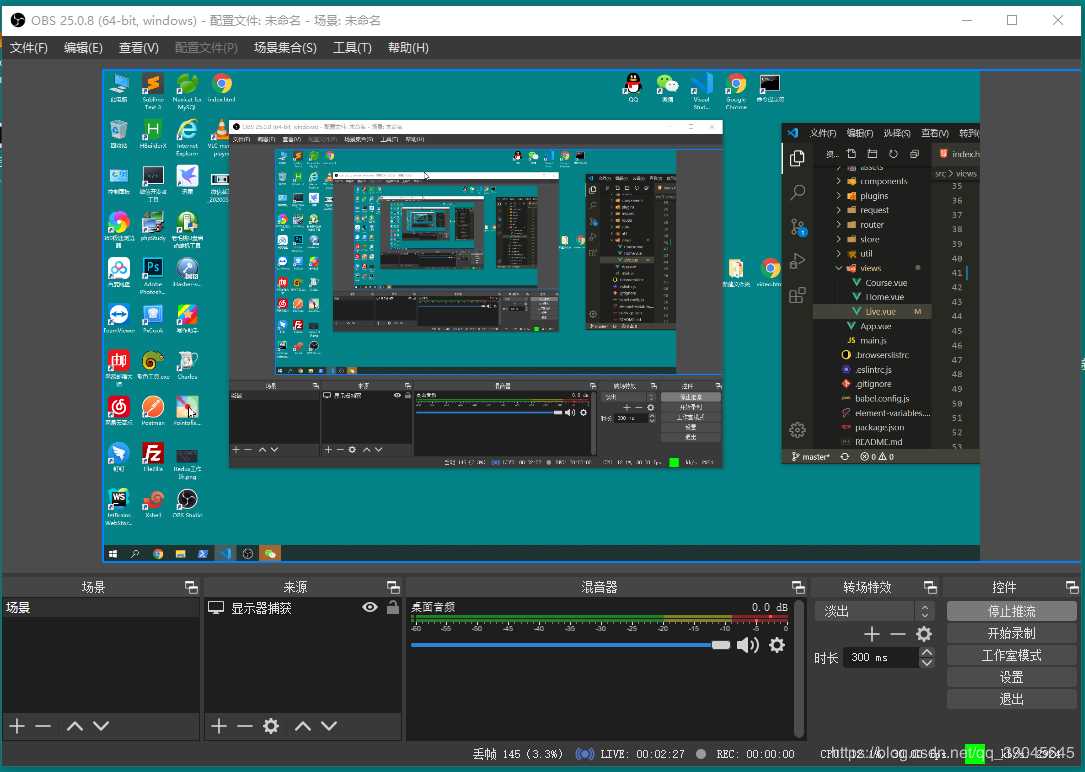
第三步,设置OBS
在第一步中图片底部有推流地址,需要注意,分为两部分填入下方图所示。
在AppName字段 为分界线分为两部分。输入完毕,点击确定,就好了。

第四步,开启推流
在OBS右方有个开启推流工具,第一次点开你会觉得黑屏,那是你没有
选择直播画面,在来源选项中,点击加号,选择对应来源,我这里选择的是显示器捕获。
第五步,写代码
安装hls.js
npm i hls.js -S
安装dplayer,你可以进入官网,配置更加丰富的api。
npm i dplayer -S
<!-- 现场课堂 -->
<template>
<div class="center">
<div class="live">
<div id="dplayer"></div>
</div>
</div>
</template>
<script>
/*
我这里使用的是m3u8流,你们也可以选择其他方式,dplayer官网都有详细介绍。
*/
let Hls = require('hls.js');
import DPlayer from 'dplayer';
export default {
name: "Live",
methods: {
// 直播
live(){
const dp = new DPlayer({
live:true,
container: document.getElementById('dplayer'),
video: {
url: 'https://live.carvedu.com/a/b.m3u8?auth_key=1589281526-0-0-02d0913b6a725efdb53f0deed823e418', // 示例地址
type: 'customHls',
customType: {
customHls: function (video, player) {
const hls = new Hls();
hls.loadSource(video.src);
hls.attachMedia(video);
},
},
},
});
}
},
mounted() {
this.live();
},
};
</script>
<style scoped>
#dplayer{
width: 100%;
height: 500px;
}
</style>
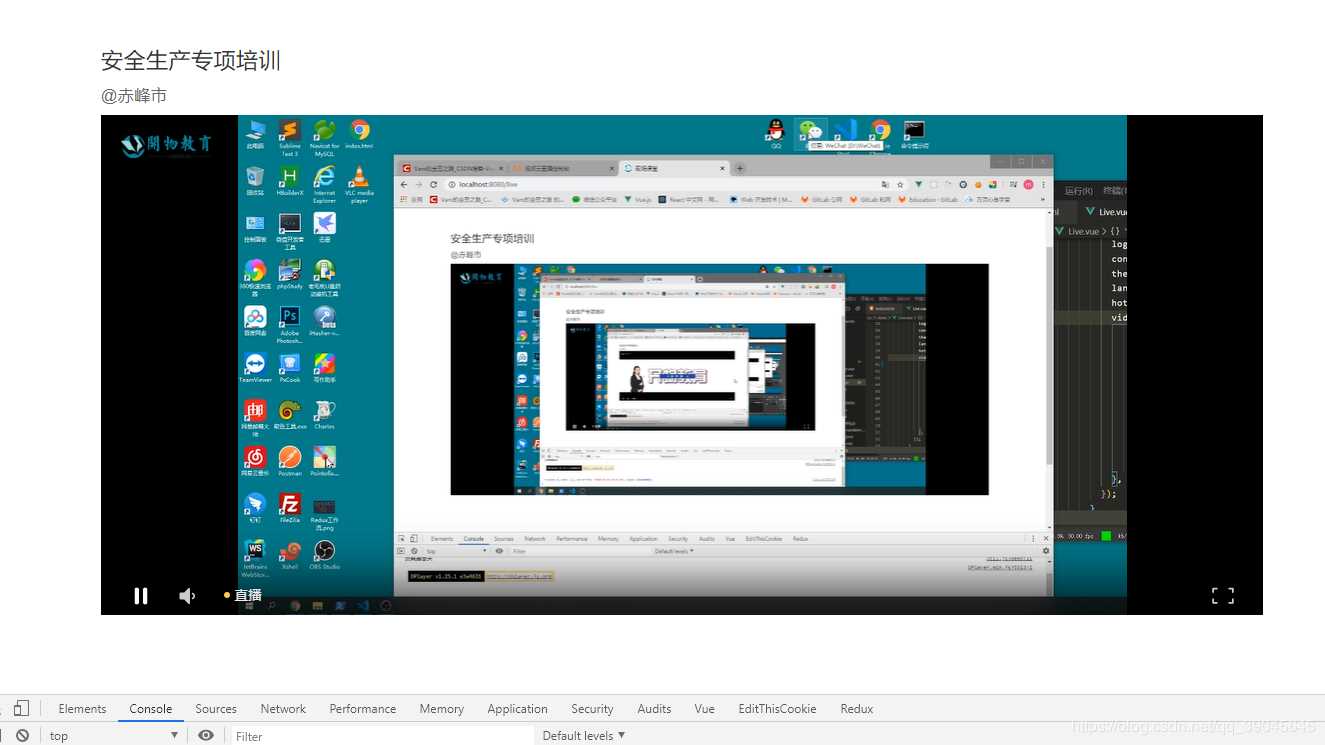
结语
以下为效果图:
到此这篇关于2分钟实现一个Vue实时直播系统的示例代码的文章就介绍到这了,更多相关Vue实时直播系统内容请搜索以前的文章或继续浏览下面的相关文章希望大家以后多多支持!
以上是 2分钟实现一个Vue实时直播系统的示例代码 的全部内容, 来源链接: utcz.com/p/237353.html