vue实现学生信息管理系统
本文实例为大家分享了vue实现学生信息管理系统的具体代码,供大家参考,具体内容如下
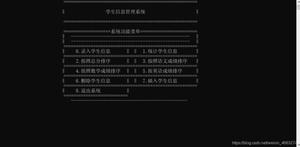
界面
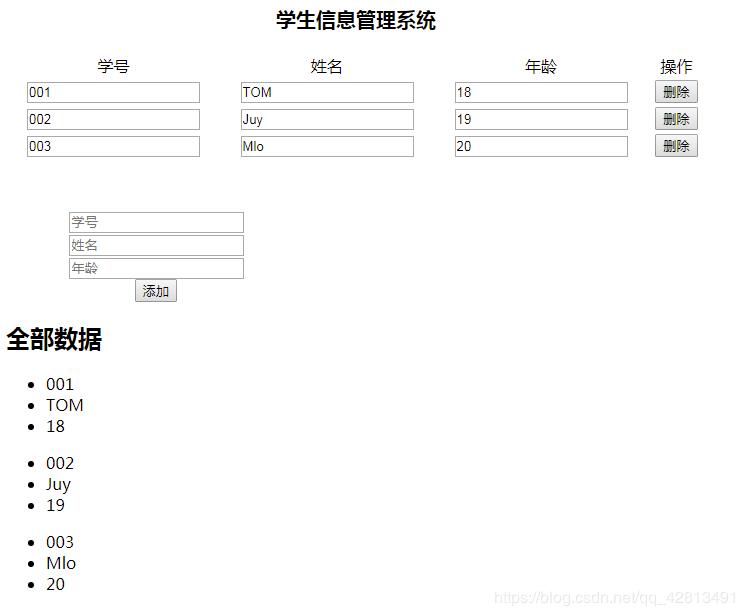
代码
<!DOCTYPE html>
<html lang="en">
<head>
<meta charset="UTF-8">
<title>vue--学生信息管理系统</title>
<!-- 引包 -->
<script src="https://cdn.jsdelivr.net/npm/vue"></script>
<style>
.title{margin:20px;font-weight: bold;font-size: 20px;}
</style>
</head>
<body>
<div id="app">
<!-- 通过:style设置样式 -->
<table :style="[render_table]">
<!-- 通过:class设置样式 -->
<caption :class="['title']">学生信息管理系统</caption>
<tr>
<td>学号</td>
<td>姓名</td>
<td>年龄</td>
<td>操作</td>
</tr>
<!-- 遍历数据 -->
<tr v-for="(stu,i) in list">
<td><input type="text" v-model="stu.no"></td>
<td><input type="text" v-model="stu.name"></td>
<td><input type="text" v-model="stu.age"></td>
<!-- 绑定点击事件并传参 -->
<td><input type="button" value="删除" @click="del(i)"></td>
</tr>
</table>
<!-- 添加数据的表单 -->
<div :style="[render_form]">
<input type="search" v-model="no" placeholder="学号"><br>
<input type="search" v-model="name" placeholder="姓名"><br>
<input type="search" v-model="age" placeholder="年龄"><br>
<input type="button" value="添加" @click="add">
</div>
<!-- 用来显示双向数据绑定后的编辑效果,数据驱动视图 -->
<div>
<h2>全部数据</h2>
<ul v-for="(stu,i) in list">
<!--用三种方式获取数据 -->
<li>{{stu.no}}</li>
<li v-text="stu.name"></li>
<li v-html="stu.age"></li>
</ul>
</div>
</div>
<script>
//创建一个Vue的实例
var vm = new Vue({
el: "#app", //获取根节点
data: {
no:"",
name:"",
age:"",
list:[
{
no:"001",
name:"TOM",
age:18,
},{
no:"002",
name:"Juy",
age:19,
},
{ no:"003",
name:"Mlo",
age:20,
}
],
//设置样式
render_table:{"width":"700px","text-align":"center"},
render_form:{"width":"300px","text-align":"center","margin-top":"50px"}
},
methods:{
// 添加方法
add(){
this.list.push({no:this.no,name:this.name,age:this.age});
this.no="";this.name="";this.age="";
},
//删除方法
del(i){
if(confirm("确定删除吗?")){
this.list.splice(i,1);
}
}
}
})
</script>
</body>
</html>
知识点
- 双向数据绑定
- 文本插值
- 事件绑定
- 方法定义
- 数据遍历
- 样式设置
更多文章可以点击《Vue.js前端组件学习教程》学习阅读。
关于vue.js组件的教程,请大家点击专题vue.js组件学习教程进行学习。
更多vue学习教程请阅读专题《vue实战教程》
以上就是本文的全部内容,希望对大家的学习有所帮助,也希望大家多多支持。
以上是 vue实现学生信息管理系统 的全部内容, 来源链接: utcz.com/p/237326.html

