Docker私服仓库Harbor安装的步骤详解
Harbor安装那里还是很简单,就是在Docker Login那里掉坑里去了,搞半天,写博客的时候,又重新安装了一遍

1.准备两台服务器
- centos7
- harbor 10.19.46.15
- client 10.19.44.31
2.harbor需要安装docker和docker-composere,client只需要安装docker
Docker安装
yum install -y yum-utils device-mapper-persistent-data lvm2
yum-config-manager --add-repo https://download.docker.com/linux/centos/docker-ce.repo
yum -y install docker-ce
systemctl start docker
Docker Compose 安装
Docker Compose 安装
yum install epel-release
yum install -y python-pip
pip install docker-compose
yum install git
harbor1.8 下载
https://github.com/goharbor/harbor/releases

解压出来
[root@harbor harbor]# ll
总用量 32
-rw-r--r--. 1 root root 4519 5月 21 15:59 harbor.yml
-rwxr-xr-x. 1 root root 5088 5月 21 15:59 install.sh
-rw-r--r--. 1 root root 11347 5月 21 15:59 LICENSE
-rwxr-xr-x. 1 root root 1654 5月 21 15:59 prepare
修改harbor.yml
hostname 这里设置本机的ip
harbor_admin_password web页面的密码
运行
sh ./install.sh
安装成功
......
Status: Downloaded newer image for goharbor/harbor-registryctl:v1.8.0
Creating harbor-log ... done
Creating harbor-db ... done
Creating registry ... done
Creating redis ... done
Creating registryctl ... done
Creating harbor-core ... done
Creating harbor-jobservice ... done
Creating harbor-portal ... done
Creating nginx ... done
✔ ----Harbor has been installed and started successfully.----
Now you should be able to visit the admin portal at http://10.19.46.15.
For more details, please visit https://github.com/goharbor/harbor .
访问页面
http://10.19.46.15
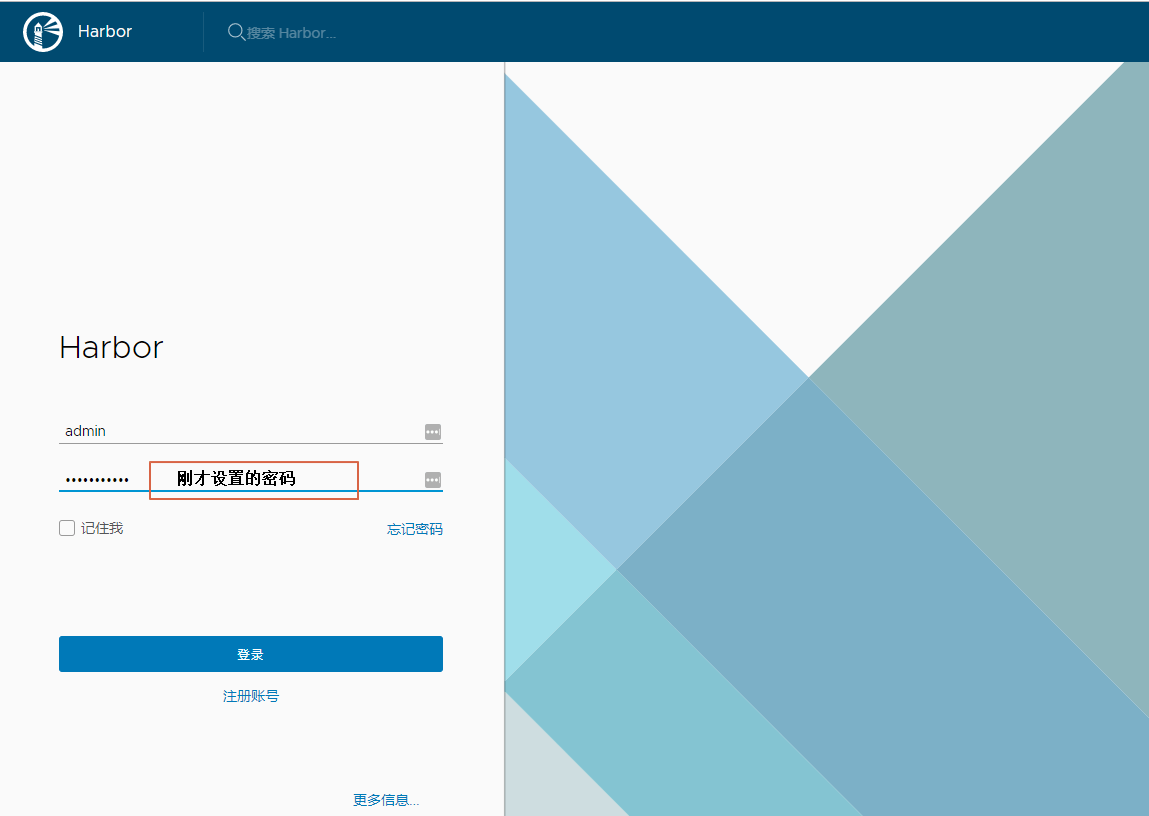
如果想要停止,或者是服务器重启了,需要手动重启,在harbor的安装目录,里执行命令
[root@harbor harbor]# ll
总用量 40
drwxr-xr-x. 3 root root 20 5月 22 22:24 common
-rw-r-----. 1 root root 5183 5月 22 22:24 docker-compose.yml
-rw-r--r--. 1 root root 4514 5月 22 22:23 harbor.yml
-rwxr-xr-x. 1 root root 5088 5月 21 15:59 install.sh
-rw-r--r--. 1 root root 11347 5月 21 15:59 LICENSE
-rwxr-xr-x. 1 root root 1654 5月 21 15:59 prepare
# 停止
[root@harbor harbor]# docker-compose stop
Stopping nginx ... done
Stopping harbor-portal ... done
Stopping harbor-jobservice ... done
Stopping harbor-core ... done
Stopping registryctl ... done
Stopping redis ... done
Stopping registry ... done
Stopping harbor-db ... done
Stopping harbor-log ... done
# 运行
[root@harbor harbor]# docker-compose start
Starting log ... done
Starting postgresql ... done
Starting redis ... done
Starting registry ... done
Starting core ... done
Starting jobservice ... done
Starting portal ... done
Starting proxy ... done
Starting registryctl ... done
在另外一个服务器(client)登录harbor
[root@client ~]# docker login 10.19.46.15
Username: admin
Password:
Error response from daemon: Get https://10.19.46.15/v2/: dial tcp 10.19.46.15:443: connect: connection refused
这是因为docker1.3.2版本开始默认docker registry使用的是https,我们设置Harbor默认http方式,所以当执行用docker login、pull、push等命令操作非https的docker regsitry的时就会报错。
解决https
在harbor那台服务器,在harbor的安装目录
vim docker-compose.yml

然后同时编辑harbor和client的docker配置文件,10.19.46.15 是harbor的ip地址
# 1.
vim /etc/docker/daemon.json
{
"insecure-registries": [
"10.19.46.15"
]
}
# 2.添加ExecStart=/usr/bin/dockerd |--insecure-registry=10.19.46.15
vim /usr/lib/systemd/system/docker.service
# 把这行注释掉,添加下面的配置 ExecStart=/usr/bin/dockerd -H fd:// --containerd=/run/containerd/containerd.sock
ExecStart=/usr/bin/dockerd
|--insecure-registry=10.19.46.15
1.重启harbor 的 docker-compose,命令文上有
2.重启docker
systemctl daemon-reload
systemctl restart docker
client 登录仓库
[root@client ~]# docker login 10.19.46.15
Username: admin
Password:
WARNING! Your password will be stored unencrypted in /root/.docker/config.json.
Configure a credential helper to remove this warning. See
https://docs.docker.com/engine/reference/commandline/login/#credentials-store
Login Succeeded
偷工减料
pull 的命令
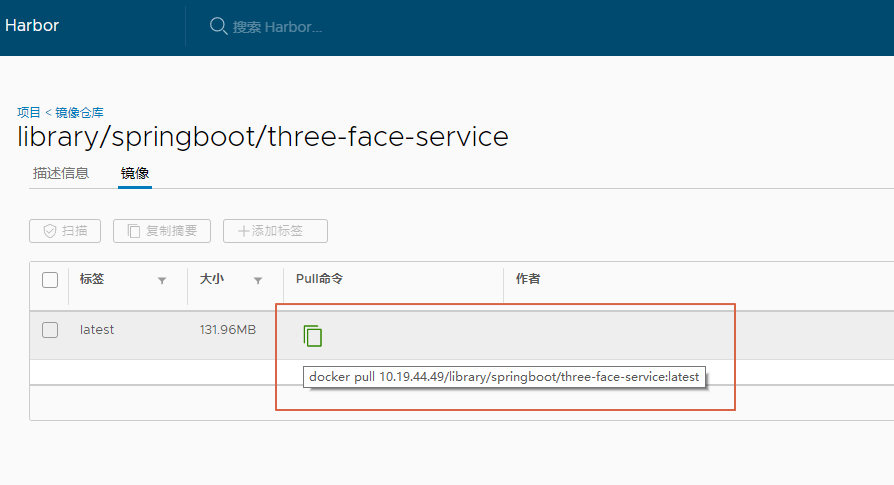
推送和打tag的命令

以上就是本文的全部内容,希望对大家的学习有所帮助,也希望大家多多支持。
以上是 Docker私服仓库Harbor安装的步骤详解 的全部内容, 来源链接: utcz.com/p/226034.html


