vue中对接Graphql接口的实现示例
说明: 本文是本人正在搞nestjs+graphql+serverless训练营中对Graphql讲解的基础知识点,可能有点前后没对接上,文中提到的Graphql授权也是下小节介绍的
一、对原来的Express返回Graphql项目修改
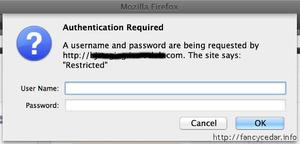
本章节使用的代码是express返回Graphql的代码,在使用前要先对代码进行基本的配置,比如处理跨域问题(Graphql本质也是发送一个http请求,既然是这样在vue项目中自然存在跨域的问题,需要先处理)
1、安装跨域的包,并且配置中间件
npm install cors
const cors = require('cors');
// 处理跨域请求
app.use(cors());
2、配置获取请求体的中间件
// 处理请求
app.use(express.json());//express.json=bodyParser.json
app.use(express.urlencoded({ extended: true }));
二、在vue中集成Graphql
1、参考文档地址
2、安装依赖包
npm install --save vue-apollo graphql apollo-boost graphql-tag
3、在 src/main.js中引入 apollo-boost模块并实例化 ApolloClient
import ApolloClient from 'apollo-boost'
...
const apolloClient = new ApolloClient({
// 你需要在这里使用绝对路径,这里就不区分环境开发了
uri: 'http://localhost:8000/graphql',
});
...
4、在 src/main.js 配置 vue-apollo 插件
import VueApollo from 'vue-apollo'
Vue.use(VueApollo);
5、创建Apollo provider提供者,并且挂载到应用中
import Vue from 'vue'
import App from './App.vue'
import ApolloClient from 'apollo-boost'
import VueApollo from 'vue-apollo'
Vue.use(VueApollo);
Vue.config.productionTip = false
const apolloClient = new ApolloClient({
// 你需要在这里使用绝对路径
uri: 'http://localhost:8000/graphql',
});
const apolloProvider = new VueApollo({
defaultClient: apolloClient,
})
new Vue({
render: h => h(App),
// 挂载到应用
apolloProvider,
}).$mount('#app')
三、查询数据
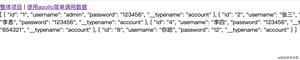
1、使用apollo页面进来就查询数据
根据官方的介绍,只用将apolloProvider挂载到了vue中,在vue的钩子函数中就会多一个属性apollo
<template>
<div class="about">
{{accountList}}
</div>
</template>
import gql from 'graphql-tag';
export default {
name: 'About',
apollo: {
accountList: gql`query {
accountList {
id
username
password
}
}`
},
}

2、apollo中使用函数来调用
import gql from 'graphql-tag';
export default {
apollo: {
accountList () {
return {
query: gql`query {
accountList{
id
username
password
created_at
}
}`,
}
},
}
}
3、点击按钮获取数据
import gql from 'graphql-tag';
// 定义查询的schema
const accountListGql = gql`{
accountList {
id
username
password
}
}`;
export default {
data() {
return {
tableList: [],
}
},
methods: {
getTableData() {
this.$apollo.addSmartQuery('accountList', {
query: accountListGql,
result(response) {
console.log(response);
const {accountList} = response.data;
this.tableList = accountList;
},
error(error) {
console.log('请求失败', error);
}
})
}
}
}
上面的方式也可以换成下面的写法,如果请求的业务不复杂可以这样写,如果复杂就根据上面的方式单独抽取一个schema
...
getTableData() {
this.$apollo.addSmartQuery('accountList', {
query: gql`{
accountList{
id
username
password
}
}`,
result(response) {
console.log(response);
const {accountList} = response.data;
this.tableList = accountList;
},
error(error) {
console.log('请求失败', error);
}
})
}
...
4、传递参数的方式请求数据
handleClick (rowData) {
this.$apollo.addSmartQuery('account', {
query: gql`
query($id: ID!) {
account(id: $id) {
id
username
password
}
}
`,
variables: {
id: rowData.id,
},
result (response) {
console.log('查询单条数据', response.data);
}
})
}
四、对查询数据方法改进
1、以上的方法可以查询数据,但是不能重复点击按钮,否则就会出现错误

2、改进版查询数据,直接使用query方法来查询
getTableData () {
this.$apollo.query({
query: gql`{
accountList{
id
username
password
}
}`,
}).then(response => {
console.log(response);
const { accountList } = response.data;
this.tableList =accountList;
})
}
五、使用mutation添加数据
具体实现代码见下面
onSubmit () {
this.$refs.form.validate(async (valid) => {
if (valid) {
console.log(this.form);
const result = await this.$apollo.mutate({
mutation: gql`
mutation addAccount($username: String!, $password: String!) {
addAccount(username:$username,password: $password)
}
`,
variables: {
username: this.form.username,
password: this.form.password,
}
});
console.log('更新结果', result);
} else {
// this.$message.error('请添加数据')
return false;
}
})
}
六、优化Graphql请求
1、打开浏览器控制台点击请求Graphql接口的时候你会发现有下面三个参数
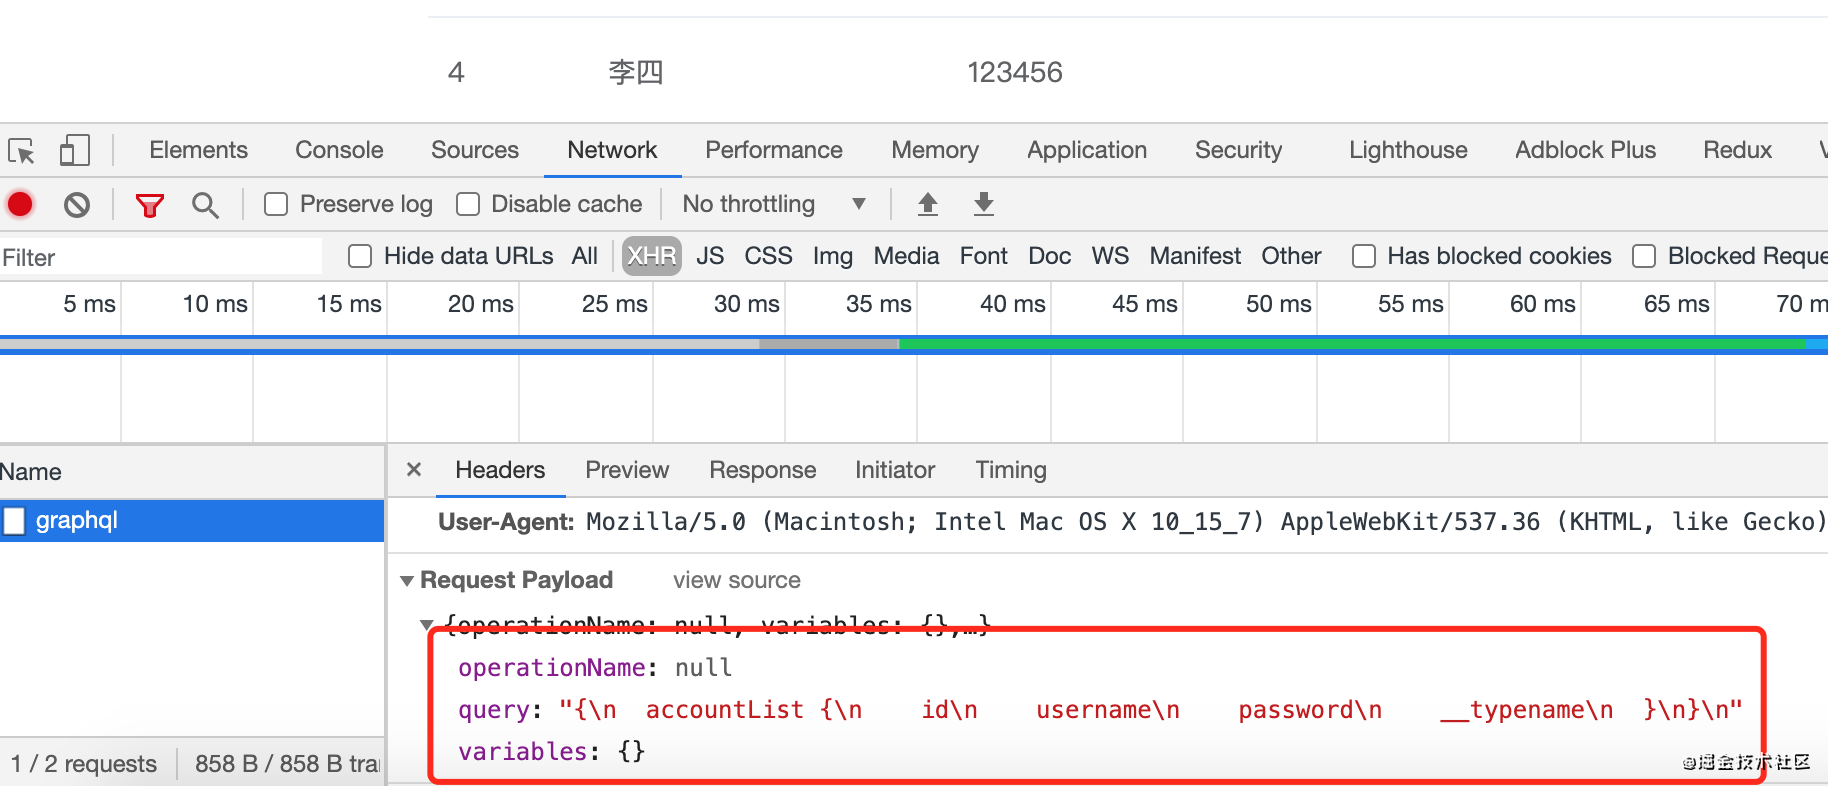
2、如果同一个数据或者说variables的值没变动的时候,是不会向后端发起请求的
3、opertionName是什么呢,我相信很多人会有疑问,看到下面两个图,我相信大家就不会疑惑了
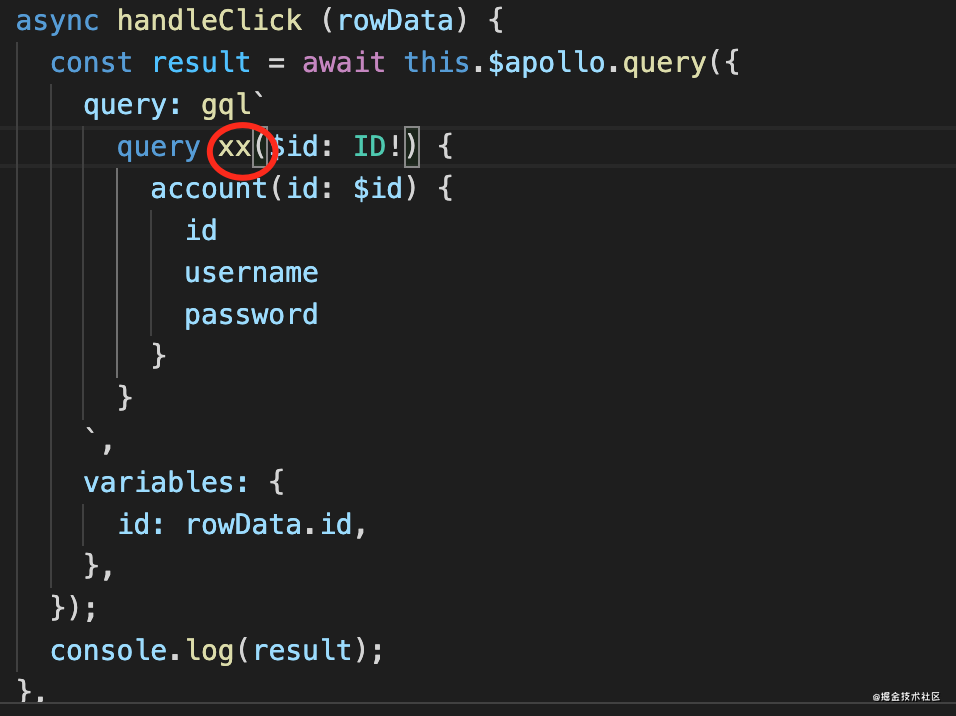

这个操作名称就是在你使用query或者mutation的时候的名字,这个命名可以随意命名,一般建议和后端的API操作名保持一致。
这个操作名有什么用呢?我们观察Graphql发送的请求都是同一个url地址,我们在传统的Restful API的时候,我们做登录鉴权或者获取url的时候会就需要获取当前请求的地址,对于Graphql来说,这个操作名也类似这个功能,区分是哪个API来请求的。
七、优化代码
在传统的Restful api请求的时候,我们更倾向于在项目中创建一个services的文件夹来将api请求都放到一起,便于管理,很少将请求都写到vue页面中去的。在graphql中也可以如此操作,只是方式不一样。
1、在项目中创建一个graphql的文件夹,里面存放的类似Restful api的接口请求
2、在src/graphql/accountList.graphql创建关于查询的接口
query AccountList {
accountList {
id
username
password
}
}
3、在vue中引入
import AccountList from './../graphql/accountList.graphql';
...
methods: {
async initTableData () {
this.tableList = [];
this.loading = true;
const { data, loading } = await this.$apollo.query({
query: AccountList,
});
console.log(data, '请求返回数据');
this.loading = loading;
this.tableList = data.accountList;
},
}
...
4、不出意外的话会直接报错,因为vue不能直接识别graphql文件,我们需要使用webpack配置对应加载graphql的loader
5、在项目根目录下创建一个vue.config.js配置loader
module.exports = {
configureWebpack: (config) => {
config.module.rules.push({
test: /\.(graphql|gql)$/,
exclude: /node_modules/,
loader: 'graphql-tag/loader'
})
},
};
6、处理数据不刷新
上面每次新增数据、删除数据、修改数据,虽然我们调用了initTableData,但是Graphql,并没有到后端,这是因为缓存的问题,需要在查询的时候添加红框圈住的字段就可以做到没次调用的时候,重新更新数据
fetchPolicy: "no-cache",

7、本章节整体的效果图

8、本小节的代码代码下载地址
到此这篇关于vue中对接Graphql接口的实现示例的文章就介绍到这了,更多相关vue对接Graphql接口 内容请搜索以前的文章或继续浏览下面的相关文章希望大家以后多多支持!
以上是 vue中对接Graphql接口的实现示例 的全部内容, 来源链接: utcz.com/p/220613.html