vue调用本地摄像头实现拍照功能
前言:
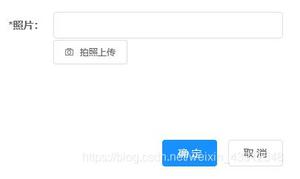
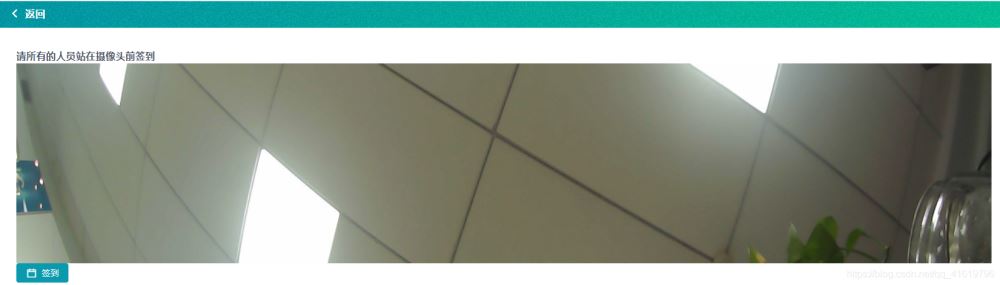
vue调用本地摄像头实现拍照功能,由于调用摄像头有使用权限,只能在本地运行,线上需用https域名才可以使用。实现效果:
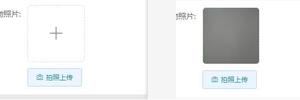
1、摄像头效果:

2、拍照效果:
实现代码:
<template>
<div class="camera_outer">
<video id="videoCamera" :width="videoWidth" :height="videoHeight" autoplay></video>
<canvas style="display:none;" id="canvasCamera" :width="videoWidth" :height="videoHeight" ></canvas>
<div v-if="imgSrc" class="img_bg_camera">
<img :src="imgSrc" alt="" class="tx_img">
</div>
<button @click="getCompetence()">打开摄像头</button>
<button @click="stopNavigator()">关闭摄像头</button>
<button @click="setImage()">拍照</button>
</div>
</template>
<script>
export default {
data () {
return {
videoWidth: 3000,
videoHeight: 300,
imgSrc: '',
thisCancas: null,
thisContext: null,
thisVideo: null,
}
},
methods: {
// 调用权限(打开摄像头功能)
getCompetence () {
var _this = this
this.thisCancas = document.getElementById('canvasCamera')
this.thisContext = this.thisCancas.getContext('2d')
this.thisVideo = document.getElementById('videoCamera')
// 旧版本浏览器可能根本不支持mediaDevices,我们首先设置一个空对象
if (navigator.mediaDevices === undefined) {
navigator.mediaDevices = {}
}
// 一些浏览器实现了部分mediaDevices,我们不能只分配一个对象
// 使用getUserMedia,因为它会覆盖现有的属性。
// 这里,如果缺少getUserMedia属性,就添加它。
if (navigator.mediaDevices.getUserMedia === undefined) {
navigator.mediaDevices.getUserMedia = function (constraints) {
// 首先获取现存的getUserMedia(如果存在)
var getUserMedia = navigator.webkitGetUserMedia || navigator.mozGetUserMedia || navigator.getUserMedia
// 有些浏览器不支持,会返回错误信息
// 保持接口一致
if (!getUserMedia) {
return Promise.reject(new Error('getUserMedia is not implemented in this browser'))
}
// 否则,使用Promise将调用包装到旧的navigator.getUserMedia
return new Promise(function (resolve, reject) {
getUserMedia.call(navigator, constraints, resolve, reject)
})
}
}
var constraints = { audio: false, video: { width: this.videoWidth, height: this.videoHeight, transform: 'scaleX(-1)' } }
navigator.mediaDevices.getUserMedia(constraints).then(function (stream) {
// 旧的浏览器可能没有srcObject
if ('srcObject' in _this.thisVideo) {
_this.thisVideo.srcObject = stream
} else {
// 避免在新的浏览器中使用它,因为它正在被弃用。
_this.thisVideo.src = window.URL.createObjectURL(stream)
}
_this.thisVideo.onloadedmetadata = function (e) {
_this.thisVideo.play()
}
}).catch(err => {
console.log(err)
})
},
// 绘制图片(拍照功能)
setImage () {
var _this = this
// 点击,canvas画图
_this.thisContext.drawImage(_this.thisVideo, 0, 0, _this.videoWidth, _this.videoHeight)
// 获取图片base64链接
var image = this.thisCancas.toDataURL('image/jpg')
_this.imgSrc = image
this.$emit('refreshDataList', this.imgSrc)
},
// base64转文件
dataURLtoFile (dataurl, filename) {
var arr = dataurl.split(',')
var mime = arr[0].match(/:(.*?);/)[1]
var bstr = atob(arr[1])
var n = bstr.length
var u8arr = new Uint8Array(n)
while (n--) {
u8arr[n] = bstr.charCodeAt(n)
}
return new File([u8arr], filename, { type: mime })
},
// 关闭摄像头
stopNavigator () {
this.thisVideo.srcObject.getTracks()[0].stop()
}
},
}
</script>
<style lang="less" scoped>
.camera_outer{
position: relative;
overflow: hidden;
background: url("../../assets/img/user_0608_04.jpg") no-repeat center;
background-size: 100%;
video,canvas,.tx_img{
-moz-transform:scaleX(-1);
-webkit-transform:scaleX(-1);
-o-transform:scaleX(-1);
transform:scaleX(-1);
}
.btn_camera{
position: absolute;
bottom: 4px;
left: 0;
right: 0;
height: 50px;
background-color: rgba(0,0,0,0.3);
line-height: 50px;
text-align: center;
color: #ffffff;
}
.bg_r_img{
position: absolute;
bottom: 0;
left: 0;
right: 0;
top: 0;
}
.img_bg_camera{
position: absolute;
bottom: 0;
left: 0;
right: 0;
top: 0;
img{
width: 100%;
height: 100%;
}
.img_btn_camera{
position: absolute;
bottom: 0;
left: 0;
right: 0;
height: 50px;
line-height: 50px;
text-align: center;
background-color: rgba(0,0,0,0.3);
color: #ffffff;
.loding_img{
width: 50px;
height: 50px;
}
}
}
}
</style>
总结
到此这篇关于vue调用本地摄像头实现拍照功能的文章就介绍到这了,更多相关vue调用本地摄像头实现拍照内容请搜索以前的文章或继续浏览下面的相关文章希望大家以后多多支持!
以上是 vue调用本地摄像头实现拍照功能 的全部内容, 来源链接: utcz.com/p/217514.html