安装Ubuntu20.04与安装NVIDIA驱动的教程
安装Ubuntu 20.04 安装NVIDIA 驱动 配置Pytouch 和tensorflow环境
本机环境:戴尔G3 3579
win10 ,系统在128固态硬盘
安装Ubuntu20.04
1开机按F2进入BIOS
2 security boot 设置disable
3 参考
https://www.jb51.net/article/173277.htm
安装NVIDIA驱动
最开始安装驱动,首先禁止nouveau
然后卸载原先的nvidia驱动(如果有)
参考:
https://www.jb51.net/article/171959.htm
但是装完出现这种情况
nvidia-smi有输出,nvidia-settings有反映,而且还生成了快捷图标
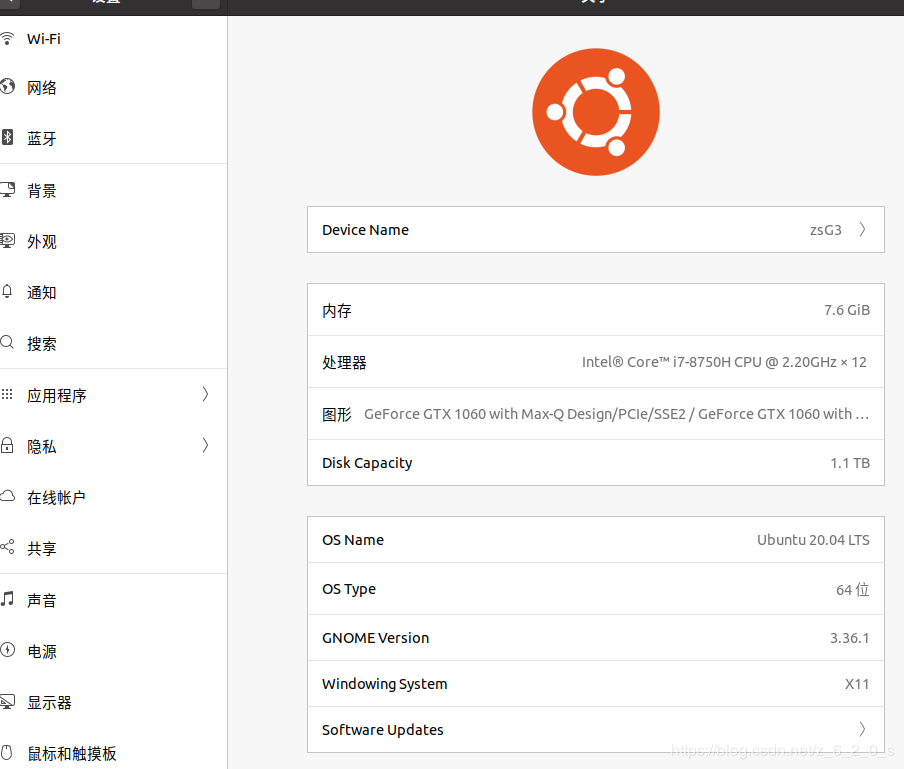
但是重启生效后,在设置->关于:显卡由原来的集成显卡630变成了lvib什么的
虽然不影响审定学习环境搭建但是总感觉以后会挂的
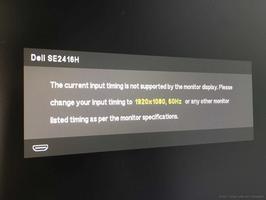
还有一种情况是 ,装完成驱动后,在设置->关于:显卡显示GTX1060。但是每次开机或者关机显示:dev/sda5 clean …dev/sda6 clean.等2s后关机,开机也是这样。
还有一种情况是,环境搭建好了,驱动什么的都好了,但是一个命令,当时在安装网易云音月,要弄什么依赖,然后一行命令过去,开机无限闪现dev/sda6 clean 。ctro-alt-f1能打开tty,但是用户名和密码来不及输入,tty闪退,1s不到。然后进不了系统。最后重装系统
现在:
装完ubuntu系统后,什么更新都不要,也不要禁止nouveau。第一件事情直接装驱动,
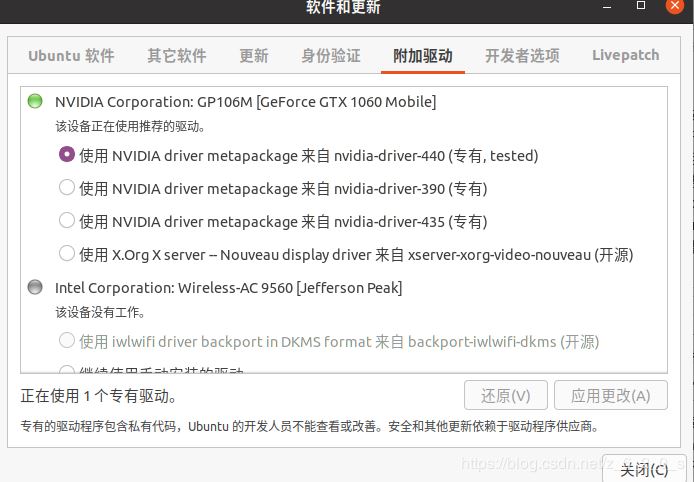
重启后,麻事情没有。
搭建pytouch
安装miniconda3,
换中科大,清华源
conda create -n pytouch python=3.7
conda activate pytouch
conda config --add channels https://mirrors.tuna.tsinghua.edu.cn/anaconda/cloud/pytorch/
conda install pytorch=0.4.1 torchvision cuda90
安装pycharm
点击tools->create desktop entry 直接生成快捷键
设置编译器为pytouch
填写代码测试使用了GPU:
import torch
flag = torch.cuda.is_available()
print(flag)
ngpu= 1
# Decide which device we want to run on
device = torch.device("cuda:0" if (torch.cuda.is_available() and ngpu > 0) else "cpu")
print(device)
print(torch.cuda.get_device_name(0))
print(torch.rand(3,3).cuda())
# True
# cuda:0
# GeForce GTX 1060
# tensor([[0.5772, 0.5287, 0.0946],
# [0.9525, 0.7855, 0.1391],
# [0.6858, 0.5143, 0.8188]], device='cuda:0')
安装tensorflow14
import tensorflow as tf
from tensorflow.python.client import device_lib
print(device_lib.list_local_devices())
import warnings
warnings.filterwarnings("ignore")
hello=tf.constant("Hello,Tensorflow")
print(hello)
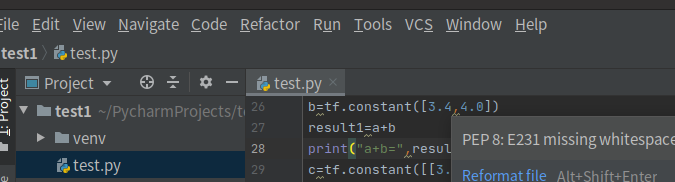
a=tf.constant([1.0,2.0]) #定义常数
b=tf.constant([3.4,4.0])
result1=a+b
print("a+b=",result1)
c=tf.constant([[3.0],[1.4]])
result2=a+c
sess=tf.Session()
print("result1:",result1)#显示结果是“add:0"的张量,shape只有一个元素,即维度是1
# 2表示第一个维度有两个元素,且是浮点型
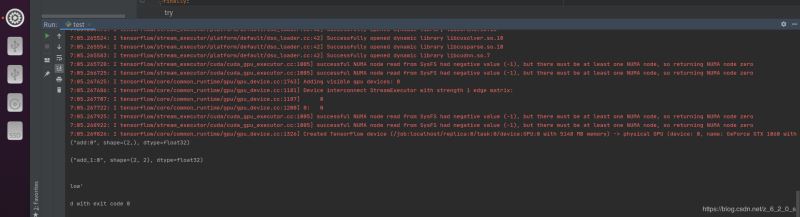
try:
print(sess.run(result1))
print("result2:",result2)
print(sess.run(result2))
print(sess.run(hello))
except:
#异常处理
print("Exception")
finally:
#关闭会话,释放资源
sess.close()
总结
到此这篇关于安装Ubuntu20.04与安装NVIDIA驱动的教程的文章就介绍到这了,更多相关安装Ubuntu20.04 NVIDIA驱动内容请搜索以前的文章或继续浏览下面的相关文章希望大家以后多多支持!
以上是 安装Ubuntu20.04与安装NVIDIA驱动的教程 的全部内容, 来源链接: utcz.com/p/227294.html