如何将mybatis配置到springmvc中
MyBatis简介
MyBatis 是一款优秀的持久层框架,它支持定制化 SQL、存储过程以及高级映射。MyBatis 避免了几乎所有的 JDBC 代码和手动设置参数以及获取结果集。MyBatis 可以使用简单的 XML 或注解来配置和映射原生信息,将接口和 Java 的 POJOs(Plain Old Java Objects,普通的 Java对象)映射成数据库中的记录。
为了更方便的连接数据库,将mybatis配置到springMVC中
1). 首先是jar包 多了3个jar druid 这个是阿里的数据库连接包 mybatis和 mybatis-spring

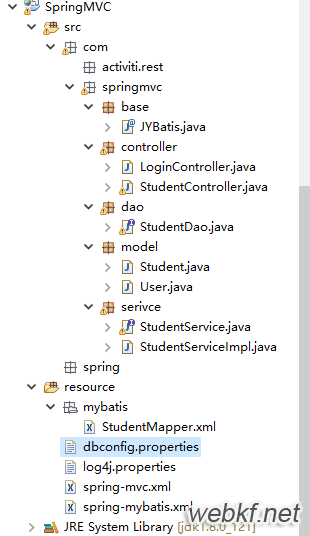
2) 然后是项目目录
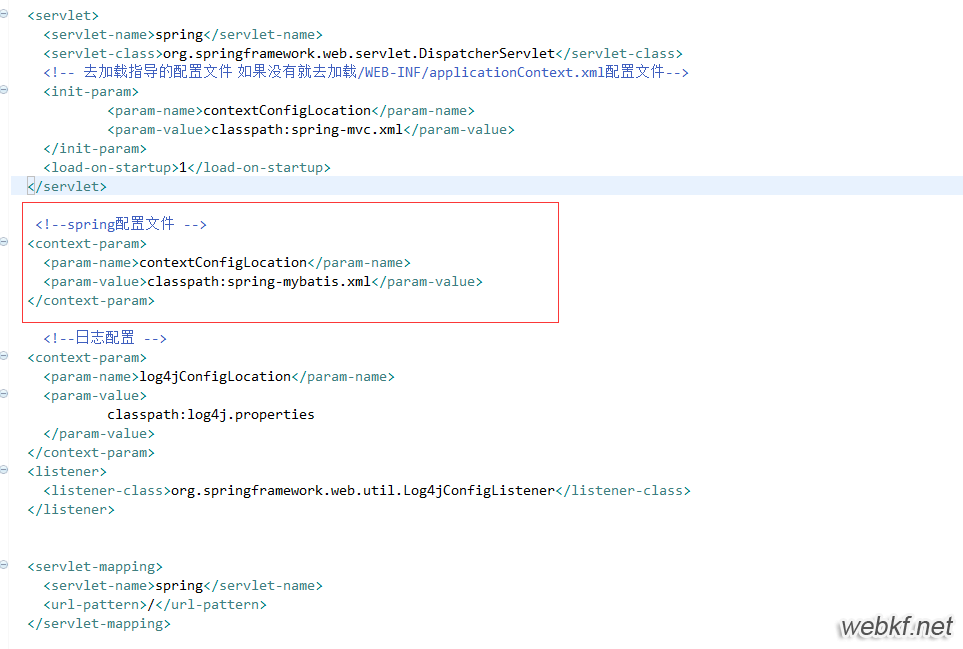
3)在web.xml中 加上一个spring的配置文件
<context-param></context-param>元素含有一对参数名和参数值,用作应用的servlet上下文初始化参数。参数名在整个Web应用中必须是惟一的。设定web应用的环境参数(context)
4)
spring-mvc的内容不变,spring-mybatis中的内容如下
<!-- MyBatis配置 这个就是spring和mybatis的整合 也就是spring-mybatis jar-->
<bean id="mysqlSqlSessionFactory" class="org.mybatis.spring.SqlSessionFactoryBean">
<!--数据库 多数据源配置多个-->
<property name="dataSource" ref="mysqlDataSource" />
<!-- 自动扫描mapping.xml文件 -->
<!-- 自动扫描entity目录, 省掉xml里的手工配置
该属性可以给包中的类注册别名,注册后可以直接使用类名,而不用使用全限定的类名-->
<property name="typeAliasesPackage" value="com.springmvc.model" />
<!-- mysqlSqlSessionFactory会自动扫描该路径下的所有文件并解析。-->
<property name="mapperLocations">
<list>
<value>classpath:/mybatis/*Mapper.xml</value>
</list>
</property>
</bean>
<!--会查找类路径下的映射器并自动将它们创建成MapperFactoryBean -->
<bean class="org.mybatis.spring.mapper.MapperScannerConfigurer">
<property name="sqlSessionFactoryBeanName" value="mysqlSqlSessionFactory"></property>
<!-- 为映射器接口文件设置基本的包路径 -->
<property name="basePackage" value="com.springmvc.dao" />
<!-- 该属性起到一个过滤的作用,设置该属性,那么mybatis的dao接口 只有包含该注解 才会被扫描-->
<property name="annotationClass" value="com.springmvc.base.JYBatis"/>
</bean>
5) 自定义的JYBatis
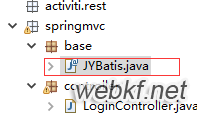
/**
* 标识MyBatis的DAO,方便{@link org.mybatis.spring.mapper.MapperScannerConfigurer}的扫描�??
*
* 总的来说就是 target(接口) retention(java-class后依旧可用) document(包含在javadoc中) component(spring扫描)
*/
@Retention(RetentionPolicy.RUNTIME) //注解的生命周期 这个是最长的 jvm加载class文件之后,仍然存在
@Target(ElementType.TYPE) //注解修改目标 (这是个接口) 接口、类、枚举、注解
@Documented //该注解将被包含在javadoc中
@Component //@Component泛指组件,当组件不好归类的时候,我们可以使用这个注解进行标注。
public @interface JYBatis {
String value() default "";
}
6) 数据库连接参数 (这个根据自己本地的库的名字和端口 来自己写)
db.username=root
db.password=123456
db.url=jdbc:mysql://localhost:3306/test?useUnicode=true&characterEncoding=utf-8
db.dirverClass=com.mysql.jdbc.Driver
这样mybatis就整合到springmvc中了,下面做一个例子,往mysql中插入一条数据
1) 首先是jsp页面
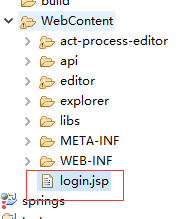
还在login.jsp中写一个form
<form action="spring/student/testController" method="post">
<br />用户名: <input type="text" name="name"> <br />
<br />年龄: <input type="text" name="age"> <br />
<br /> 老师: <input type="text" name="teacher">
<br /> <input type="submit" value="登录">
</form>
2) model类 然后写一个Student model类
//Alias是mybatis给当前model类起的别名 typeAlias
@Alias("Student")
public class Student {
private int id;
private String name;
private int age;
private String teacher;
3)StudentController类
@Controller
@RequestMapping("/spring/student")
public class StudentController {
@Resource
private StudentService ss;
@RequestMapping(value="/testController")
public String toPage(Student s){
System.out.println(s.toString());
s.setId(33);
ss.save(s);
return "success";
}
}
4) StudentService StudentServiceImpl StudentDao
public interface StudentService {
public void save(Student student);
}
//StudentServiceImpl 这里要加上注解
@Service("StudentService")
public class StudentServiceImpl implements StudentService {
@Autowired
private StudentDao studentDao;
@Override
public void save(Student student) {
studentDao.insert(student);
}
StudentDao 要加上自定义注解 这里spring会自动为其创建bean
@JYBatis
public interface StudentDao {
public void insert(Student student);
}
5) 最后是mybatis的xml文件 StudentMapper.xml
<?xml version="1.0" encoding="UTF-8"?>
<!DOCTYPE mapper PUBLIC "-//mybatis.org//DTD Mapper 3.0//EN" "http://mybatis.org/dtd/mybatis-3-mapper.dtd">
<mapper namespace="com.springmvc.dao.StudentDao">
<!-- com.jy.entity.system.account.Account -->
<!-- com.jy.entity.oa.leave.Leave -->
<resultMap id="base" type="Student" > </resultMap>
<select id="find" resultMap="base" parameterType="Student">
SELECT t.* FROM user1 t WHERE 1=1
<if test="id != null and id!='' ">
AND t.id=#{id}
</if>
</select>
<select id="count" resultType="int" parameterType="Student">
SELECT count(*) FROM user1 t WHERE 1=1
</select>
<insert id="insert" parameterType="Student">
<![CDATA[
INSERT INTO user1(
id,
age,
name,
teacher
) VALUES (
#{id},
#{age},
#{name},
#{teacher}
)
]]>
</insert>
<update id="updateUserAssetInfo" parameterType="Map">
UPDATE user1
SET
id=#{id},
age=#{age},
name=#{name},
teacher=#{teacher}
WHERE id=#{id}
</update>
</mapper>
总结
以上所述是小编给大家介绍的如何将mybatis配置到springmvc中,希望对大家有所帮助,如果大家有任何疑问请给我留言,小编会及时回复大家的。在此也非常感谢大家对网站的支持!
以上是 如何将mybatis配置到springmvc中 的全部内容, 来源链接: utcz.com/p/214998.html