java读取wav文件(波形文件)并绘制波形图的方法
本文实例讲述了java读取wav文件(波形文件)并绘制波形图的方法。分享给大家供大家参考。具体如下:
因为最近有不少网友询问我波形文件读写方面的问题,出于让大家更方便以及让代码能够得到更好的改进,我将这部分(波形文件的读写)代码开源在GitHub上面。
地址为https://github.com/sintrb/WaveAccess/,最新的代码、例子、文档都在那上面,我会在我时间精力允许的前提下对该项目进行维护,同时也希望对这方面有兴趣的网友能够加入到该开源项目上。
以下内容基本都过期了,你可以直接去GitHub上面阅读、下载该项目。
因项目需要读取.wav文件(波形文件)并绘制波形图,因此简单的做了这方面的封装。
其实主要是对wav文件读取的封装,下面是一个wav文件读取器的封装:
// filename: WaveFileReader.java
// RobinTang
// 2012-08-23
import java.io.*;
public class WaveFileReader {
private String filename = null;
private int[][] data = null;
private int len = 0;
private String chunkdescriptor = null;
static private int lenchunkdescriptor = 4;
private long chunksize = 0;
static private int lenchunksize = 4;
private String waveflag = null;
static private int lenwaveflag = 4;
private String fmtubchunk = null;
static private int lenfmtubchunk = 4;
private long subchunk1size = 0;
static private int lensubchunk1size = 4;
private int audioformat = 0;
static private int lenaudioformat = 2;
private int numchannels = 0;
static private int lennumchannels = 2;
private long samplerate = 0;
static private int lensamplerate = 2;
private long byterate = 0;
static private int lenbyterate = 4;
private int blockalign = 0;
static private int lenblockling = 2;
private int bitspersample = 0;
static private int lenbitspersample = 2;
private String datasubchunk = null;
static private int lendatasubchunk = 4;
private long subchunk2size = 0;
static private int lensubchunk2size = 4;
private FileInputStream fis = null;
private BufferedInputStream bis = null;
private boolean issuccess = false;
public WaveFileReader(String filename) {
this.initReader(filename);
}
// 判断是否创建wav读取器成功
public boolean isSuccess() {
return issuccess;
}
// 获取每个采样的编码长度,8bit或者16bit
public int getBitPerSample(){
return this.bitspersample;
}
// 获取采样率
public long getSampleRate(){
return this.samplerate;
}
// 获取声道个数,1代表单声道 2代表立体声
public int getNumChannels(){
return this.numchannels;
}
// 获取数据长度,也就是一共采样多少个
public int getDataLen(){
return this.len;
}
// 获取数据
// 数据是一个二维数组,[n][m]代表第n个声道的第m个采样值
public int[][] getData(){
return this.data;
}
private void initReader(String filename){
this.filename = filename;
try {
fis = new FileInputStream(this.filename);
bis = new BufferedInputStream(fis);
this.chunkdescriptor = readString(lenchunkdescriptor);
if(!chunkdescriptor.endsWith("RIFF"))
throw new IllegalArgumentException("RIFF miss, " + filename + " is not a wave file.");
this.chunksize = readLong();
this.waveflag = readString(lenwaveflag);
if(!waveflag.endsWith("WAVE"))
throw new IllegalArgumentException("WAVE miss, " + filename + " is not a wave file.");
this.fmtubchunk = readString(lenfmtubchunk);
if(!fmtubchunk.endsWith("fmt "))
throw new IllegalArgumentException("fmt miss, " + filename + " is not a wave file.");
this.subchunk1size = readLong();
this.audioformat = readInt();
this.numchannels = readInt();
this.samplerate = readLong();
this.byterate = readLong();
this.blockalign = readInt();
this.bitspersample = readInt();
this.datasubchunk = readString(lendatasubchunk);
if(!datasubchunk.endsWith("data"))
throw new IllegalArgumentException("data miss, " + filename + " is not a wave file.");
this.subchunk2size = readLong();
this.len = (int)(this.subchunk2size/(this.bitspersample/8)/this.numchannels);
this.data = new int[this.numchannels][this.len];
for(int i=0; i<this.len; ++i){
for(int n=0; n<this.numchannels; ++n){
if(this.bitspersample == 8){
this.data[n][i] = bis.read();
}
else if(this.bitspersample == 16){
this.data[n][i] = this.readInt();
}
}
}
issuccess = true;
} catch (Exception e) {
e.printStackTrace();
}
finally{
try{
if(bis != null)
bis.close();
if(fis != null)
fis.close();
}
catch(Exception e1){
e1.printStackTrace();
}
}
}
private String readString(int len){
byte[] buf = new byte[len];
try {
if(bis.read(buf)!=len)
throw new IOException("no more data!!!");
} catch (IOException e) {
e.printStackTrace();
}
return new String(buf);
}
private int readInt(){
byte[] buf = new byte[2];
int res = 0;
try {
if(bis.read(buf)!=2)
throw new IOException("no more data!!!");
res = (buf[0]&0x000000FF) | (((int)buf[1])<<8);
} catch (IOException e) {
e.printStackTrace();
}
return res;
}
private long readLong(){
long res = 0;
try {
long[] l = new long[4];
for(int i=0; i<4; ++i){
l[i] = bis.read();
if(l[i]==-1){
throw new IOException("no more data!!!");
}
}
res = l[0] | (l[1]<<8) | (l[2]<<16) | (l[3]<<24);
} catch (IOException e) {
e.printStackTrace();
}
return res;
}
private byte[] readBytes(int len){
byte[] buf = new byte[len];
try {
if(bis.read(buf)!=len)
throw new IOException("no more data!!!");
} catch (IOException e) {
e.printStackTrace();
}
return buf;
}
}
为了绘制波形,因此做了一个从JPanel教程而来的波形绘制面板:
// filename: DrawPanel.java
// RobinTang
// 2012-08-23
import java.awt.Color;
import java.awt.Graphics;
import javax.swing.JPanel;
@SuppressWarnings("serial")
public class DrawPanel extends JPanel {
private int[] data = null;
public DrawPanel(int[] data) {
this.data = data;
}
@Override
protected void paintComponent(Graphics g) {
int ww = getWidth();
int hh = getHeight();
g.setColor(Color.WHITE);
g.fillRect(0, 0, ww, hh);
int len = data.length;
int step = len/ww;
if(step==0)
step = 1;
int prex = 0, prey = 0; //上一个坐标
int x = 0, y = 0;
g.setColor(Color.RED);
double k = hh/2.0/32768.0;
for(int i=0; i<ww; ++i){
x = i;
// 下面是个三点取出并绘制
// 实际中应该按照采样率来设置间隔
y = hh-(int)(data[i*3]*k+hh/2);
System.out.print(y);
System.out.print(" ");
if(i!=0){
g.drawLine(x, y, prex, prey);
}
prex = x;
prey = y;
}
}
}
有了这些之后就可以调用绘制了,简单的:
// WaveFileReadDemo.java
// RobinTang
// 2012-08-23
import javax.swing.JFrame;
public class WaveFileReadDemo {
/**
* @param args
*/
public static void main(String[] args) {
// TODO Auto-generated method stub
String filename = "file.wav";
JFrame frame = new JFrame();
WaveFileReader reader = new WaveFileReader(filename);
if(reader.isSuccess()){
int[] data = reader.getData()[0]; //获取第一声道
DrawPanel drawPanel = new DrawPanel(data); // 创建一个绘制波形的面板
frame.add(drawPanel);
frame.setTitle(filename);
frame.setSize(800, 400);
frame.setLocationRelativeTo(null);
frame.setDefaultCloseOperation(JFrame.EXIT_ON_CLOSE);
frame.setVisible(true);
}
else{
System.err.println(filename + "不是一个正常的wav文件");
}
}
}
工程的源代码可以在我的百度网盘上找到,直接到开源JAVA
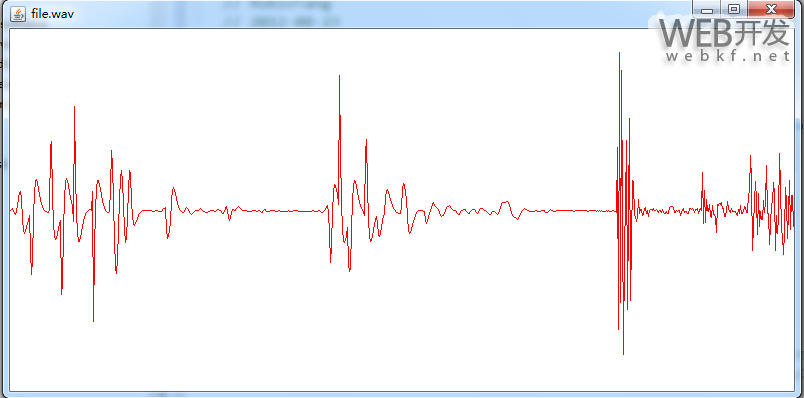
放上效果图一张:
希望本文所述对大家的java程序设计有所帮助。
以上是 java读取wav文件(波形文件)并绘制波形图的方法 的全部内容, 来源链接: utcz.com/p/209042.html