uniapp调用安卓自定义方法
在研究离线打包,和三方插件之后的一天,发现uniapp可以直接调用安卓里写的方法,之前完全是自己想复杂了,主要还是h5+ 的开发没那么熟悉。
此处基于uniapp在Android Studio离线打包成功后部分。
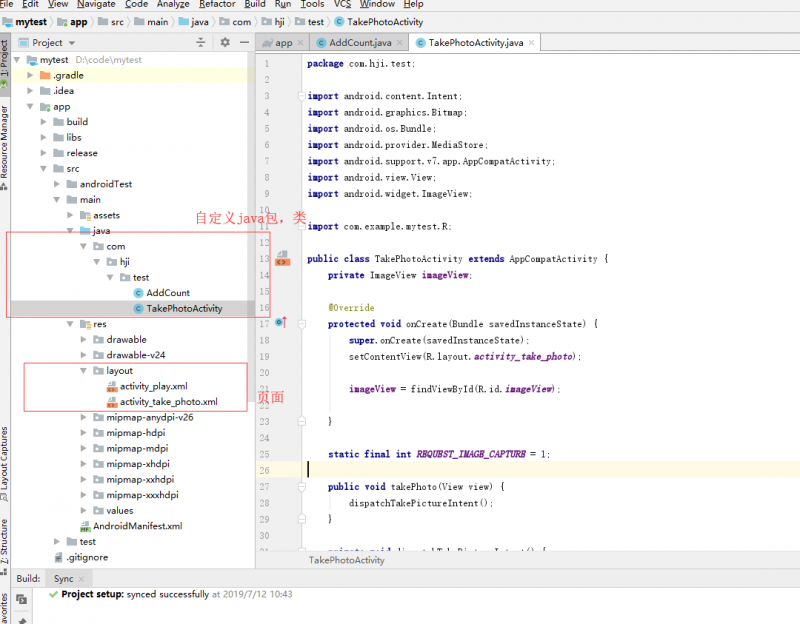
1.因为之前离线打包,安卓下的项目java里面的全部都删除了,现在新增一个自定义的包在下面新增一个java类。为了测试功能,写了个简单的加法。
package com.hji.test;public class AddCount {
public int add(int a, int b) {
return a + b;
}
}
在uniapp vue下,新增一个按钮,和方法
add2(){var AddCount = plus.android.importClass('com.hji.test.AddCount');
var addCount = new AddCount();
this.result1 = addCount.add(1,2);
},
本地打包后,替换掉www下文件。运行就可以
简单哭了,我想的也太复杂了T T
为了测试调用安卓上页面,也写了个简单的拍照;
在自定义的包下新建一个java类
package com.hji.test;import android.content.Intent;
import android.graphics.Bitmap;
import android.os.Bundle;
import android.provider.MediaStore;
import android.support.v7.app.AppCompatActivity;
import android.view.View;
import android.widget.ImageView;
import com.example.mytest.R;
public class TakePhotoActivity extends AppCompatActivity {
private ImageView imageView;
@Override
protected void onCreate(Bundle savedInstanceState) {
super.onCreate(savedInstanceState);
setContentView(R.layout.activity_take_photo);
imageView = findViewById(R.id.imageView);
}
static final int REQUEST_IMAGE_CAPTURE = 1;
public void takePhoto(View view) {
dispatchTakePictureIntent();
}
private void dispatchTakePictureIntent() {
Intent takePictureIntent = new Intent(MediaStore.ACTION_IMAGE_CAPTURE);
if (takePictureIntent.resolveActivity(getPackageManager()) != null) {
startActivityForResult(takePictureIntent, REQUEST_IMAGE_CAPTURE);
}
}
@Override
protected void onActivityResult(int requestCode, int resultCode, Intent data) {
if (requestCode == REQUEST_IMAGE_CAPTURE && resultCode == RESULT_OK) {
Bundle extras = data.getExtras();
Bitmap imageBitmap = (Bitmap) extras.get("data");
imageView.setImageBitmap(imageBitmap);
}
}
}
在res下layout新增一个拍照页面
<?xml version="1.0" encoding="utf-8"?><android.support.constraint.ConstraintLayout xmlns:android="http://schemas.android.com/apk/res/android"
xmlns:app="http://schemas.android.com/apk/res-auto"
xmlns:tools="http://schemas.android.com/tools"
android:layout_width="match_parent"
android:layout_height="match_parent"
tools:context="com.hji.test.TakePhotoActivity">
<ImageView
android:id="@+id/imageView"
android:layout_width="342dp"
android:layout_height="360dp"
android:layout_marginStart="16dp"
android:layout_marginLeft="16dp"
android:layout_marginTop="17dp"
app:layout_constraintStart_toStartOf="parent"
app:layout_constraintTop_toBottomOf="@+id/button2"
tools:srcCompat="@tools:sample/avatars" />
<Button
android:id="@+id/button2"
style="@style/Widget.AppCompat.Button.Small"
android:layout_width="101dp"
android:layout_height="48dp"
android:layout_marginStart="63dp"
android:layout_marginLeft="63dp"
android:layout_marginTop="16dp"
android:onClick="takePhoto"
android:text="拍 照"
android:textColor="@android:color/holo_green_dark"
android:textSize="14sp"
android:typeface="normal"
android:visibility="visible"
app:layout_constraintStart_toStartOf="parent"
/>
</android.support.constraint.ConstraintLayout>
在uniapp下使用
takePhoto() {var main = plus.android.runtimeMainActivity();
var Intent = plus.android.importClass('android.content.Intent');
var MyActivity = plus.android.importClass('com.hji.test.TakePhotoActivity');
var intent = new Intent(main, MyActivity.class);
main.startActivity(intent);
},
写个按钮直接调用,本地打包后,运行。就OK了 = =
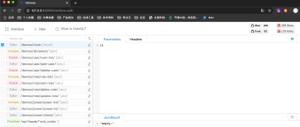
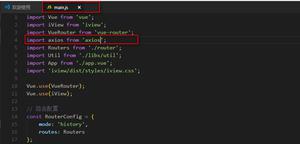
根据要求,新增安卓项目目录截图。
没想到会有这么多人需要结合原生开发。可能会遇到各种各样的问题;
留下demo代码。需要的可以下载测试下。
https://github.com/sunshine-jing/uniapp-AndroidTest
test是uniapp项目;
mytest是安卓项目
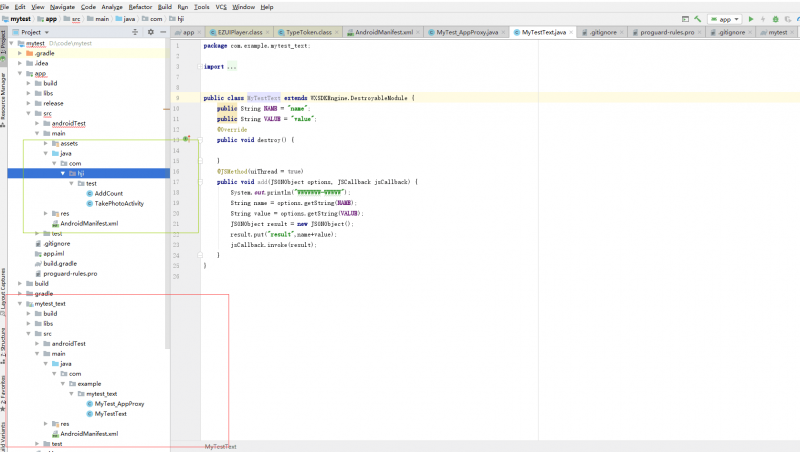
今天仔细看了下demo,红色是之前用插件的形式调试出来的;
绿色的是之后发现可以直接调用到addcout方法。
demo第一个测试出现 test123,是插件出来的,name和value是uniapp内传过去后,返回到界面上的。
以上是 uniapp调用安卓自定义方法 的全部内容, 来源链接: utcz.com/a/28106.html