uni-app结合云函数开发小程序
:环境搭建")
uni-app 是一个使用 Vue.js 开发的跨平台应用的前端框架,开发者编写一套代码,可发布到iOS、Android、H5、以及各种小程序(微信/支付宝/百度/头条/QQ/钉钉/淘宝)、快应用等多个平台;uni在跨端的同时,通过条件编译和对应平台特有API地调用,可以很好得为某个平台写个性化的代码、调用其独有能力而不影响其它平台;生态丰富,支持npm包管理,丰富的第三方SDK集成和高达1600个插件的支持;上手容易,采用vue语法和微信小程序api,无额外学习成本,同时开发利器HbuilderX具有强大的语法提示。相信它将是你跨端开发的不二选择。
开始学习

起步
在这一系列教程中,我们将构建一个微信小程序应用 —— 博客(最近在准备面试,还没有测试其它端),后端使用云函数,包括登录、注册、文章列表、文章详情、国际化、更改主题等,样式使用 colorui ,感谢作者,开源真香_。_云函数对于前端开发来说又是一项新技能。
uni-app官网
项目地址
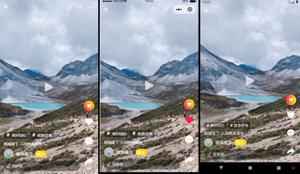
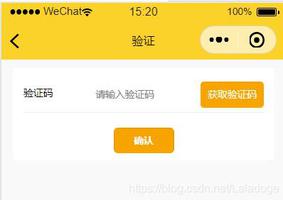
我们将实现什么?(样式略差请原谅)

具体有四个页面:
- 登录:输入用户名密码,同时也可以微信登陆 openid (个人项目无法获取手机号登录)。
- 注册:输入用户名密码注册(暂只限制了不为空)。
- 首页:文章列表,种类tab标签,上拉刷新,下拉加载。
- 我的:只做了语言和主题切换。
项目开始
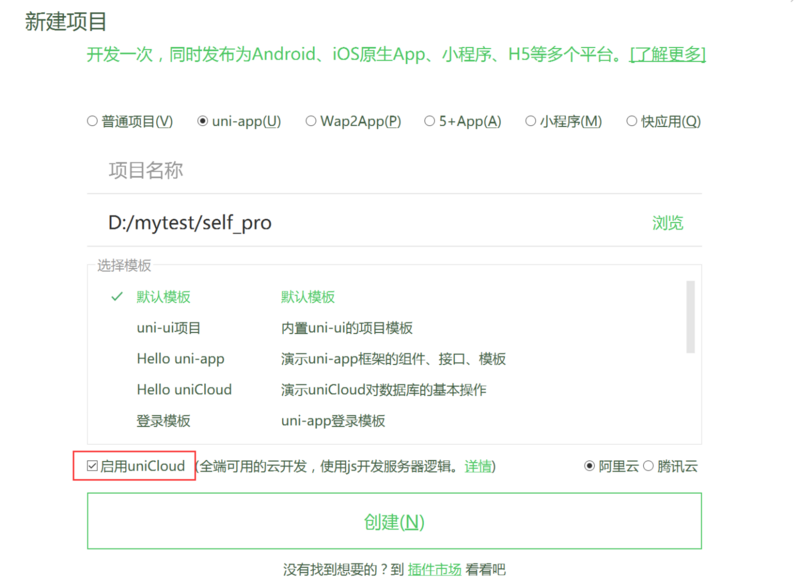
创建新的uniapp项目,记得勾选启用uniCloud,我选用的阿里云
目录结构如下
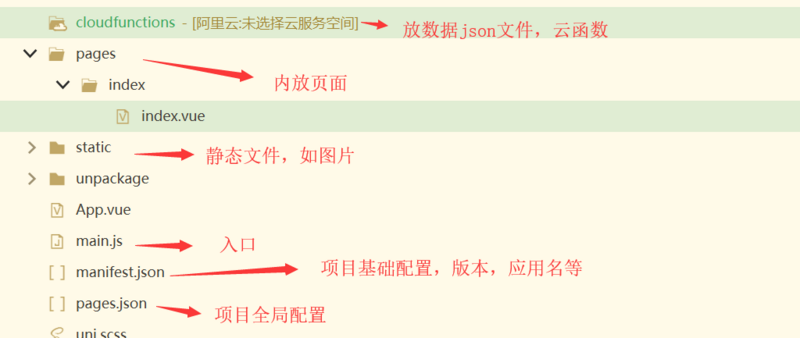
由于我们使用自定义导航栏,登录页和注册页不需要,所以 pages.json 中 navigationStyle 为 custom
// 以下代码在 /pages.json 文件中 "globalStyle": { "navigationStyle": "custom" },
引入colorUI
首先插件市场下载zip包
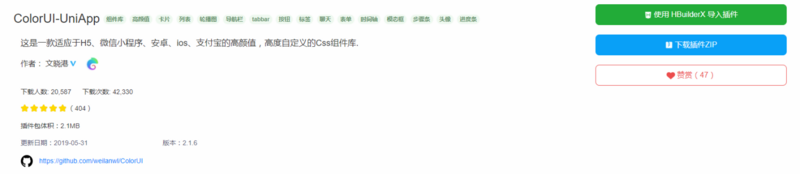
文件放在项目的根目录,之后我会把自己的组件或者样式文件都放其中。 在App.vue 文件中引入
// 以下代码在 /App.vue 文件中 <style> @import "colorui/main.css"; @import "colorui/icon.css"; @import "colorui/animation.css"; </style>
打开pages/index/index.vue, 写下测试代码 <button type="default" class="bg-blue btn cu-btn">click</button>, 启动微信小程序,可查看运行结果正确,说明导入成功

使用Vuex
根目录下创建 store/index.js (uni也支持vue的modules形式,大家可自行使用)。
主题更改和多语言支持,我使用本地存储结合 vuex 的方式,不涉及服务器存储。(API 使用请看官网)
- 多语言
// 以下代码在 /language/zh.js 文件中 module.exports = { // langType 属性为语言包标识,用它判断当前语言 langType : 'zh-CN', // 登陆页 login_title: '博客' } // 以下代码在 /language/en.js 文件中 module.exports = { langType : 'en', login_title: 'UBLOG' }
// 以下代码在 /store/index.js 文件中 // 1. 是否有本地缓存语言 let userLang = uni.getStorageSync("userLang"); // 2. 没有用户设置,取系统语言 if(!userLang){ const sys = uni.getSystemInfoSync(); userLang = sys.language; } // 根据语言读取文件 if(userLang.substring(0,2) == 'zh'){ lang = require('../language/zh.js'); }else{ lang = require('../language/en.js'); }
定义 store 中的数据
// 以下代码在 /store/index.js 文件中 const store = new Vuex.Store({ modules, state: { lang: lang }, mutations: { changeLang: function(state){ // 显示操作菜单, 也可以其它方式 uni.showActionSheet({ itemList:['简体中文', 'English'], success (e) { if(e.tapIndex == 0){ lang = require('../language/zh.js') }else{ lang = require('../language/en.js') } uni.setStorageSync("userLang", lang.langType) state.lang = lang } }) } } })
由于每个页面都要使用 lang 获取对应的显示,我在 main.js 中使用了全局混入
// 以下代码在 /main.js 文件中 // 全局公用 Vue.mixin({ computed: { lang() { return this.$store.state.lang } } })
改动index.vue 页面进行测试
// 以下代码在 /pages/index/index.vue 文件中 <view>{{lang.login_title}}</view> <button type="default" class="bg-blue btn cu-btn" @tap='changeLang'>click</button> changeLang () { this.$store.commit('changeLang') }
效果如下: 刷新页面也会保留选择的语言。成功

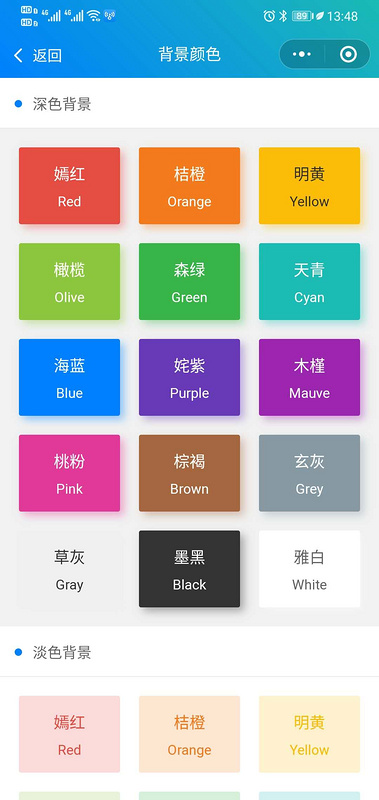
- 更换主题 (借助 colorui 样式)
先看下流弊的 colorui 颜色, 直接实现了背景色和字体颜色,再次感谢大佬的付出。具体颜色大家可以查看 main.css 中的 .bg-样式
在index目录创建 theme.js存放我们的颜色,格式如下。 (大家可以根据自己的喜好再添加)
// 以下代码在 /pages/index/theme.js 文件中 export const ColorList = [{ title: '嫣红', name: 'red', color: '#e54d42' }, { title: '桔橙', name: 'orange', color: '#f37b1d' }, { title: '明黄', name: 'yellow', color: '#fbbd08' }, { title: '橄榄', name: 'olive', color: '#8dc63f' }, { title: '森绿', name: 'green', color: '#39b54a' }, { title: '天青', name: 'cyan', color: '#1cbbb4' }, { title: '海蓝', name: 'blue', color: '#0081ff' }, { title: '姹紫', name: 'purple', color: '#6739b6' }, { title: '木槿', name: 'mauve', color: '#9c26b0' }, { title: '桃粉', name: 'pink', color: '#e03997' }, { title: '棕褐', name: 'brown', color: '#a5673f' }, { title: '玄灰', name: 'grey', color: '#8799a3' }, { title: '草灰', name: 'gray', color: '#aaaaaa' }, { title: '墨黑', name: 'black', color: '#333333' } ]
index.vue 文件中引入, 我期望的是随机取6个不同颜色。模态框使用的是cu-model,大家可以使用微信小程序的colorui,看到样式再到源码里面去找,因为现在还没有官网
// 以下代码在 /pages/index/index.vue 文件中 <view class="cu-modal" :class="modalName=='RadioModal'?'show':''" @tap="modalName =''"> <view class="cu-dialog" @tap.stop=""> <radio-group class="block" @change="RadioChange"> <view class="cu-list menu text-left"> <view class="cu-item" v-for="(item,index) in themeList" :key="index"> <label class="flex justify-between align-center flex-sub"> <view class="flex-sub flex"> <view>{{item.title}}</view> <view :style="{backgroundColor: item.color}"></view> </view> <radio class="round" :class="radio=='radio' + index?'checked':''" :checked="radio=='radio' + index?true:false" :value="item.name"></radio> </label> </view> </view> </radio-group> </view> </view> <!--根据主题 动态class--> <button type="default" class="btn cu-btn" :class="['bg-' + themeColor.name]" @tap='changeTheme' data-target="RadioModal">click</button>
// 以下代码在 /pages/index/index.vue 文件中 import {ColorList} from './theme.js' export default { data() { return { modalName: '', themeList: [] } }, methods: { changeTheme (e) { this.themeList = [] // 循环取出颜色 for (let i = 0;i<ColorList.length;i++) { let random = Math.floor(Math.random() * ColorList.length) let item = ColorList[random] this.themeList.indexOf(item) === -1 && this.themeList.push(item) if (this.themeList.length > 5) break } // 直接使用colorui的方法,没有用 true false显示隐藏, 大家可以自行修改 this.modalName = e.currentTarget.dataset.target }, RadioChange (e) { let name = e.detail.value // 获取选中的颜色 let obj = this.themeList.filter(item => { return item.name === name }) // 更新全局状态 this.$store.commit('setThemeColor', obj[0]) this.modalName = '' }, } }
修改 vuex , 同时修改混入
// 以下代码在 /store/index.js 文件中 state: { lang: lang, themeColor: { title: '嫣红', name: 'red', color: '#e54d42' } }, mutations: { setThemeColor(state, val) { state.themeColor = val } } // 以下代码在 /main.js 文件中 // 全局混入 Vue.mixin({ computed: { lang() { return this.$store.state.lang }, themeColor() { return this.$store.state.themeColor } } })
见证奇迹: (模态框中的颜色随机改变,主题色也更改成功)
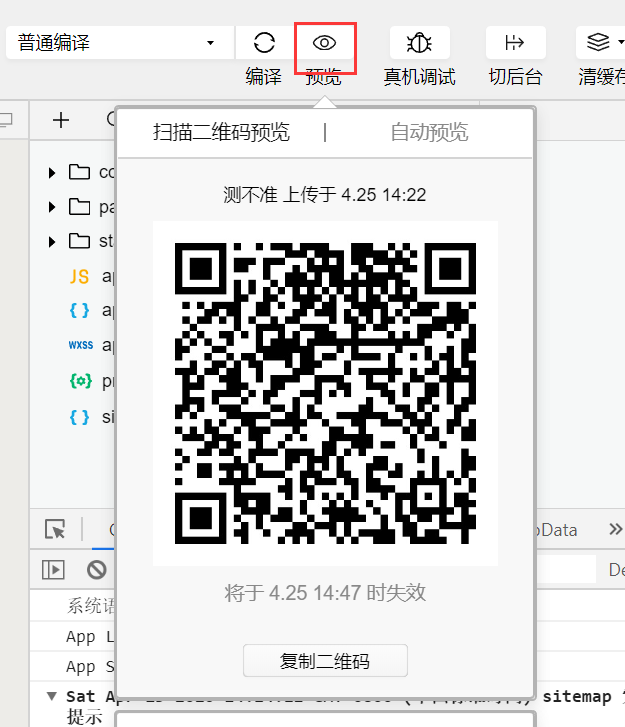
本节的主体功能都实现了。大家可以申请appid(不会的可百度查找教程),使用二维码扫描,手机预览 (右上角三个点可以进入开发调试,vConsole可以查看真机打印调试)
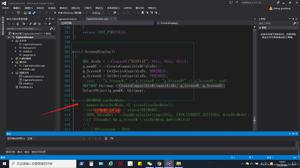
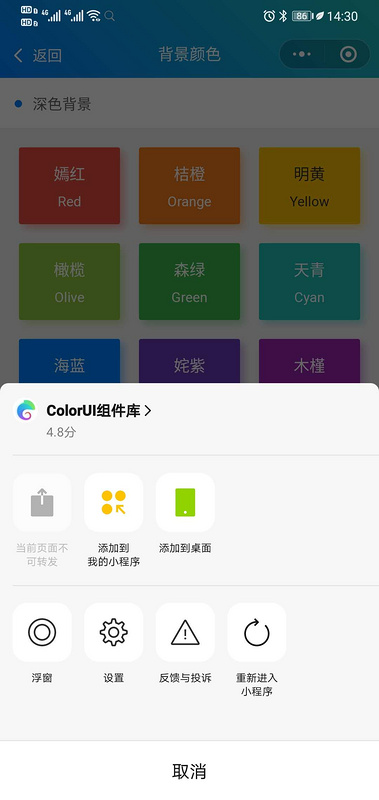
附加 (打开第三方小程序)
- API (uni开发微信小程序,可以使用
uni.,也可以使用wx.)
// 以下文件放在页面的 methods 方法中 wx.navigateToMiniProgram({ appId: 'wxfd5241d66a07713f', path:'pages/index/index', // 不要加 .html, 不要加 不要加 重要的事情说三遍 success(res) { // 打开成功 }, fail: function (e) { console.log(e) } })
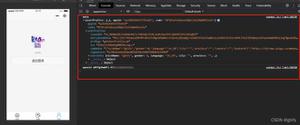
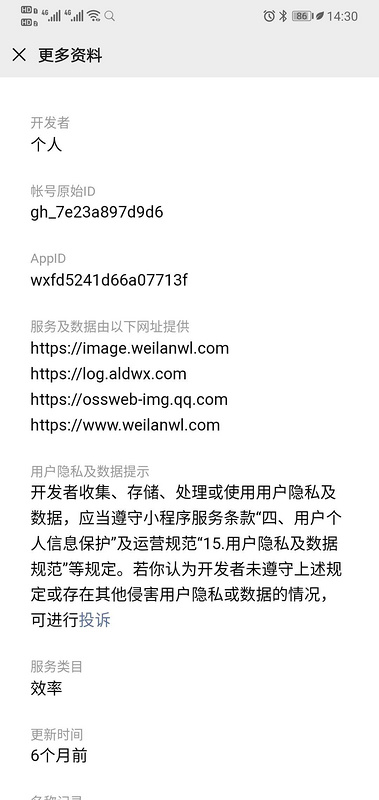
- 获取appId (右上角)
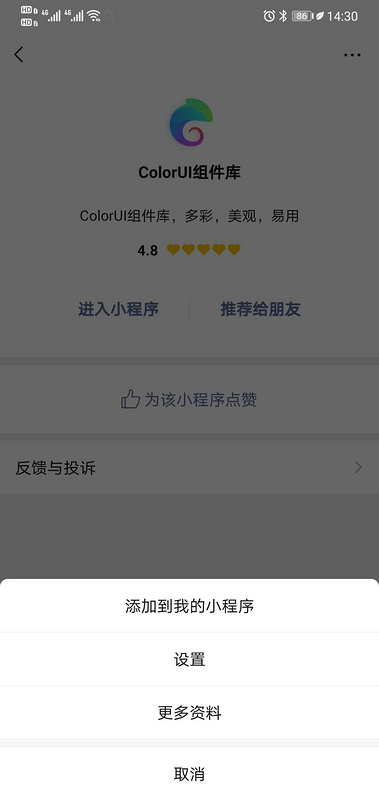
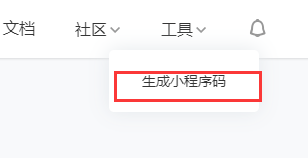
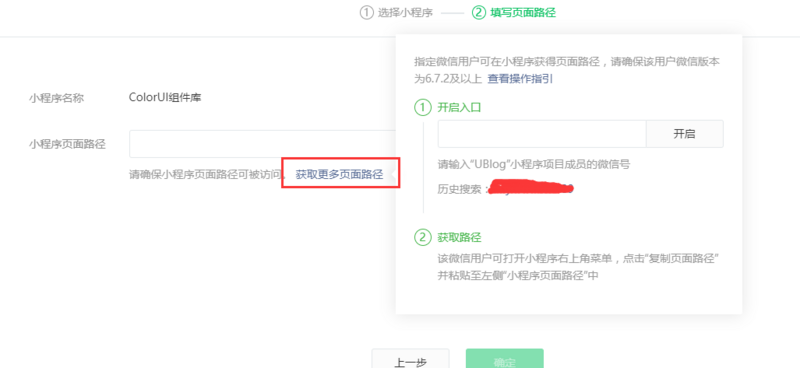
- 获取页面路径 (登陆自己的小程序)

- 配置 源码视图
// 以下代码在 /manifest.json 文件中 "mp-weixin" : { "appid" : "", "setting" : { "urlCheck" : false }, "navigateToMiniProgramAppIdList" : [ "wxfd5241d66a07713f"], // 打开第三方小程序要配置该字段 "usingComponents" : true },
真机运行成功!(大家可自行真机调试)
以上是 uni-app结合云函数开发小程序 的全部内容, 来源链接: utcz.com/a/18716.html