Cowboy搭建

3、添加依赖,看下例子怎么添加
https://github.com/erlang/rebar3/blob/master/rebar.config.sample
在rebar.config
a) 修改 deps
{deps, [ {cowboy, {git, "https://github.com/ninenines/cowboy.git", {tag, "2.6.1"}}}
]}.
b) 修改relx
{relx,[{release,{hope,"0.1.0"},[cowlib,ranch,cowboy,
hope,
sasl]},
{sys_config,"./config/sys.config"},
{vm_args,"./config/vm.args"},
{dev_mode,true},
{include_erts,false},
{extended_start_script,true}]
}.
4、修改hope_app.erl 文件
把start函数改为
start(_StartType, _StartArgs)->{ok, Sup}= hope_sup:start_link(),
Dispatch = cowboy_router:compile([
{"_",[
{"/", hope_main,[]}
]}
]),
{ok, _}= cowboy:start_clear(http,[{port,8080}], #{
env=> #{dispatch=> Dispatch}
}),
{ok, Sup}.
5、添加hope_main.erl (相当于java的 RestController)
-module(hope_main).-export([init/2]).
init(Req0,Opts)->
Req= cowboy_req:reply(200,#{
<<"content-type">>=><<"text/plain; charset=utf-8">>
},<<"cowboy server">>,Req0),
{ok,Req,Opts}.
6、编译:rebar3 compile(会主动拉取依赖)
7、发布:rebar3 release
8、运行:./_build/default/rel/hope/bin/hope console
有多种方式运行可以运行 ./_build/default/rel/hope/bin/hope 会提示参数
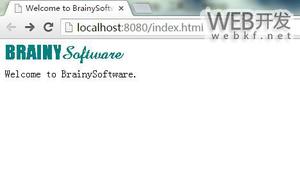
在浏览器 http://127.0.0.1:8080/
就能看到响应数据:cowboy server
9、打包:rebar3 tar
如需要上传到服务器,直接用rebar命令打包
转自: https://www.jianshu.com/p/e58ba45a348f
以上是 Cowboy搭建 的全部内容, 来源链接: utcz.com/z/516635.html