SpringBoot个性化启动Banner设置方法解析
1.添加Banner.txt文件
. ____ _ __ _ _
/\\ / ___'_ __ _ _(_)_ __ __ _ \ \ \ \
( ( )\___ | '_ | '_| | '_ \/ _` | \ \ \ \
\\/ ___)| |_)| | | | | || (_| | ) ) ) )
' |____| .__|_| |_|_| |_\__, | / / / /
=========|_|==============|___/=/_/_/_/
:: tianheng Spring Boot :: (v2.0.5.RELEASE)
2.修改application.properties文件
#端口号
server.port=8090
#配置bannner地址
spring.banner.location=banner.txt
3.添加启动类
package top.ytheng.demo;
import org.springframework.boot.SpringApplication;
import org.springframework.boot.autoconfigure.SpringBootApplication;
@SpringBootApplication //等于下面3个
//@SpringBootConfiguration
//@EnableAutoConfiguration
//@ComponentScan
public class DemoApplication {
public static void main(String[] args) {
SpringApplication.run(DemoApplication.class, args);
}
}
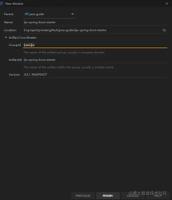
4.右键Run As启动项目,如图所示
以上是 SpringBoot个性化启动Banner设置方法解析 的全部内容, 来源链接: utcz.com/z/347845.html