微软云Centos8安装GashLab神途私服
1、 前提准备(阿里云服务器已启动ssh,此步骤已经具备,不需做)
(1) 安装依赖
yum install -y curl policycoreutils-python openssh-server
centos8没有policycoreutils-python yum源,不用管
(2) 启动ssh并设置为开机自启动
systemctl enable sshd
systemctl start sshd
2、 添加http服务到firewalld,pemmanent表示永久生效,若不加--permanent系统下次启动后就会失效
systemctl start firewalld
firewall-cmd --permanent --add-service=http
systemctl reload firewalld
3、 启动postfix,设置邮件服务自启动
yum install policycoreutils-python-utils postfix (注意:系统可能已安装)
systemctl enable postfix
systemctl start postfix
4、 环境和安装包准备(要求当前用户:root)
系统:CentOS-8.2.2004-x86_64-minimal.iso ,安装的是最小化标准版 且 /etc/selinux/config 配置已禁用
下载 gitlab:wget https://mirrors.tuna.tsinghua.edu.cn/gitlab-ce/yum/el8/gitlab-ce-13.3.0-ce.1.el8.x86_64.rpm
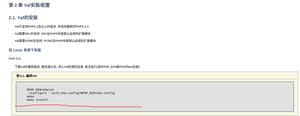
5、
安装gitlab
rpm -ivh
gitlab-ce-13.3.0-ce.1.el8.x86_64.rpm
6、
配置gitlab13
(1)编辑 /etc/gitlab/gitlab.rb 找到
external_url 'http://xxxxxxxx' 改成自己的地址
external_url 'http://192.168.x.x:8489'
编辑文件详细查看“vi"命令。
(2)添加防火墙端口
firewall-cmd --add-port=8489/tcp
--permanent
firewall-cmd –reload
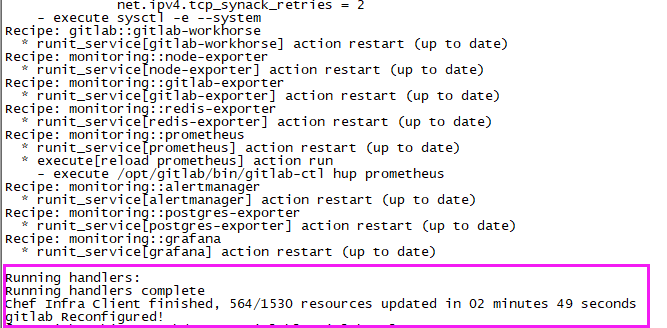
(3)重新读取配置
gitlab-ctl reconfigure
注意:此步骤时间比较长,耐心等待,一直到出现下图结束语句。
(4)重启服务
gitlab-ctl restart
[此处不用执行,作为记录学习。开启:gitlab-ctl start 关闭:gitlab-ctl stop]
7、 成功如图:
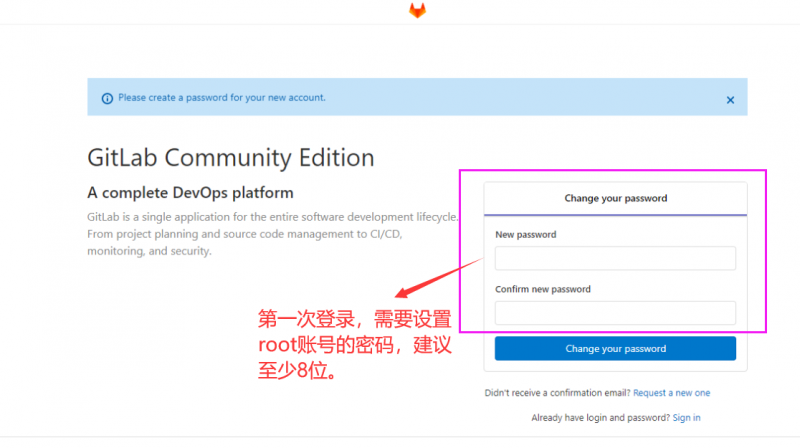
8、 GitLab修改root密码
第一次登录需要修改root密码, 密码8位以上,修改完就可以登录。(如上图)
以上是 微软云Centos8安装GashLab神途私服 的全部内容, 来源链接: utcz.com/a/46088.html