nuxt.js服务端渲染使用rem教程
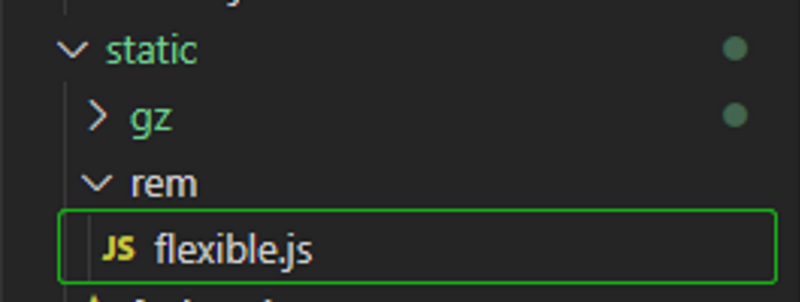
1,下载flexible.js
将下载好的文件放到static也就是静态资源文件中
2,下载postcss-px2rem
npm install --save postcss-px2rem3,配置nuxt.cofig.js
在head里加上
script: [ { src: '/rem/flexible.js', type: 'text/javascript', charset: 'utf-8'}
],
在build里加上
postcss: [ require('postcss-px2rem')({
remUnit: 75
})
],
完整的nuxt.config.js
module.exports = { mode: 'universal',
/*
** Headers of the page
*/
head: {
title: process.env.npm_package_name || '',
meta: [
{ charset: 'utf-8' },
{ name: 'viewport', content: 'width=device-width, initial-scale=1' },
{ hid: 'description', name: 'description', content: process.env.npm_package_description || '' }
],
link: [
{ rel: 'icon', type: 'image/x-icon', href: '/favicon.ico' }
],
script: [
{ src: '/rem/flexible.js', type: 'text/javascript', charset: 'utf-8' }
],
},
/*
** Customize the progress-bar color
*/
loading: { color: '#fff' },
/*
** Global CSS
*/
css: [
'element-ui/lib/theme-chalk/index.css',
{src:'~assets/css/index.scss',lang:'scss'}
],
/*
** Plugins to load before mounting the App
*/
plugins: [
'@/plugins/element-ui'
],
/*
** Nuxt.js dev-modules
*/
buildModules: [
],
/*
** Nuxt.js modules
*/
modules: [
],
/*
** Build configuration
*/
build: {
extractCSS: { allChunks: true },
transpile: [/^element-ui/],
postcss: [
require('postcss-px2rem')({
remUnit: 75
})
],
/*
** You can extend webpack config here
*/
extend(config, ctx) {
}
}
}
配置成功:

以上是 nuxt.js服务端渲染使用rem教程 的全部内容, 来源链接: utcz.com/a/13041.html

